Creating Agent Definition
Navigate to Agent Definition
Navigate to Simulation sec Agent Definitions. Click the “Add Agent Definition” button to begin creating a new agent.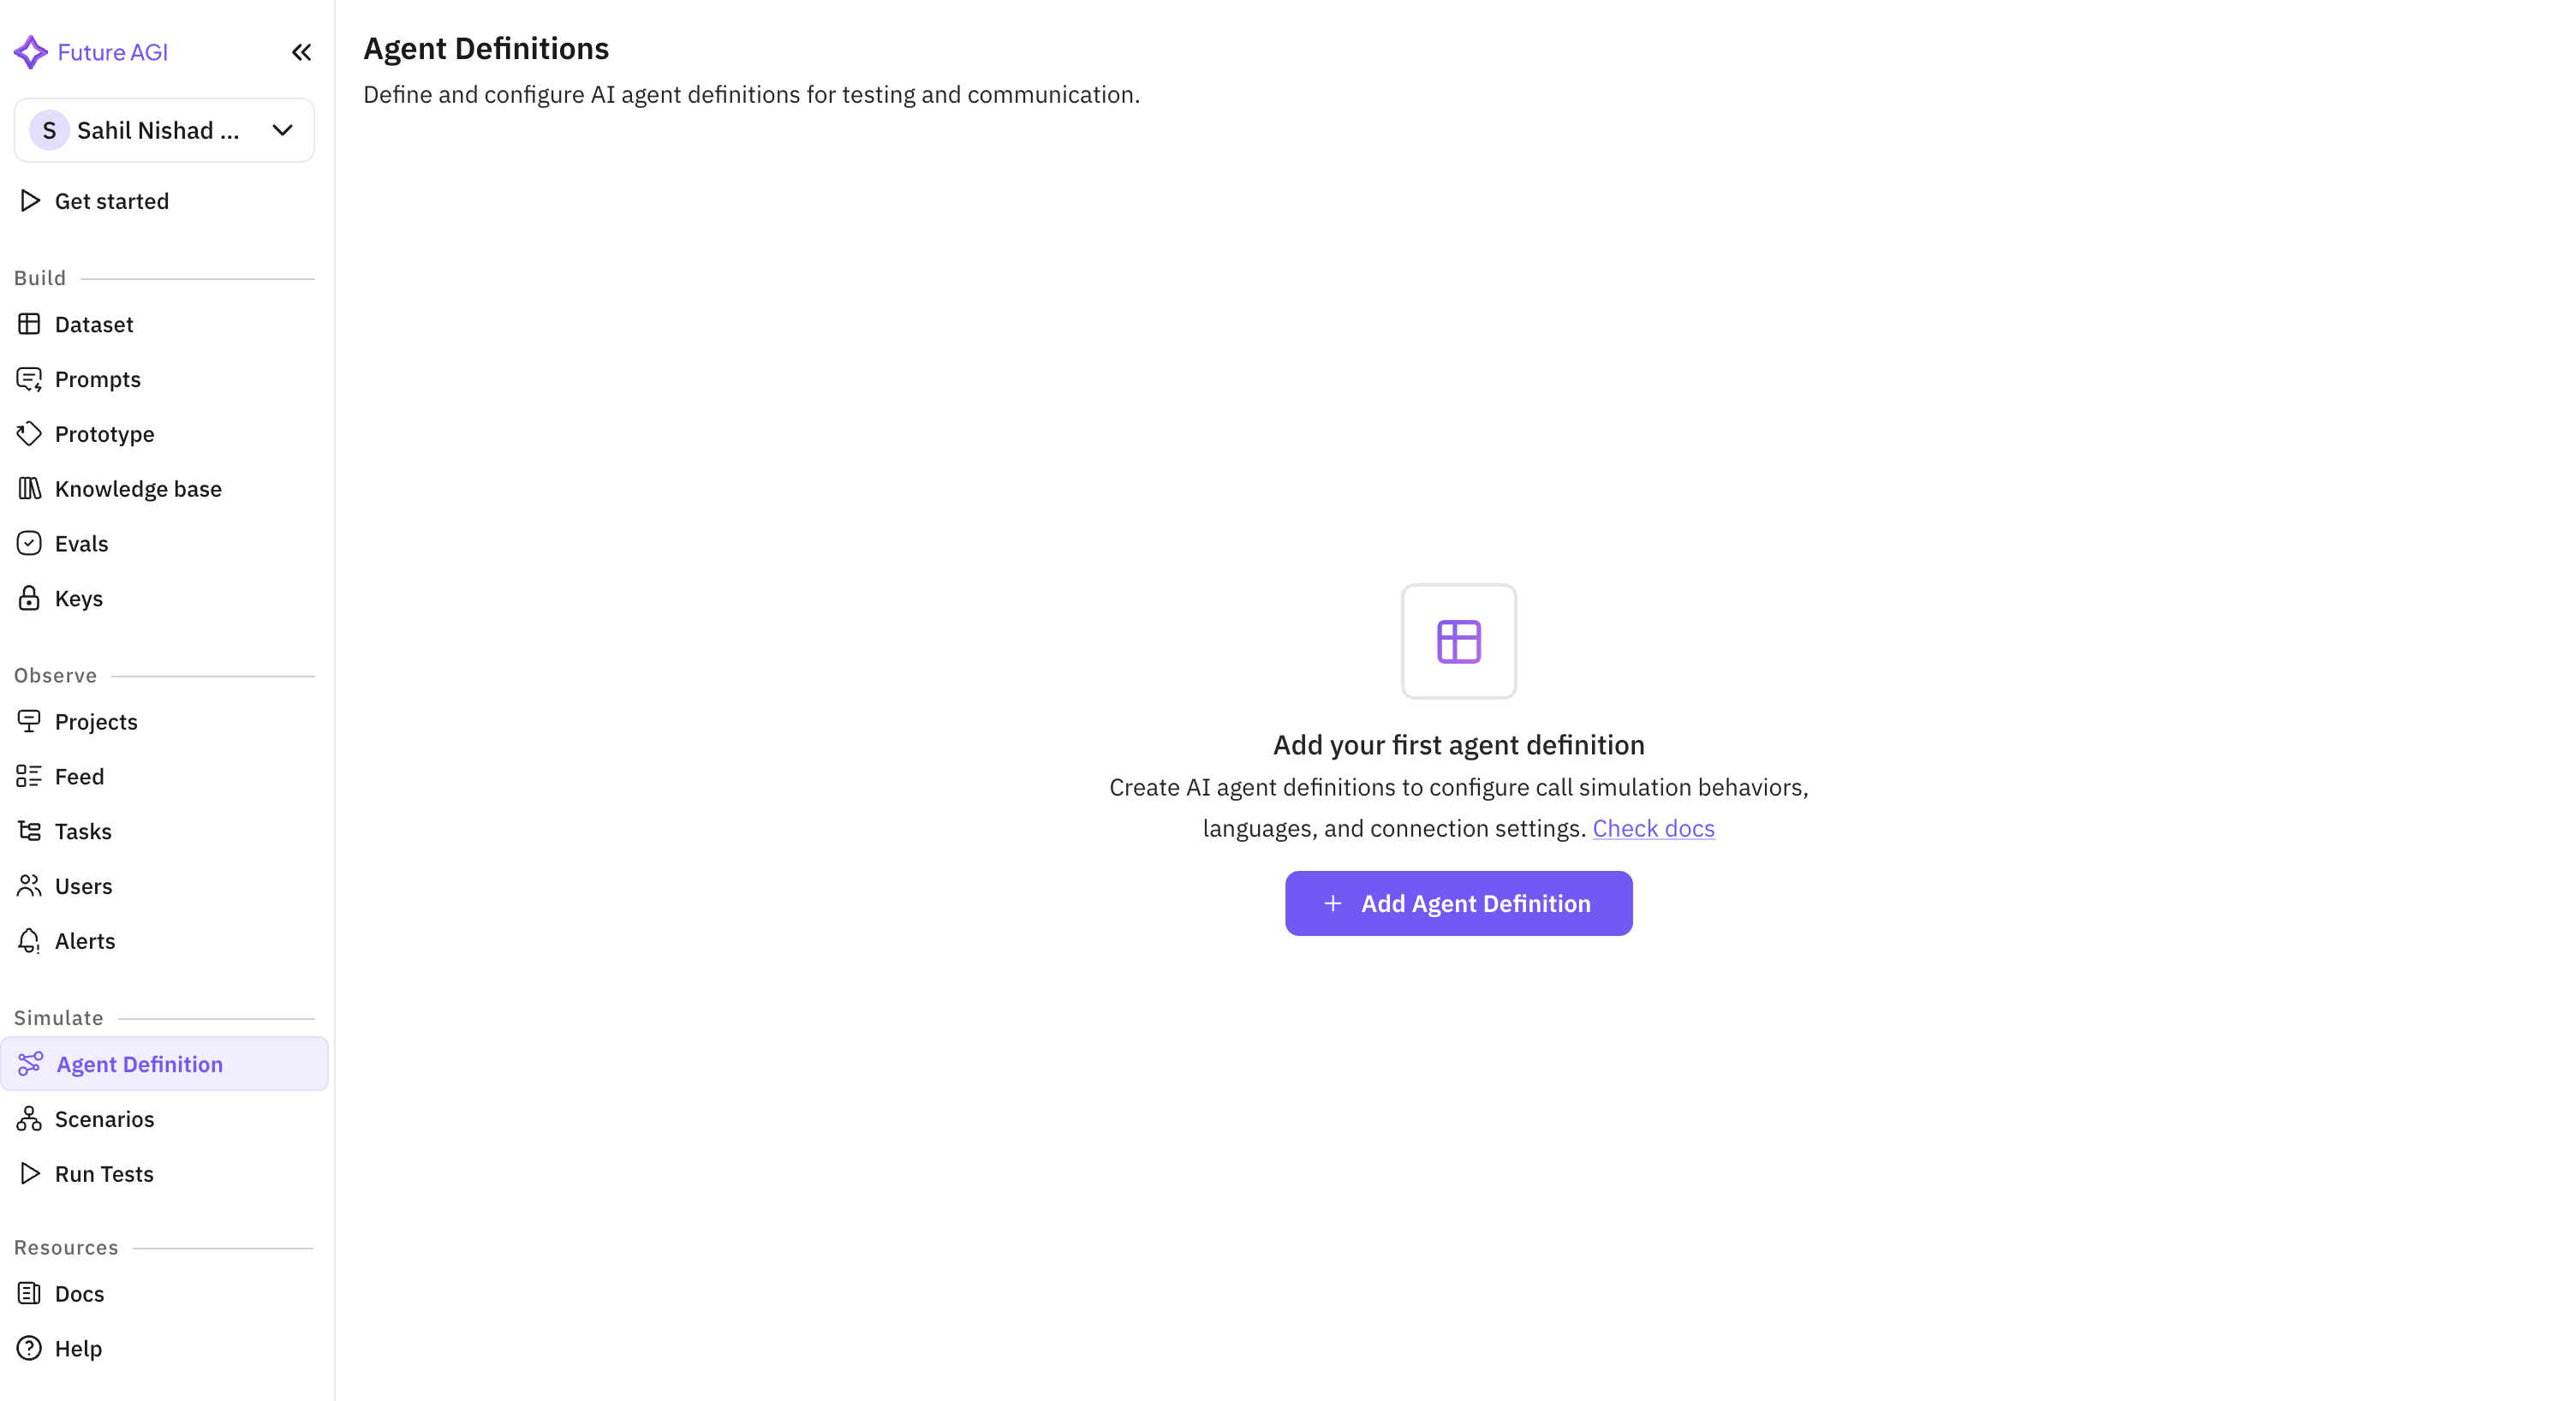
Provide Basic Information
Select what kind of agent you want to create (voice or chat). Then assign a name to your agent.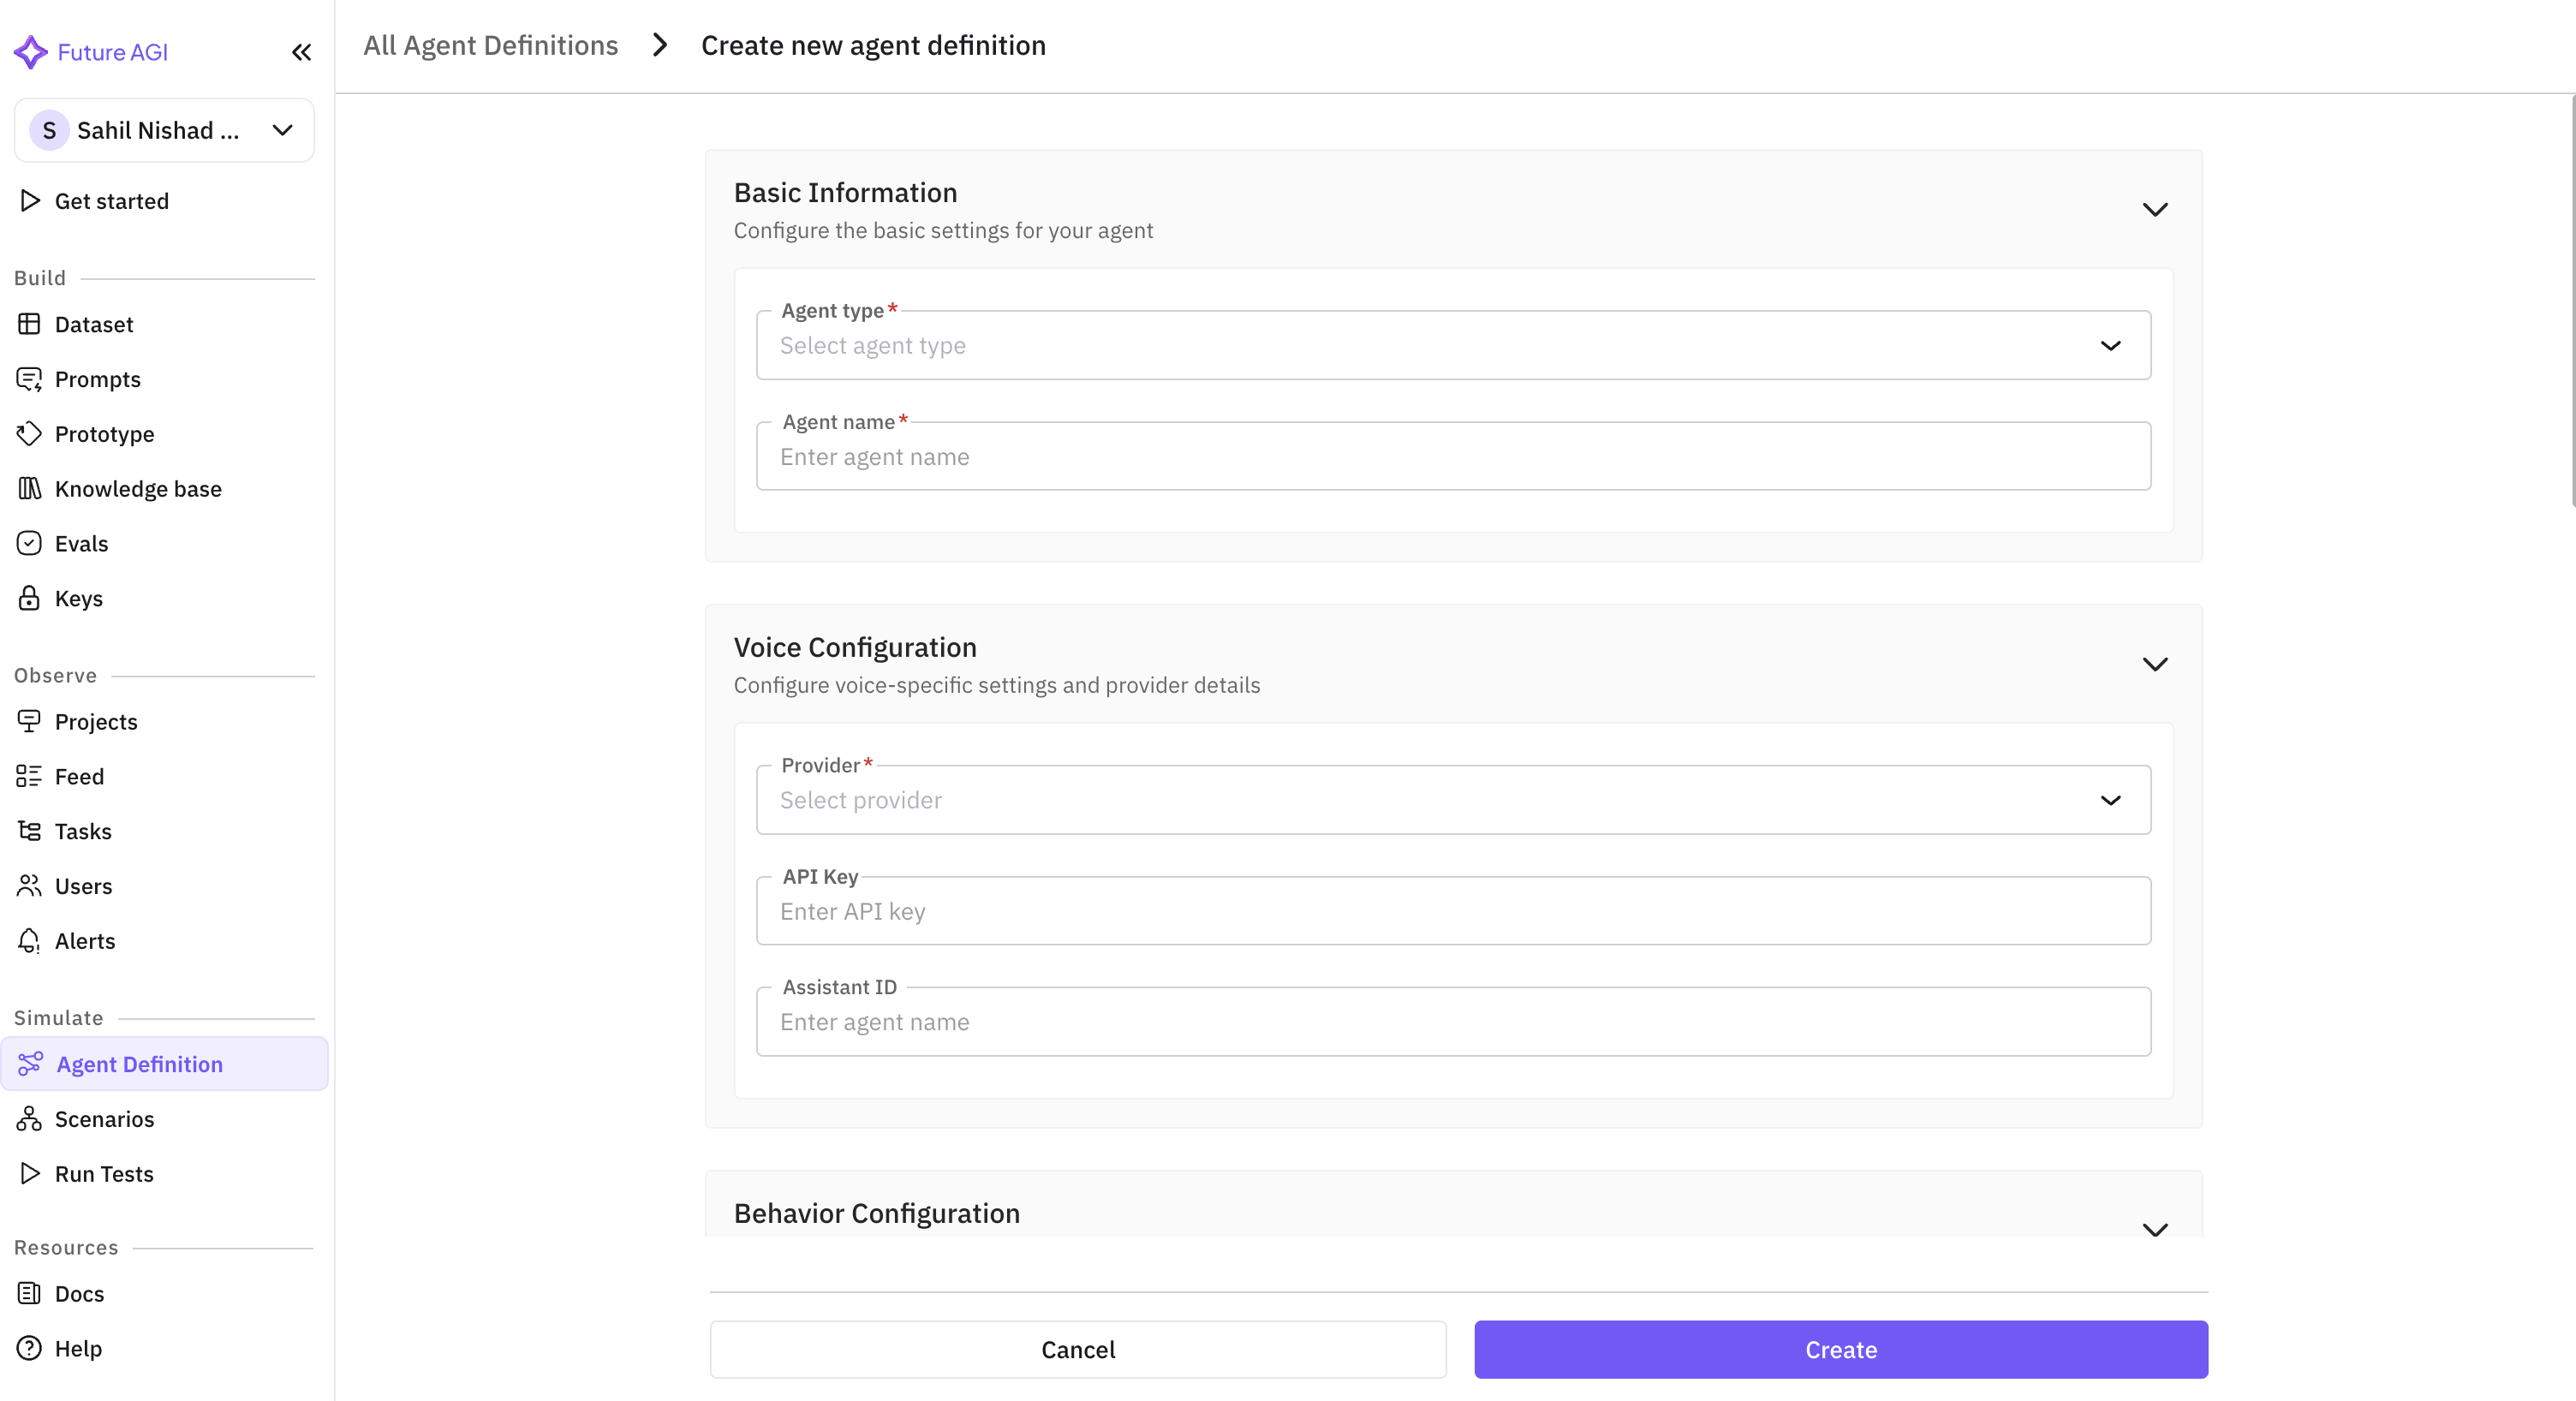
Configure Agent Settings
Agent Type: Confgure agent provider settings. Select the provider you want to use (such as Vapi or Retell).API KEY, Assistant ID (optional): If you want to enable observability, you need to provide the API key and Assistant ID.
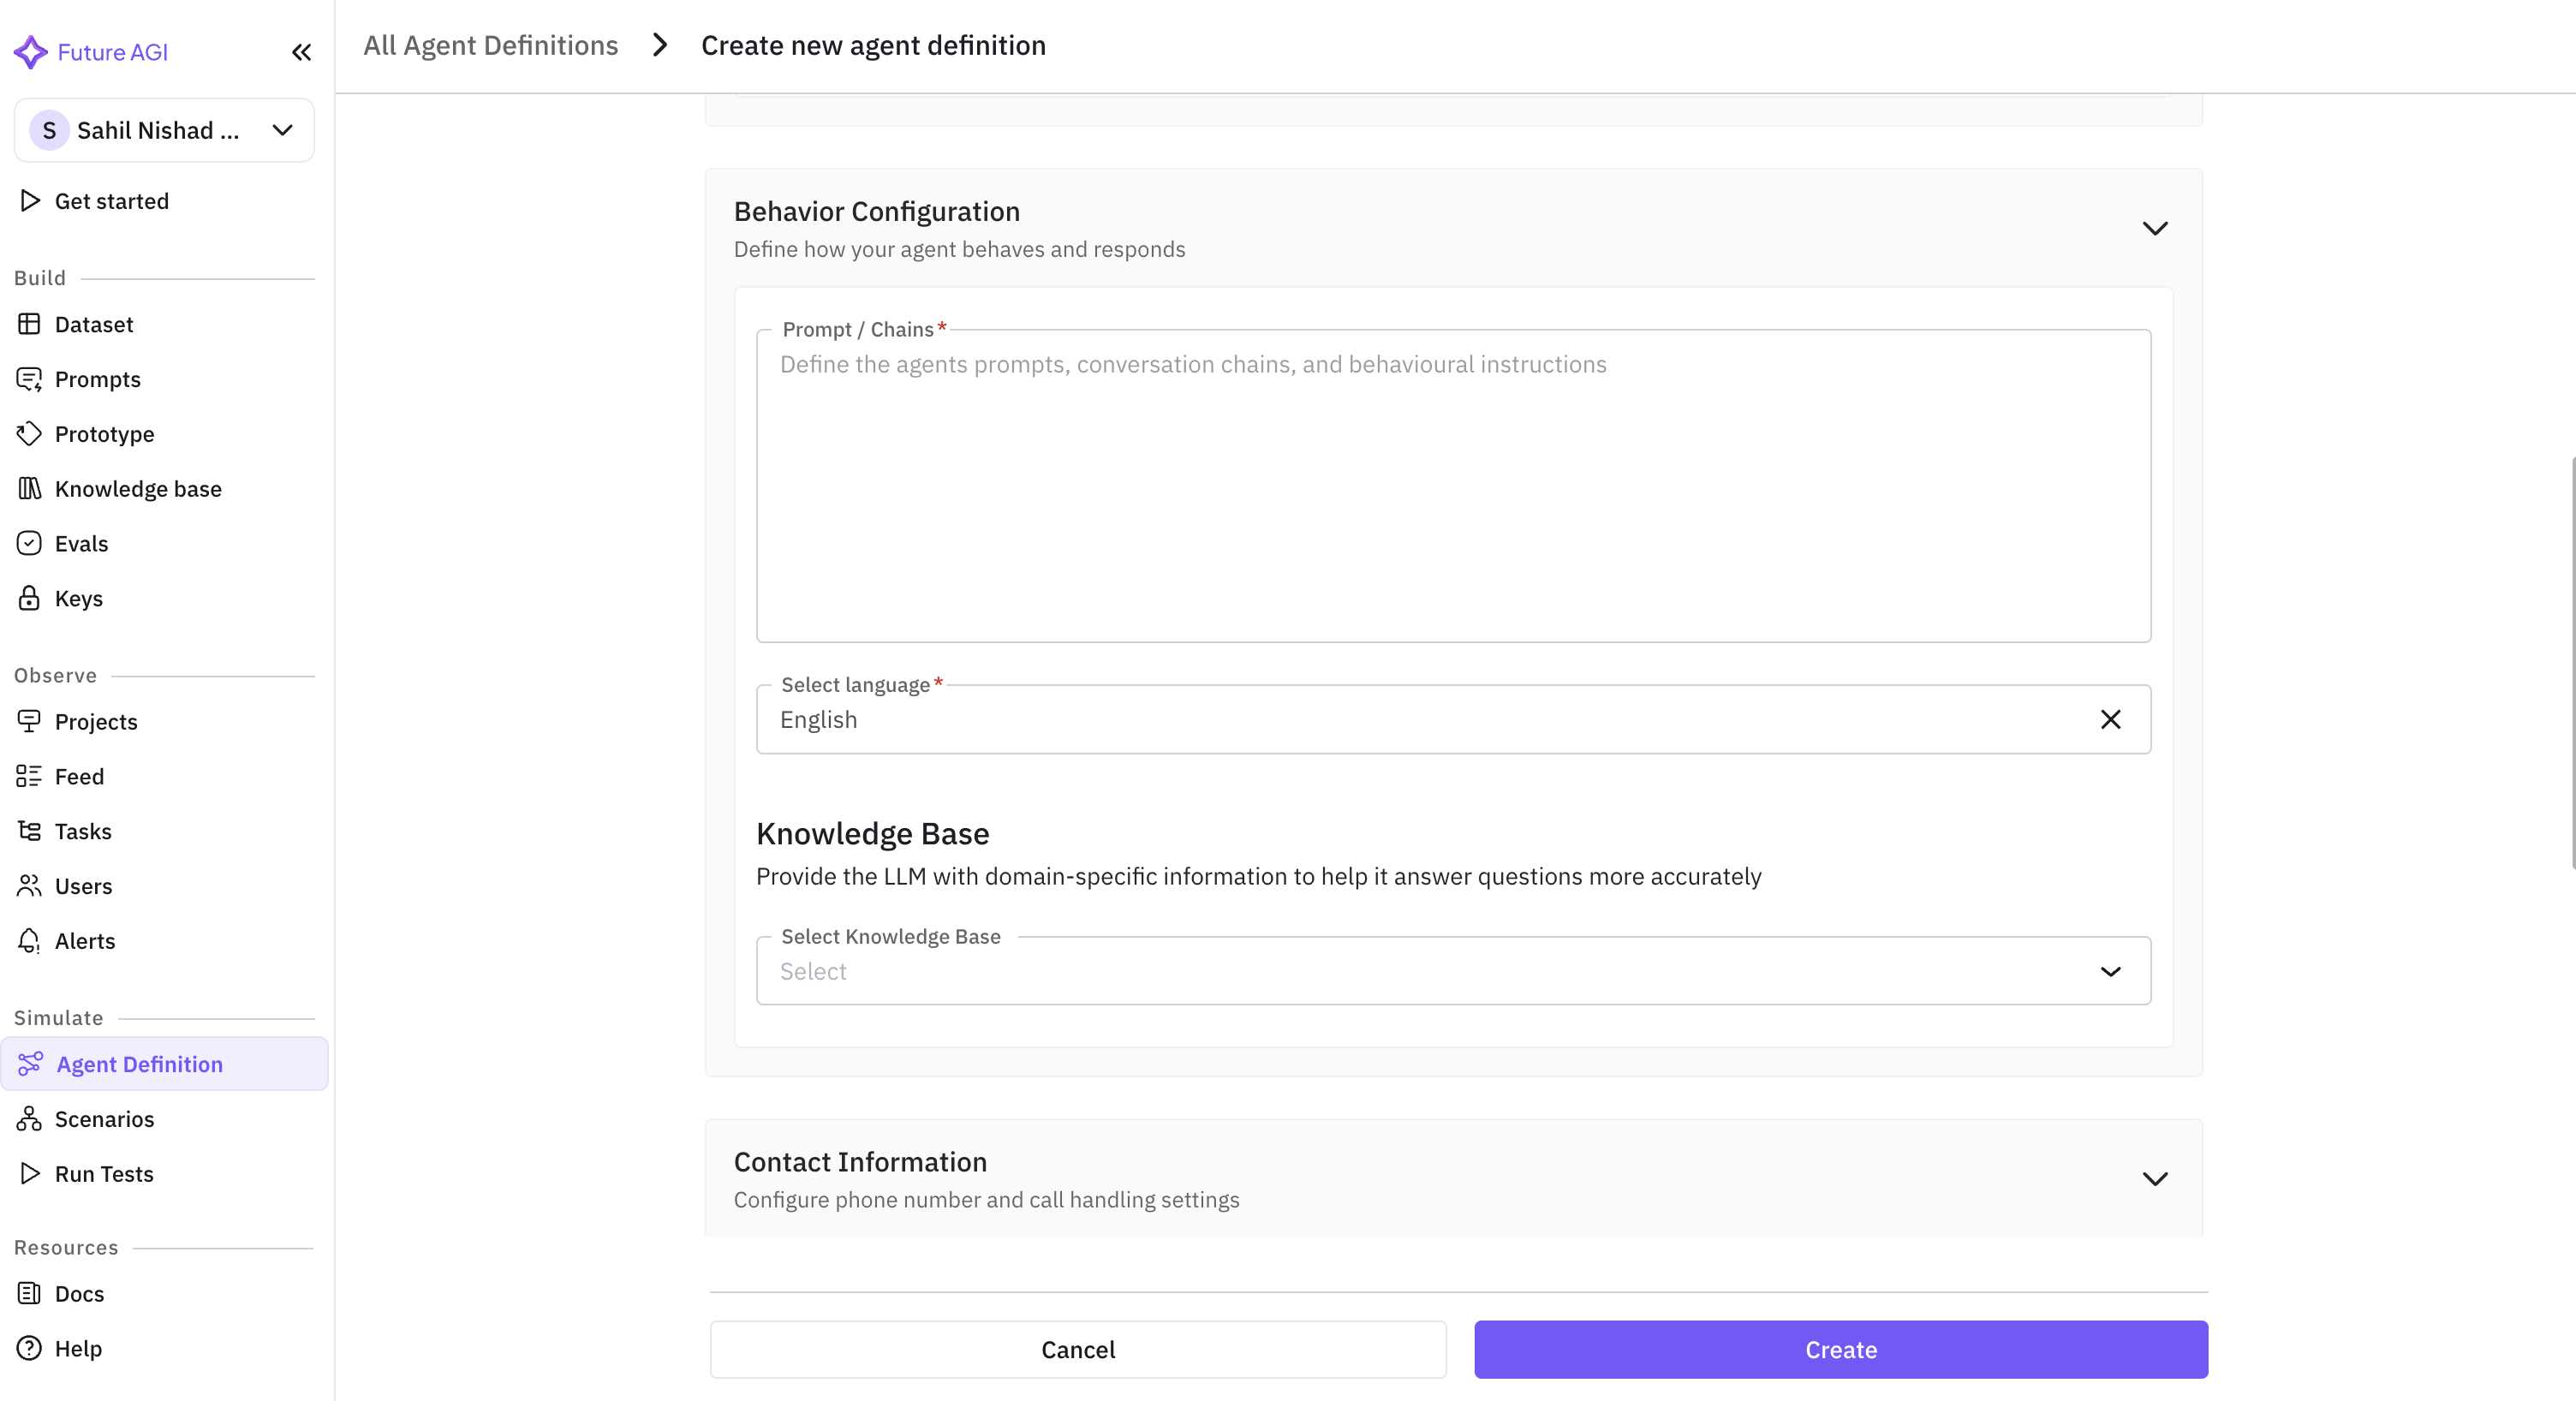
Define Agent Behavior
Set Contact Information
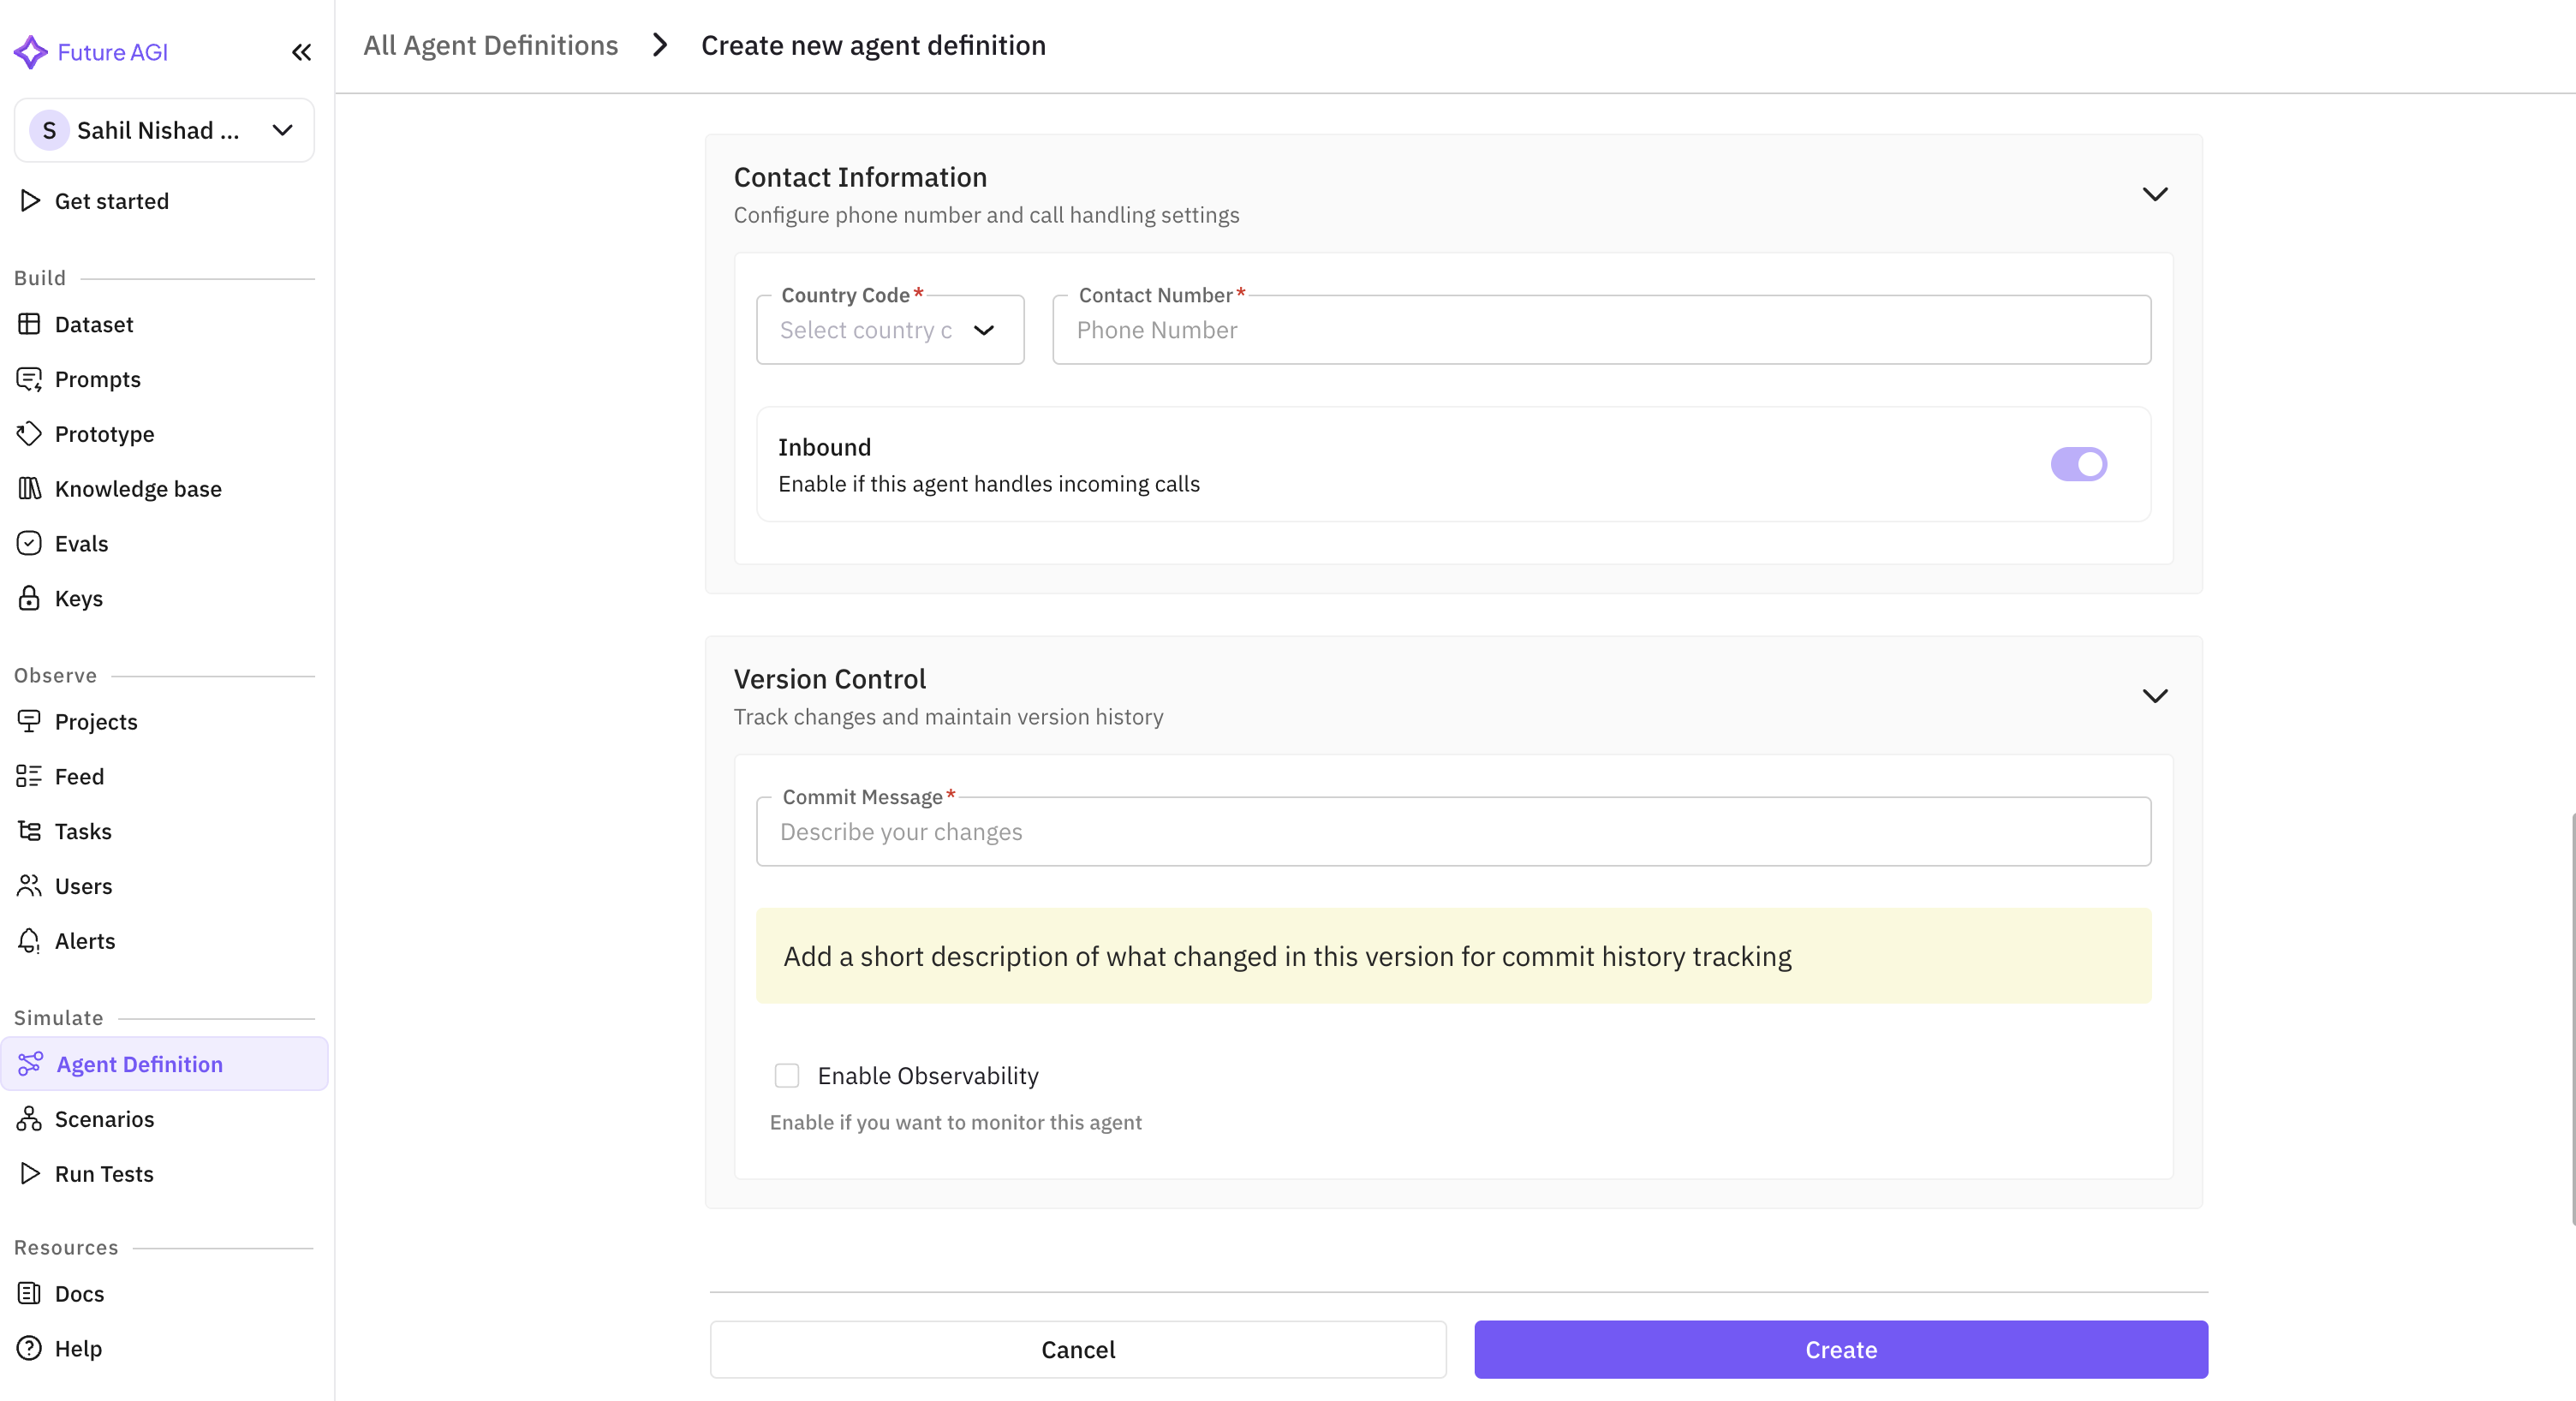
- Inbound (ON): Your agent will receive incoming calls from customers
- Outbound (OFF): Your agent will initiate calls to customers
Add Version Details
Provide a descriptive commit message to track changes and maintain version history.
Enable Observability (Optional)
Enable this if you want to track your agent’s performance.After enabling, you will see a project created in your agent’s name in Observe section after running test.
Voice Observability
Agent Configuration and Version Management
Users can edit the configuration here. Saving changes will create a new version, preserving all previous versions.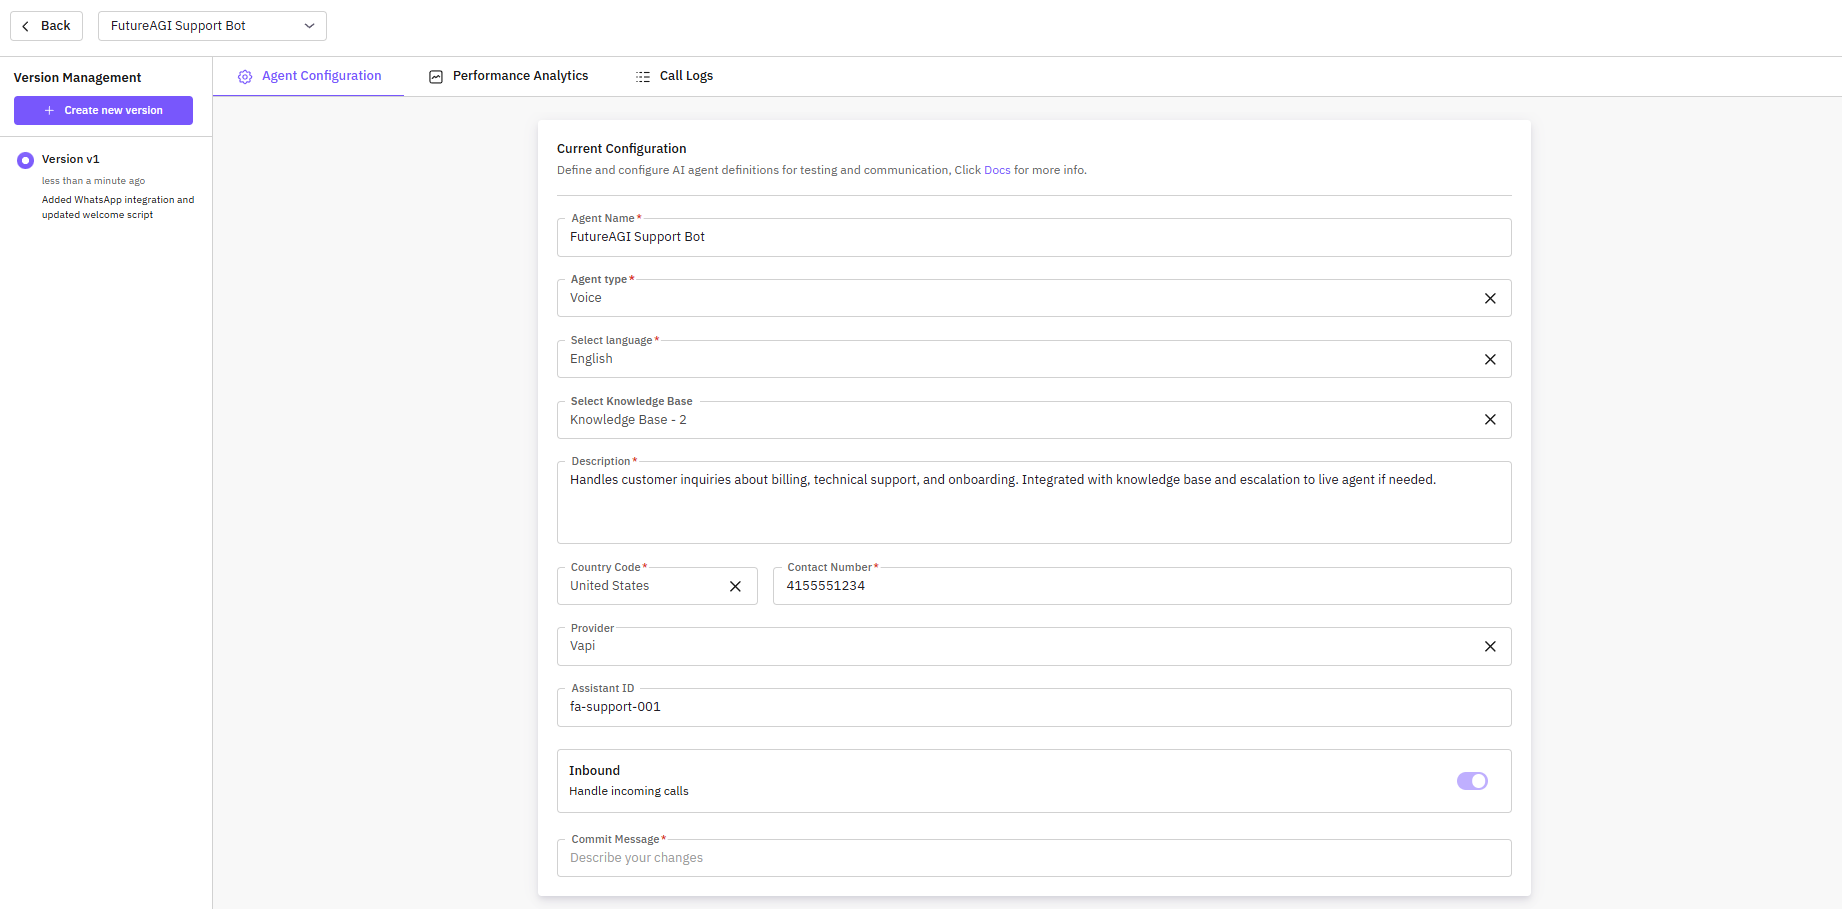
- Agent Select Dropdown – Switch between different agents quickly.
-
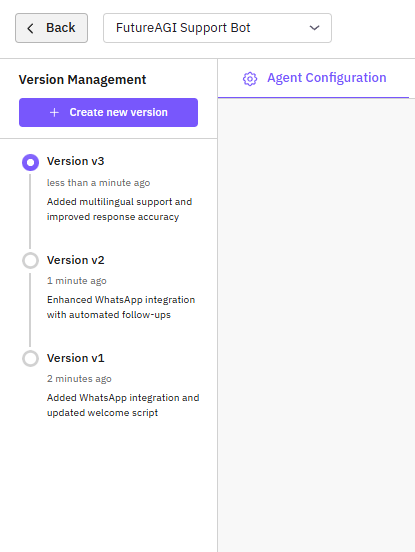
Version Management Section – Located on the left, shows all versions with the latest at the top. Each version displays:
- Version number
- Timestamp
- Commit message
- Create New Version Button – Opens a side drawer to create a new version of the agent.
How Versioning Agents Helps You
Versioning provides several benefits:- Experiment Safely – Test new prompts, workflows, or provider settings without affecting the live agent.
- Rollback Capability – Restore any previous stable configuration if needed.
- Audit & Compliance – Maintain a history of agent modifications for regulatory or internal compliance.
How to Create New Agent Versions
When creating a new version: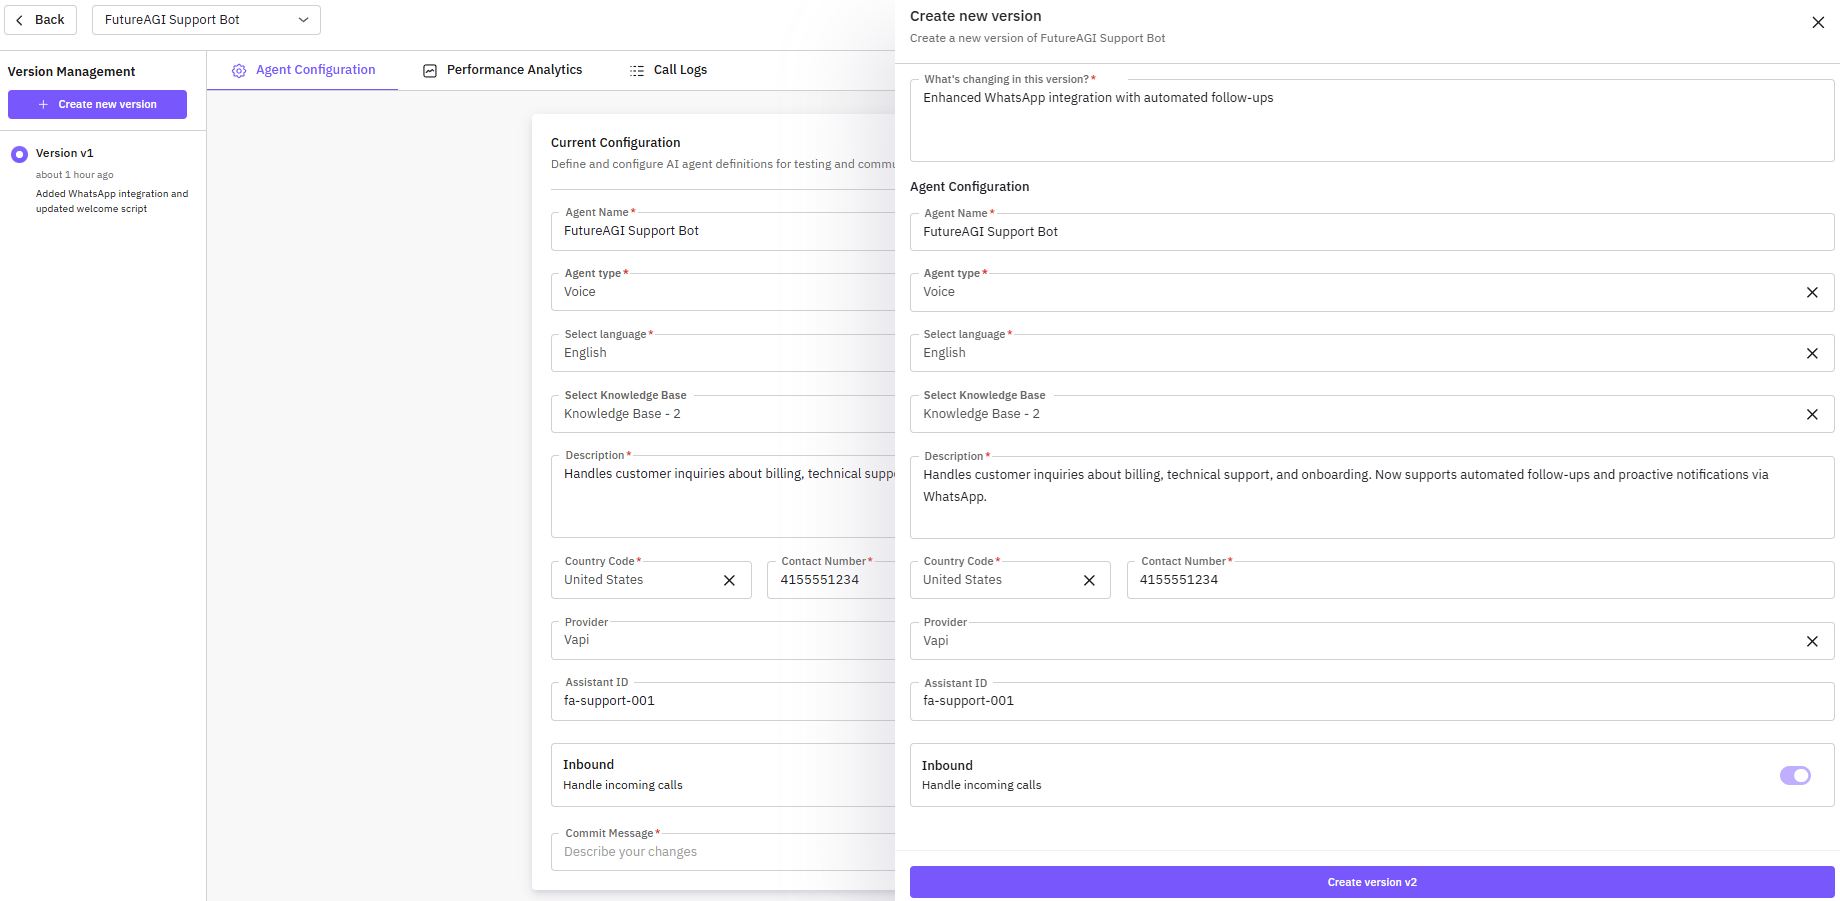
- Click Create New Version in the version management section.
- In the side drawer, complete:
- Commit Message – Describe the changes
- Basic Information – Agent name, description, etc.
- Configuration Fields – Behavior, voice, and knowledge base
- Click Save to create the version.
Switching Between Versions
- In the Version Management section, click any existing version.
- The UI will load the selected version for viewing, configuration, and further edits.
- This allows users to quickly switch between different configurations of the same agent.
Note Switching versions does not delete previous versions; all historical versions remain accessible.
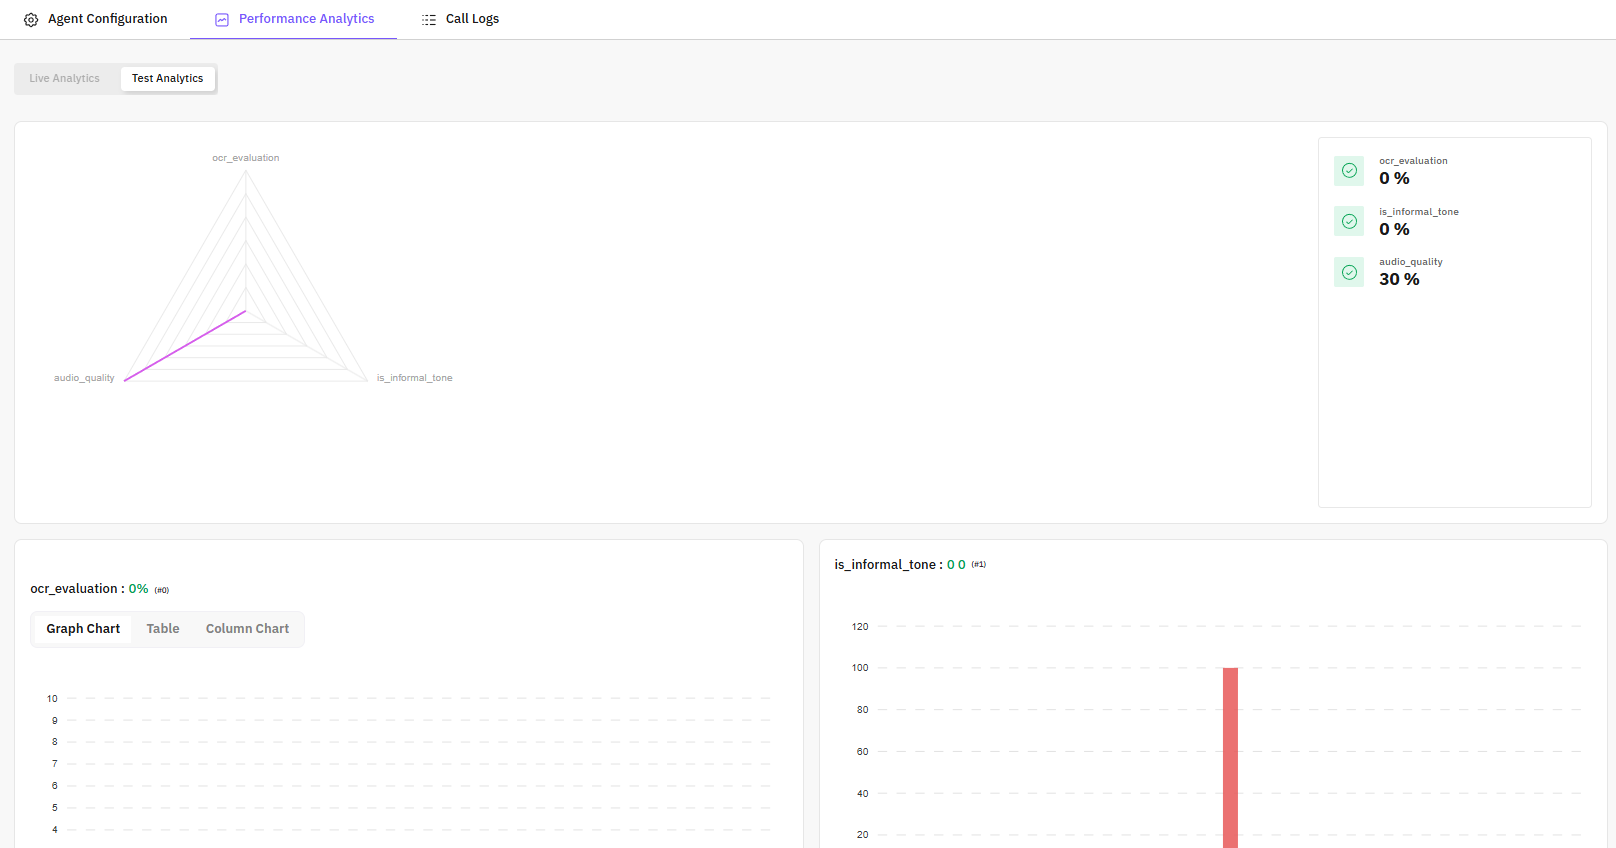
Perfomance Analytics
- Call success rates
- Average response times
- Evaluation scores across multiple metrics
- Error rates and anomalies
- Identify strengths and weaknesses in agent behavior
- Monitor improvements over time
- Quickly spot issues in production or testing
Call Logs

- Call Information – Duration, participants, and call status (Completed, Failed, Dropped)
- Evaluation Scores – Scores for each call on defined metrics
- Call Details Drawer – Click any call to open:
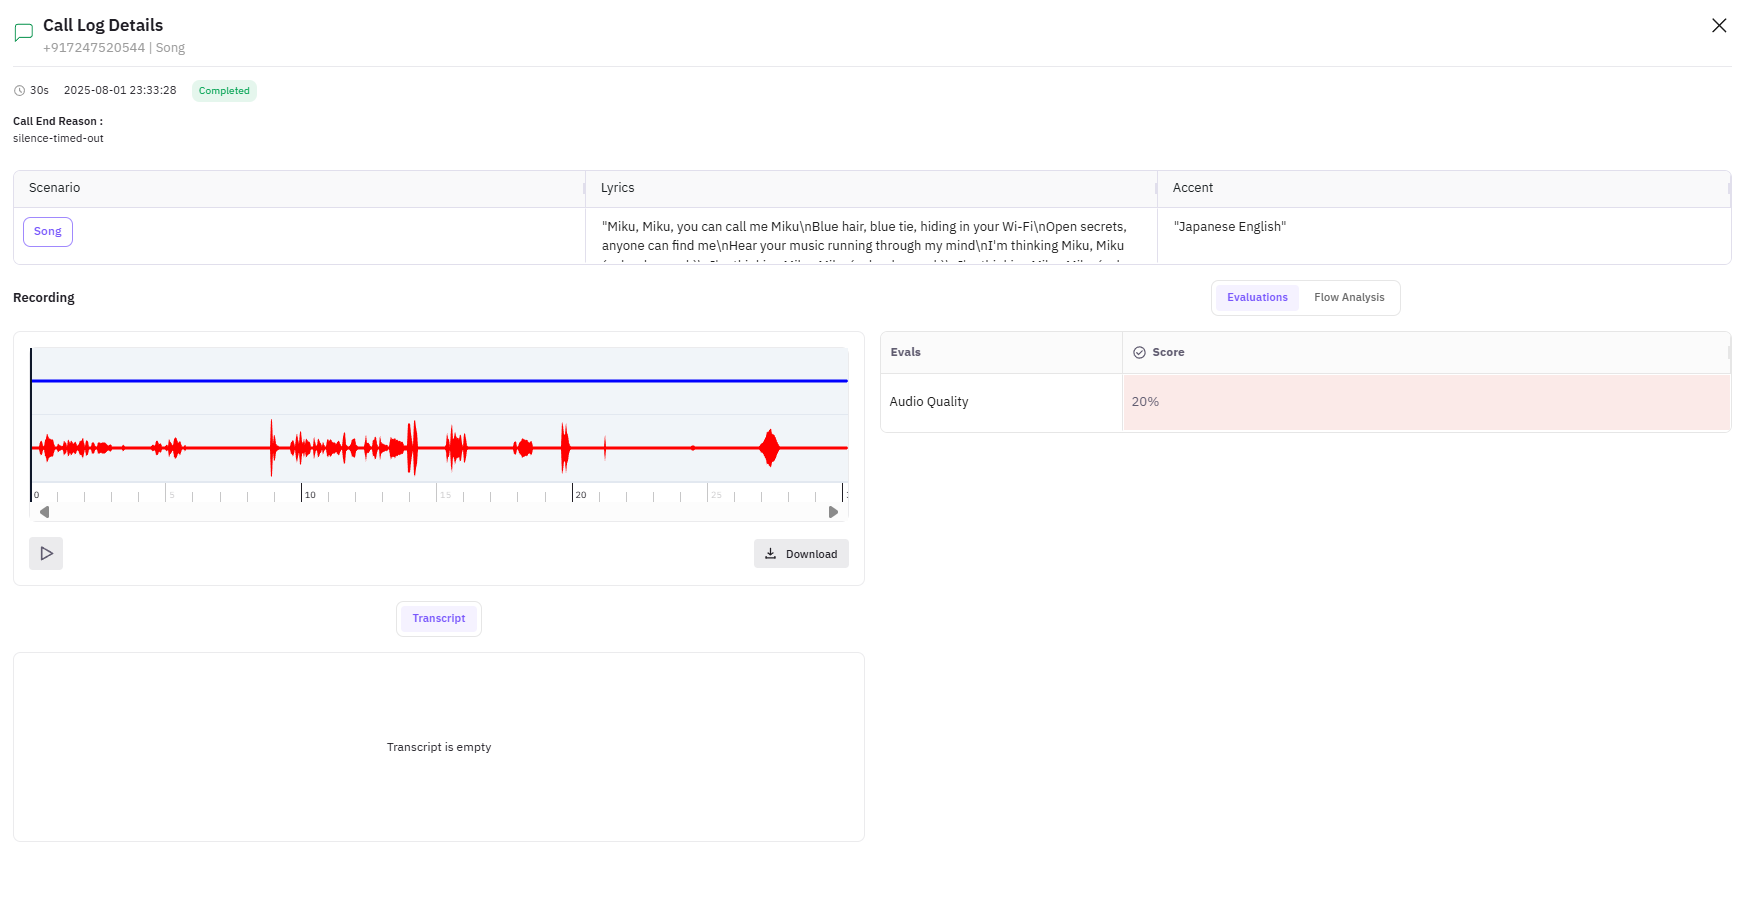
- Full conversation transcript
- Turn-by-turn analysis
- Evaluation results per metric
- Audio playback (if enabled)
- Key moments flagged by evaluations