Create a label
Pick a type, configure its settings, and save a label ready to attach to a queue
This walks through creating a label: a categorical label called Response quality with the options Good, Needs work, and Wrong. A label needs a name, a type, and that type’s settings.
Open the Labels tab
Labels aren’t tied to a project. Go to Annotations in the sidebar and switch to the Labels tab. Click Create Label to open the form.
If this is your first label, the tab shows an empty state instead of a table, “No labels created yet.” The same Create Label button sits there too.
Name it and pick a type
Fill in Name and an optional Description. Those greyed-out examples in the Name field, Relevance, Tone, Accuracy, are placeholder text, not a fixed list to pick from, so Response quality fits just as well.
Then pick a Type:
- Categorical: a predefined set of options to choose from
- Numeric: a score within a range
- Text: free-text feedback
- Star Rating: a star-based rating
- Thumbs Up/Down: binary feedback
Not sure which fits? Labels covers what each type is for and when to reach for it. Pick Categorical for Response quality.
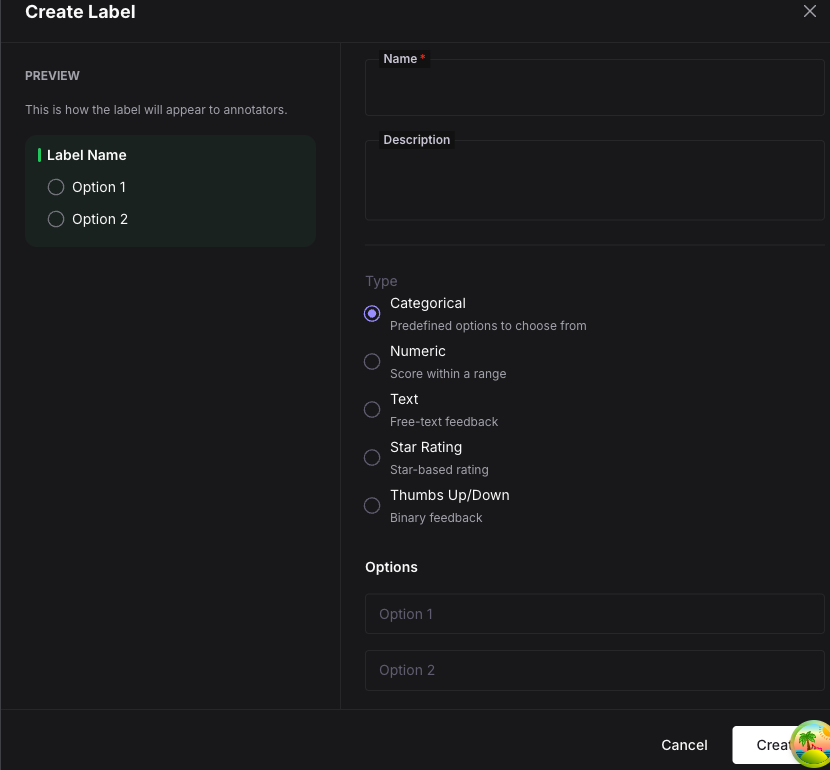
The Create Label form, with Categorical selected as the type
Building one of the other four types instead? Label types & values lists every setting, its default, and its validation rule by type.
Warning
The type is locked once you save. Editing a label later lets you change its name, description, and settings, but not its type, so get this one right before you save.
Configure the settings and save
Type-specific settings appear once you’ve picked a type. For Categorical, that’s a list of options: add Good, Needs work, and Wrong.
Note
A categorical label needs at least two distinct, non-empty options. Duplicates aren’t allowed either, Good and good count as the same option. The form doesn’t stop you from entering duplicates: clicking Create fails with an error toast, so fix the options and click Create again.
Check Allow notes if you want annotators to attach free-text commentary alongside their Response quality value. Leave it unchecked for a label that should stay a single, quick choice.
Click Create. Response quality is now available to attach to a queue or score an item inline (on the spot, with no queue involved).
Managing labels
The same tab handles the rest, once you have labels to manage:
- Edit a label to change its name, description, or settings
- Duplicate a label to open the form pre-filled with its settings under a new name, so you can adjust and save it as a separate label
- Archive a label to take it out of active use, and Restore it from the Archived view when you need it back
- Search narrows the list by name, and the type filter shows only labels of one type
Dive deeper
Questions & Discussion