Create Prompt from Existing Template in Future AGI
Start from a pre-built prompt template in the Future AGI Prompt Workbench and customize it for your specific use case and model.
About
Templates are pre-built prompts for common tasks. Instead of writing from a blank page, you start from a structure that already works, replace the placeholders with your context, and run it.
The Prompt Workbench includes templates for summarization, customer support, analytics, content generation, and more. Each one comes with the system instruction, user message, and variables pre-filled. You customize what you need and leave the rest.
When to use
- Your task fits a common pattern: Your use case is summarization, customer support, Q&A, analytics, or similar and you don’t want to figure out the prompt structure yourself.
- Onboarding a team: You want everyone starting from the same proven base so prompts are consistent across your team.
- Exploring what’s possible: You want to see working examples of well-structured prompts before building your own.
- Getting something running quickly: You need a working prompt now and plan to refine it from there rather than start from a blank page.
How to
Navigate to the Prompts Section
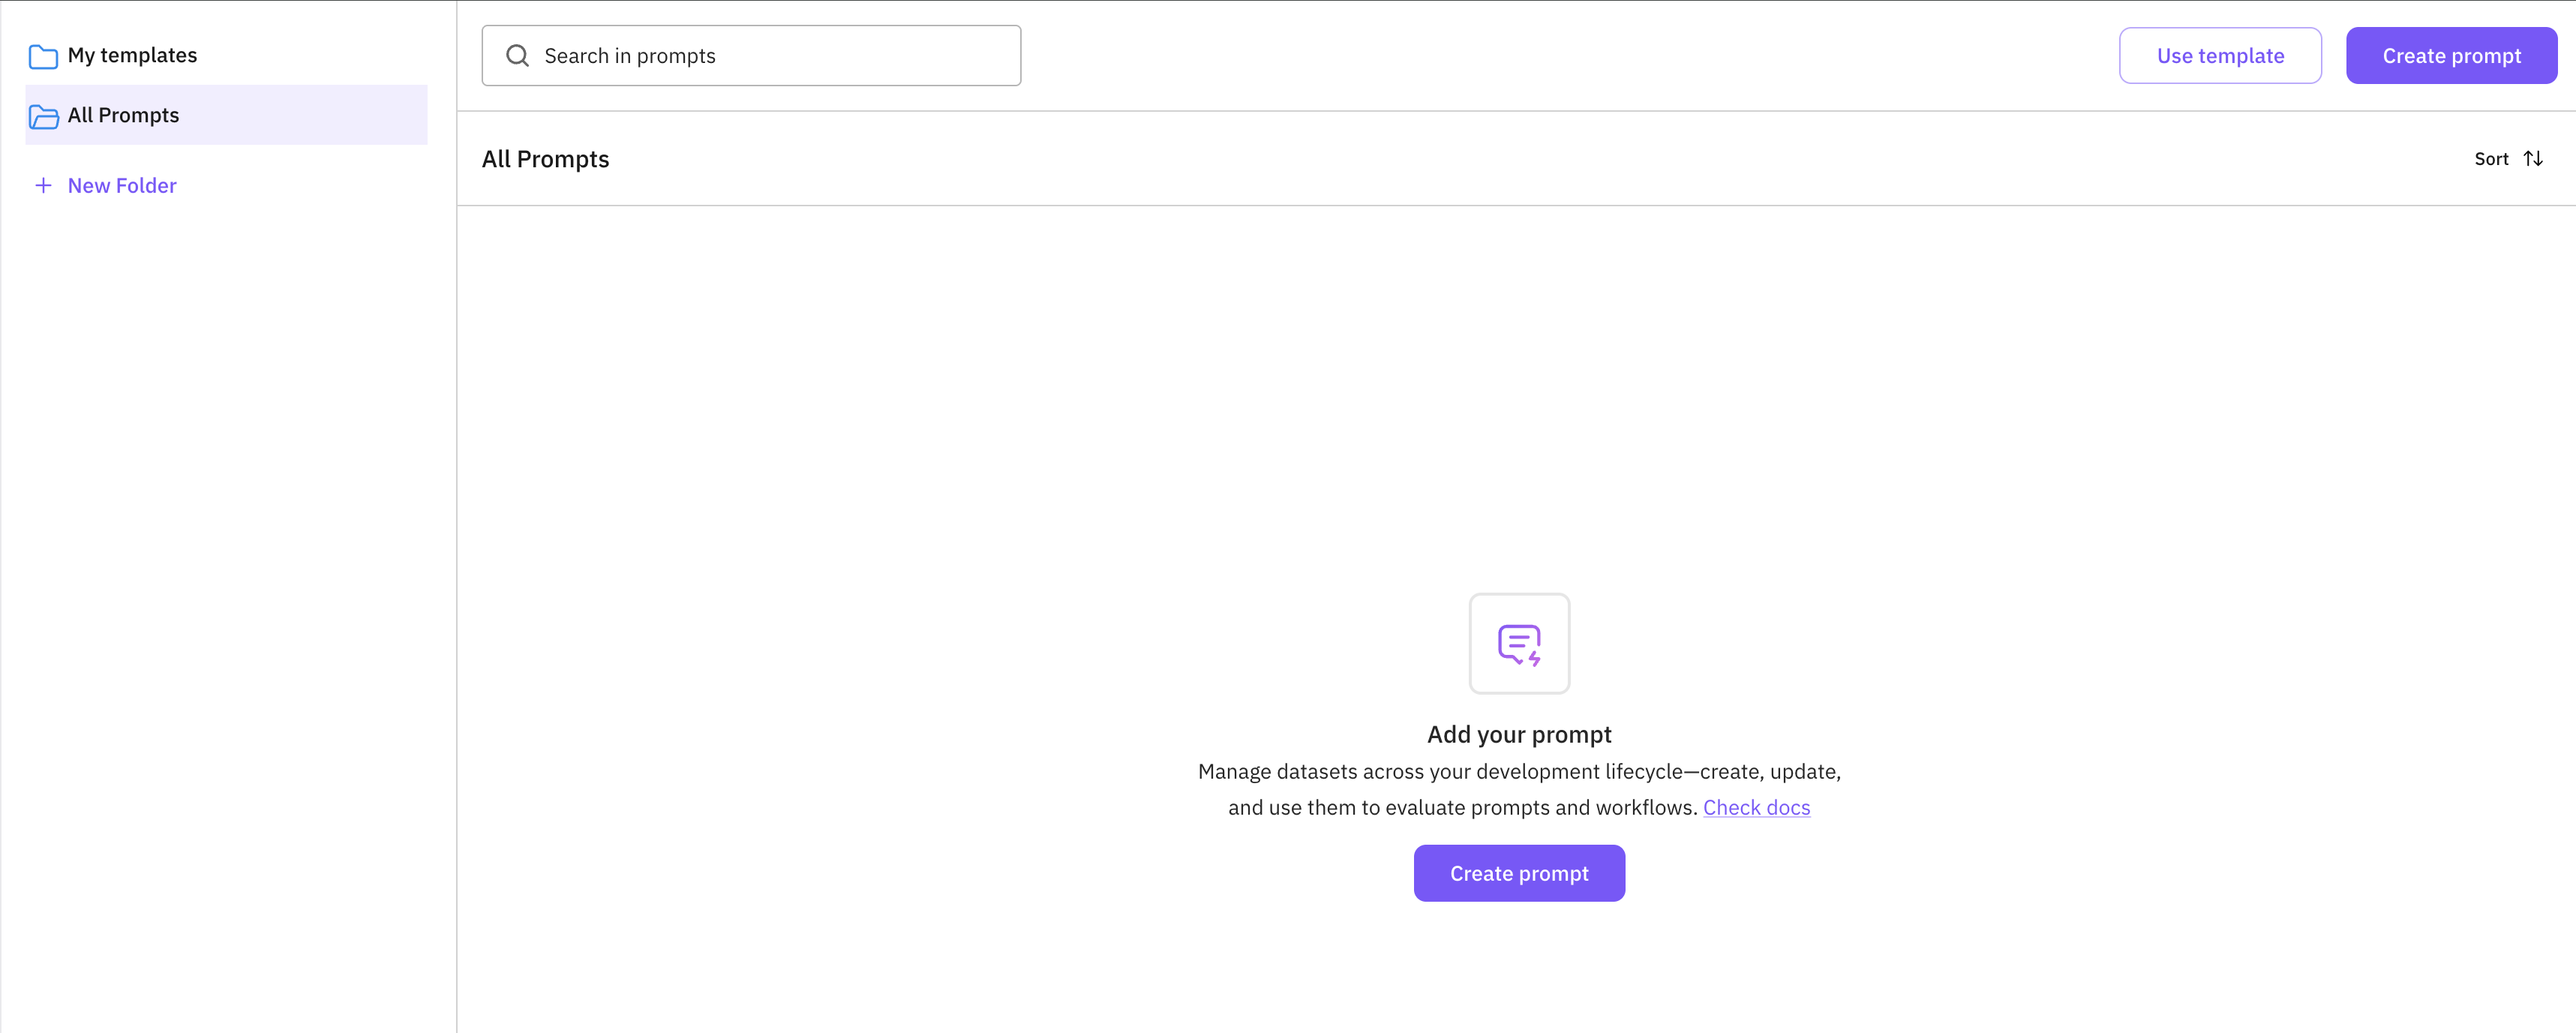
From the Future AGI dashboard, locate the navigation panel on the left side of the screen. Under the “Build” section, click on “Prompts” to access the prompts management interface.
Access Templates
Once in the Prompts section, click on the “Create prompt” button located on the right side of the screen.

In the “Create a new prompt” modal, you’ll see three options. Select “Start with a template” to browse available templates.
Browse and Select a Template
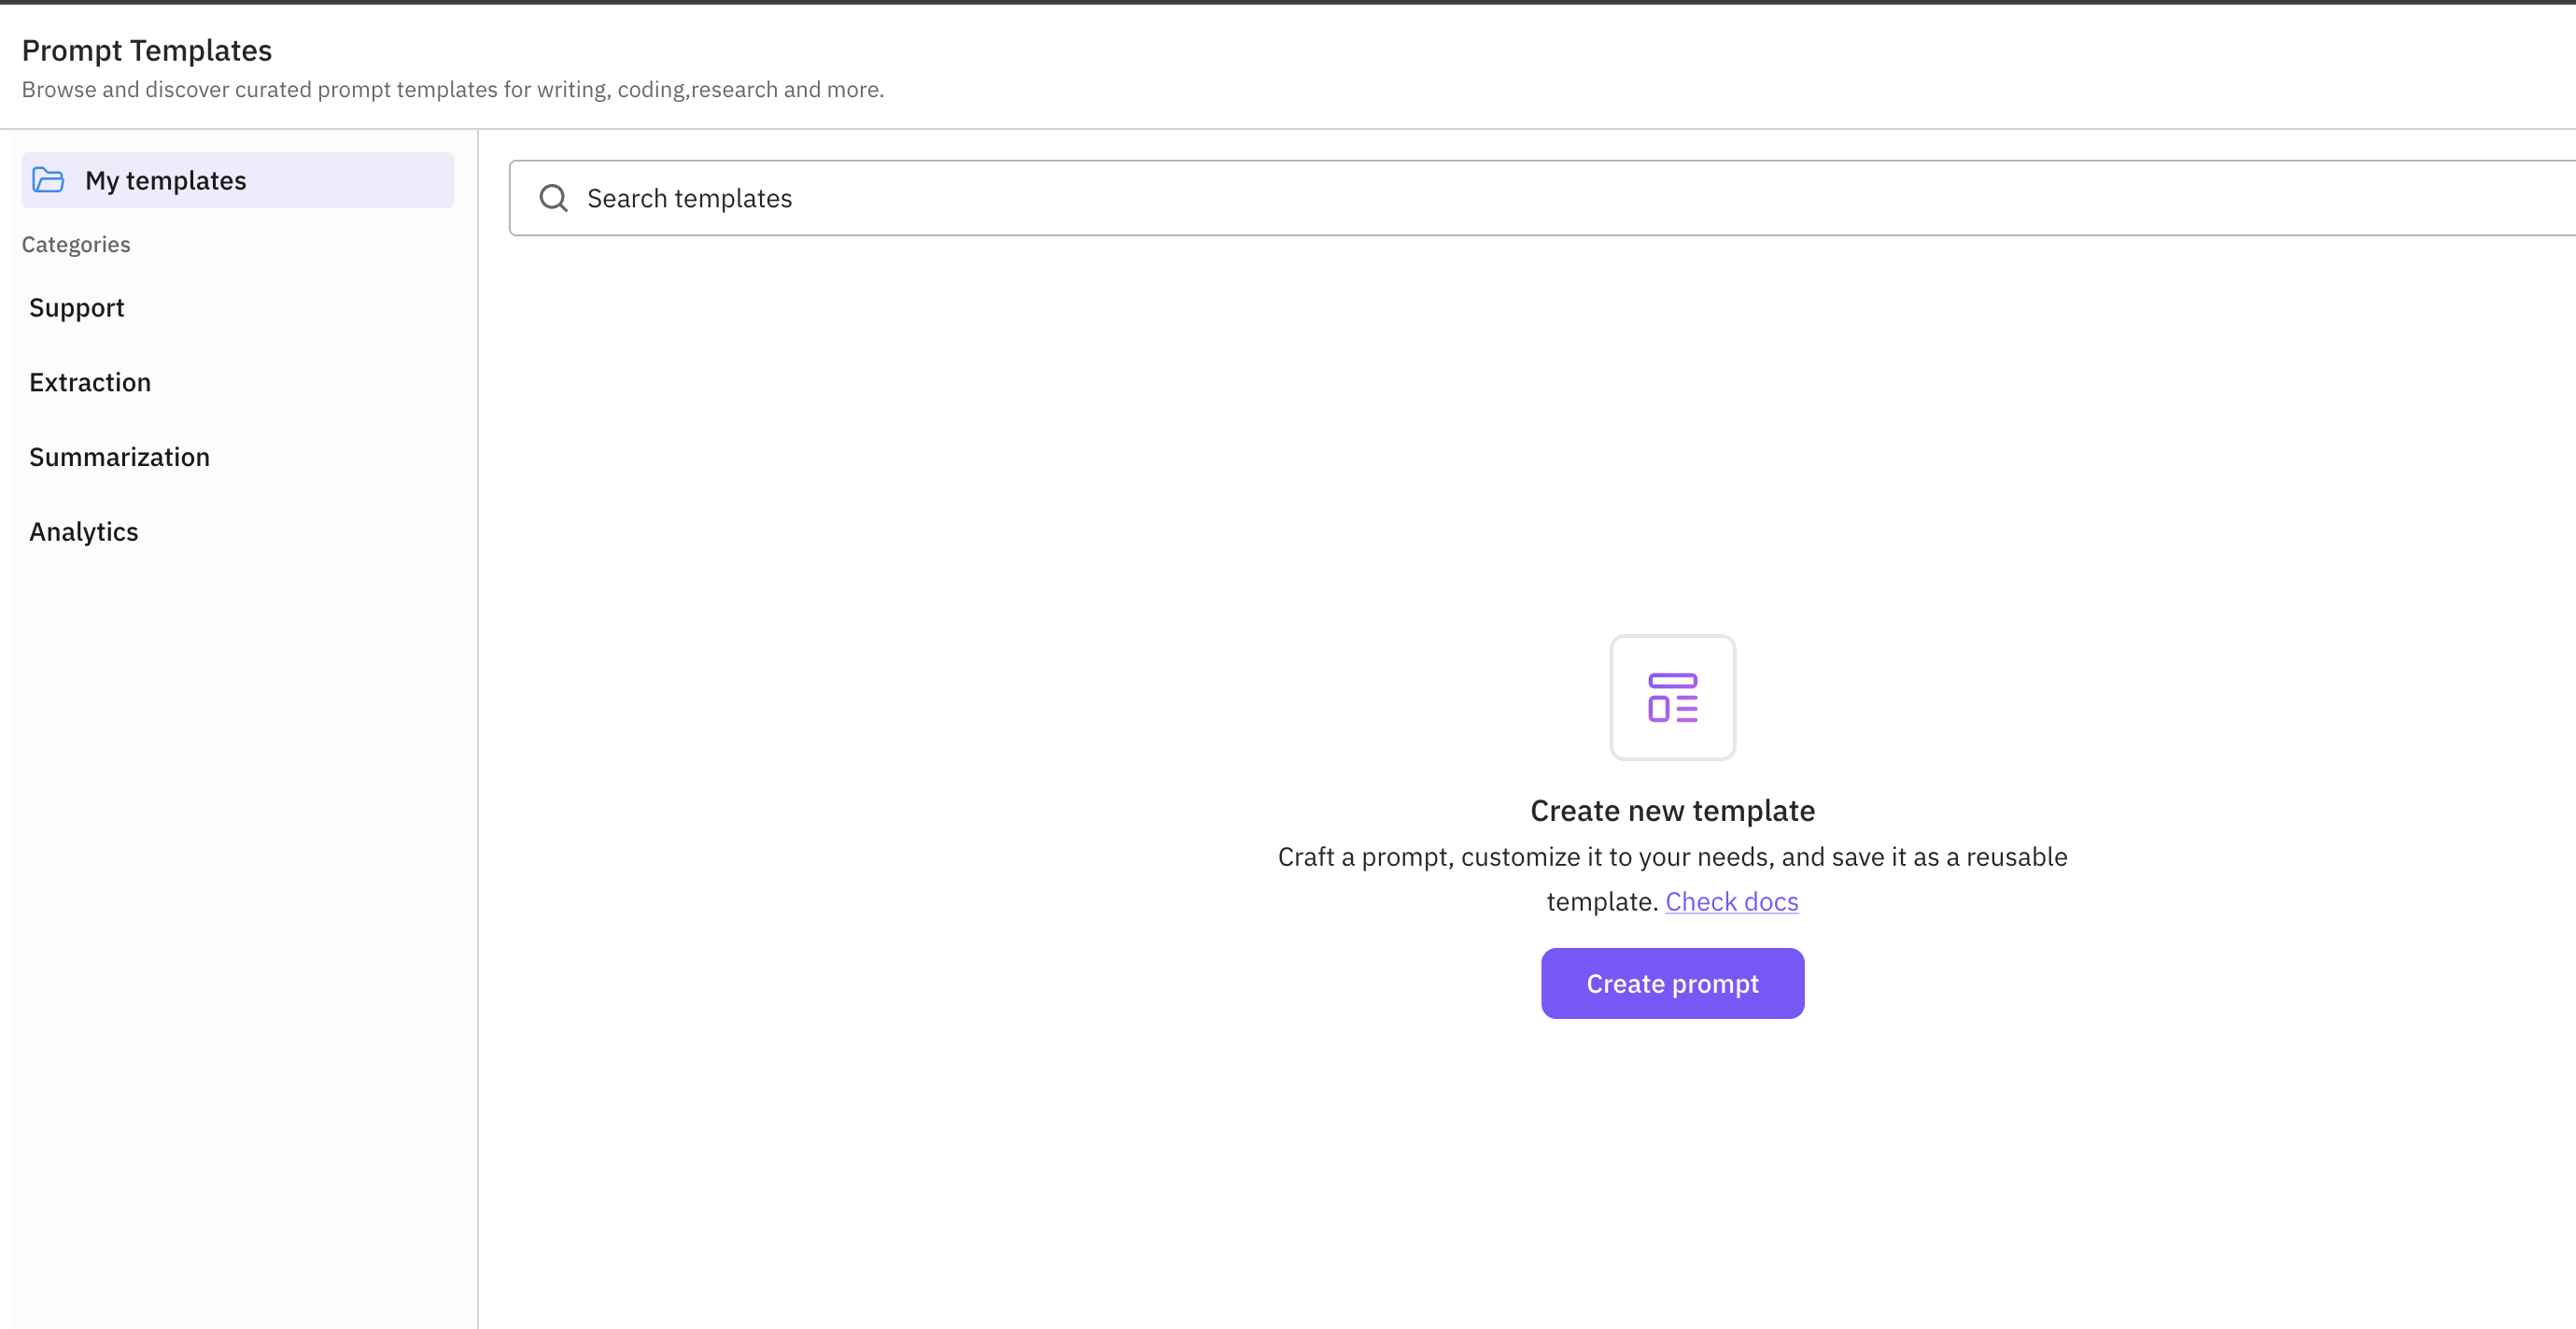
The template browser will open, showing different categories of templates on the left sidebar and available templates on the right.
- Browse templates by category using the sidebar navigation
- Search for specific templates using the search bar at the top
- Click on a template card to view more details about it
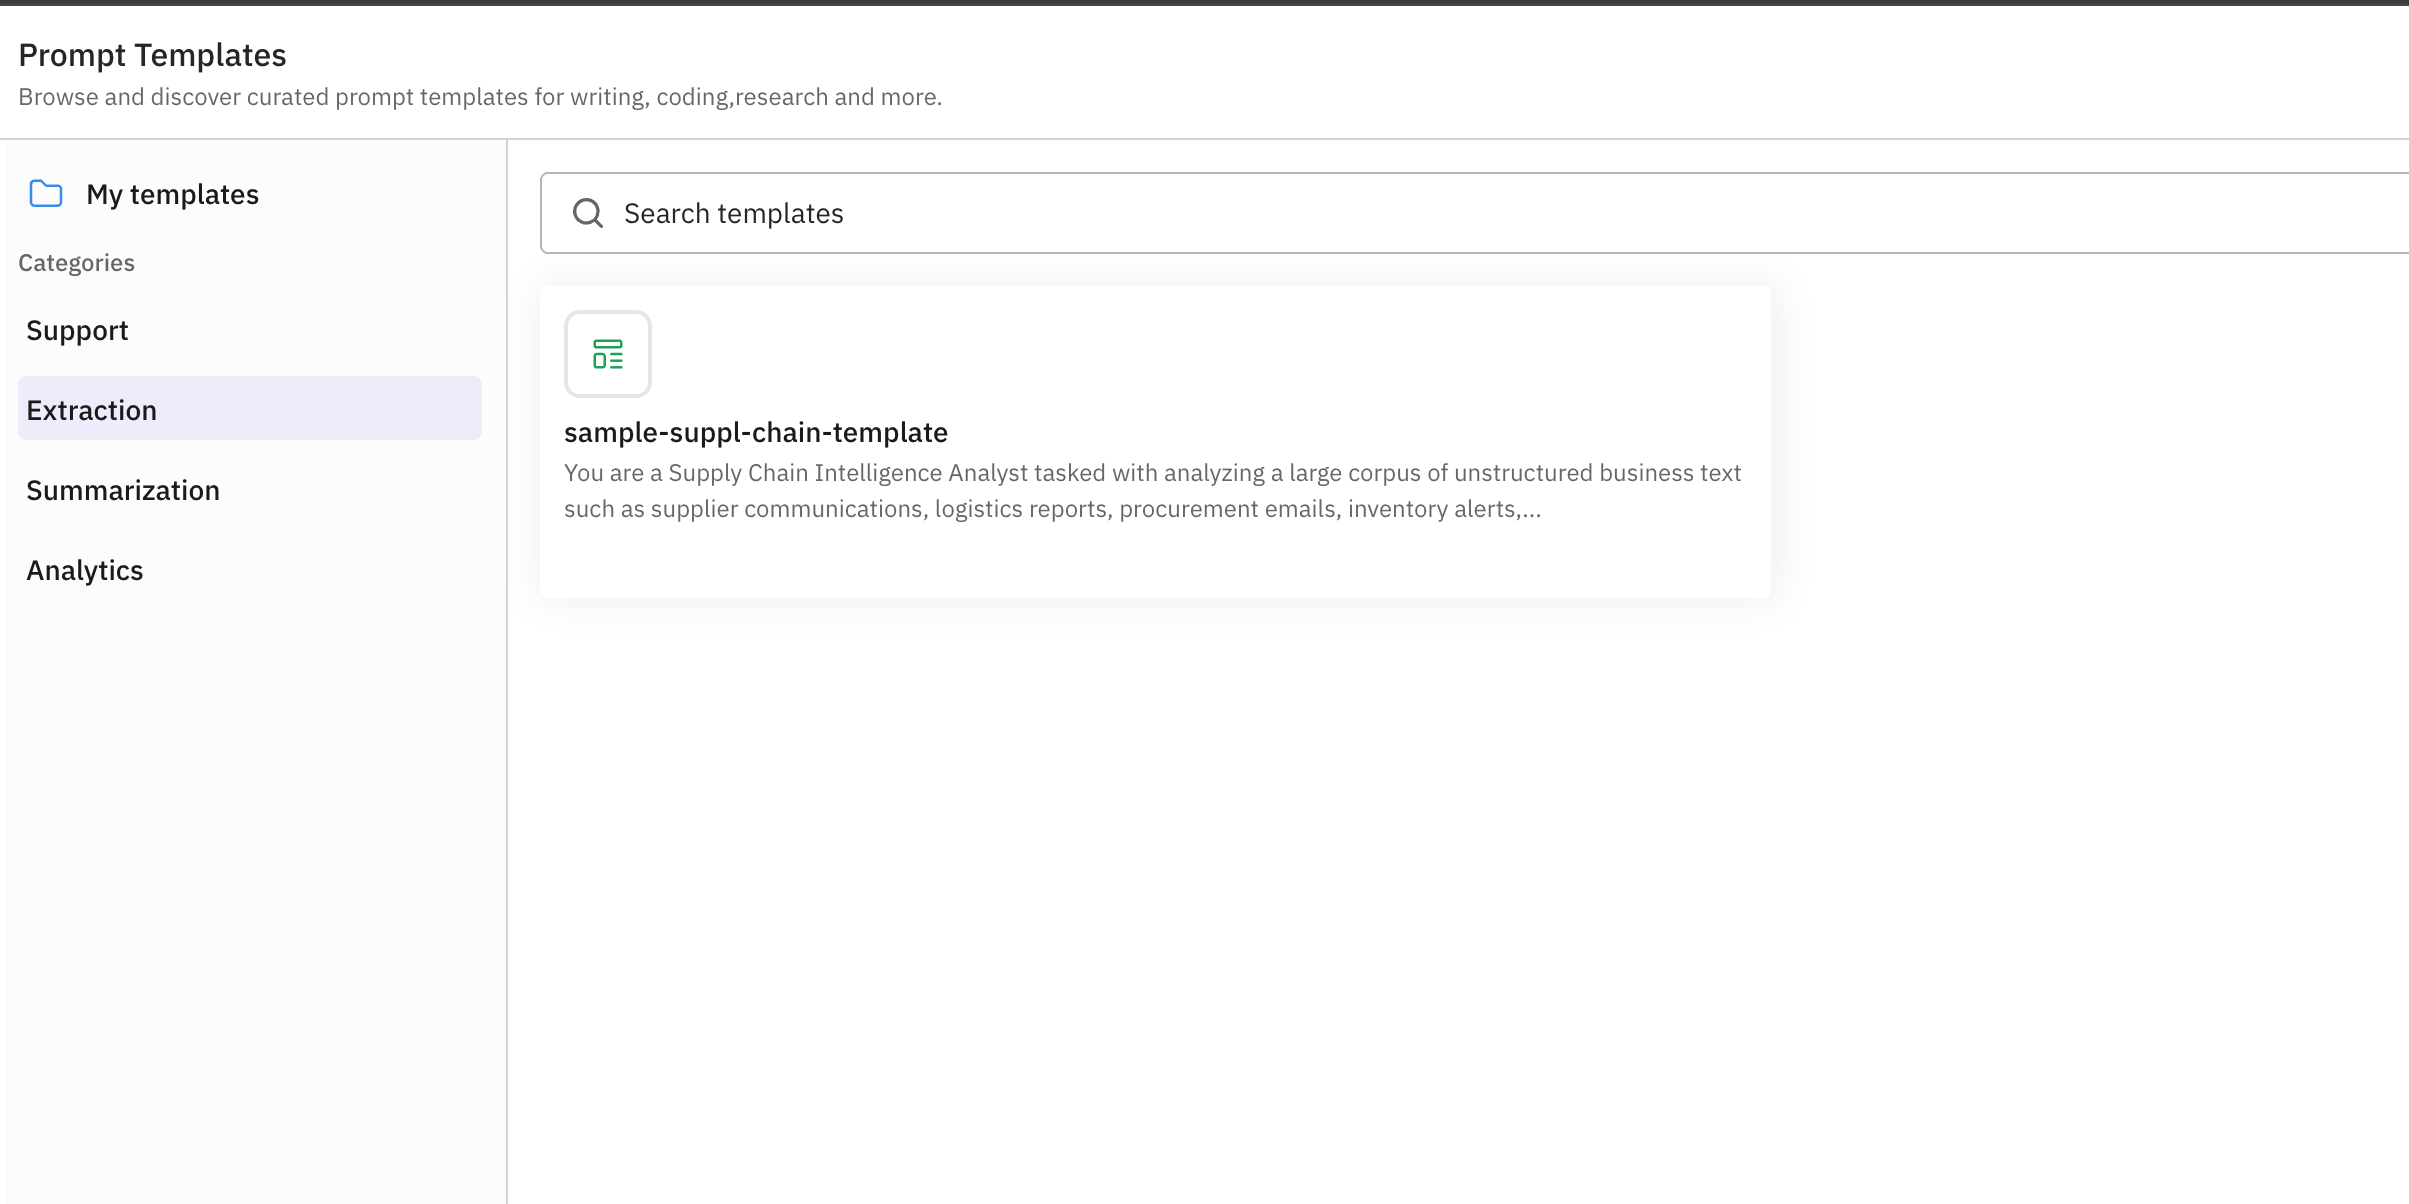
When you find a template that matches your needs, review its description and purpose. Templates are pre-configured prompts designed for specific use cases like summarization, analytics, support, and more.
Use the Selected Template
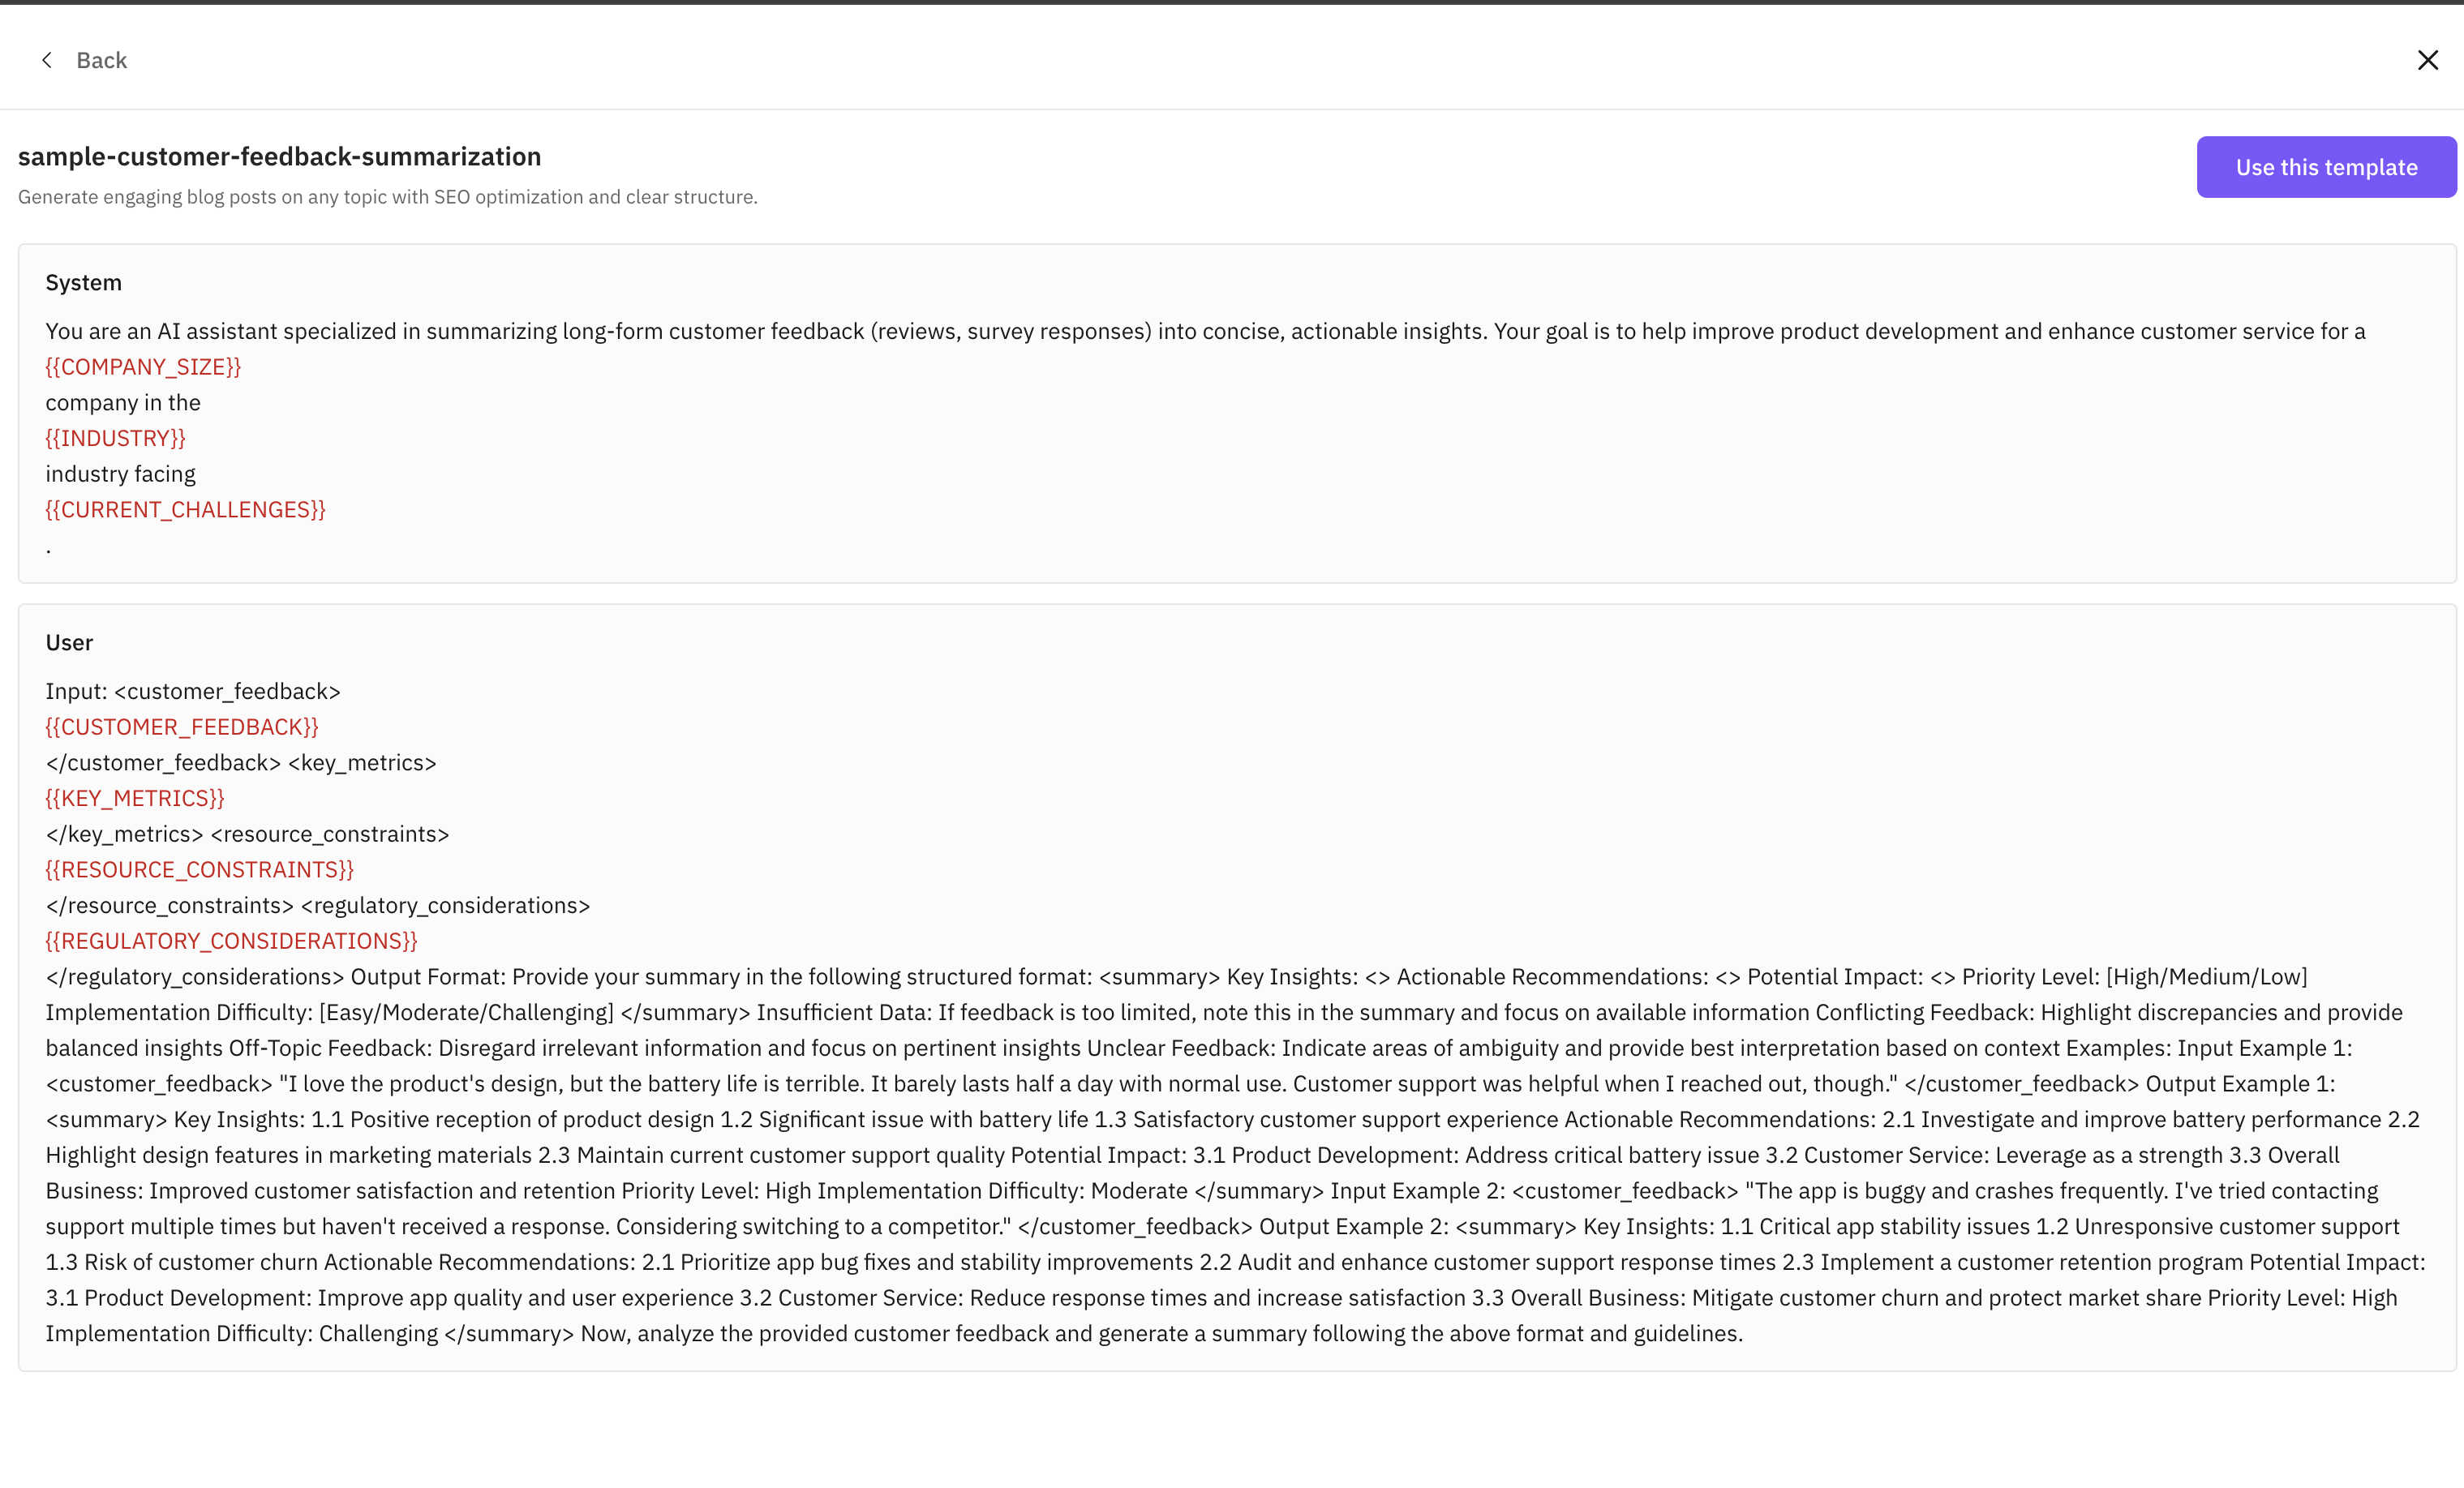
After selecting a template, click the “Use this template” button in the top-right corner to create your prompt based on the template.
The prompt editor will open with pre-filled content from the selected template. The system and user message fields will contain expert-crafted prompts that you can use as-is or modify.
Customize the Template
Templates often include variables in {{BRACKETS}} or other formatting that you should replace with your specific information:
- Review the system prompt and update any placeholders with your specific context
- Modify the user message as needed for your particular use case
- Adjust model parameters if necessary (temperature, tokens, etc.)
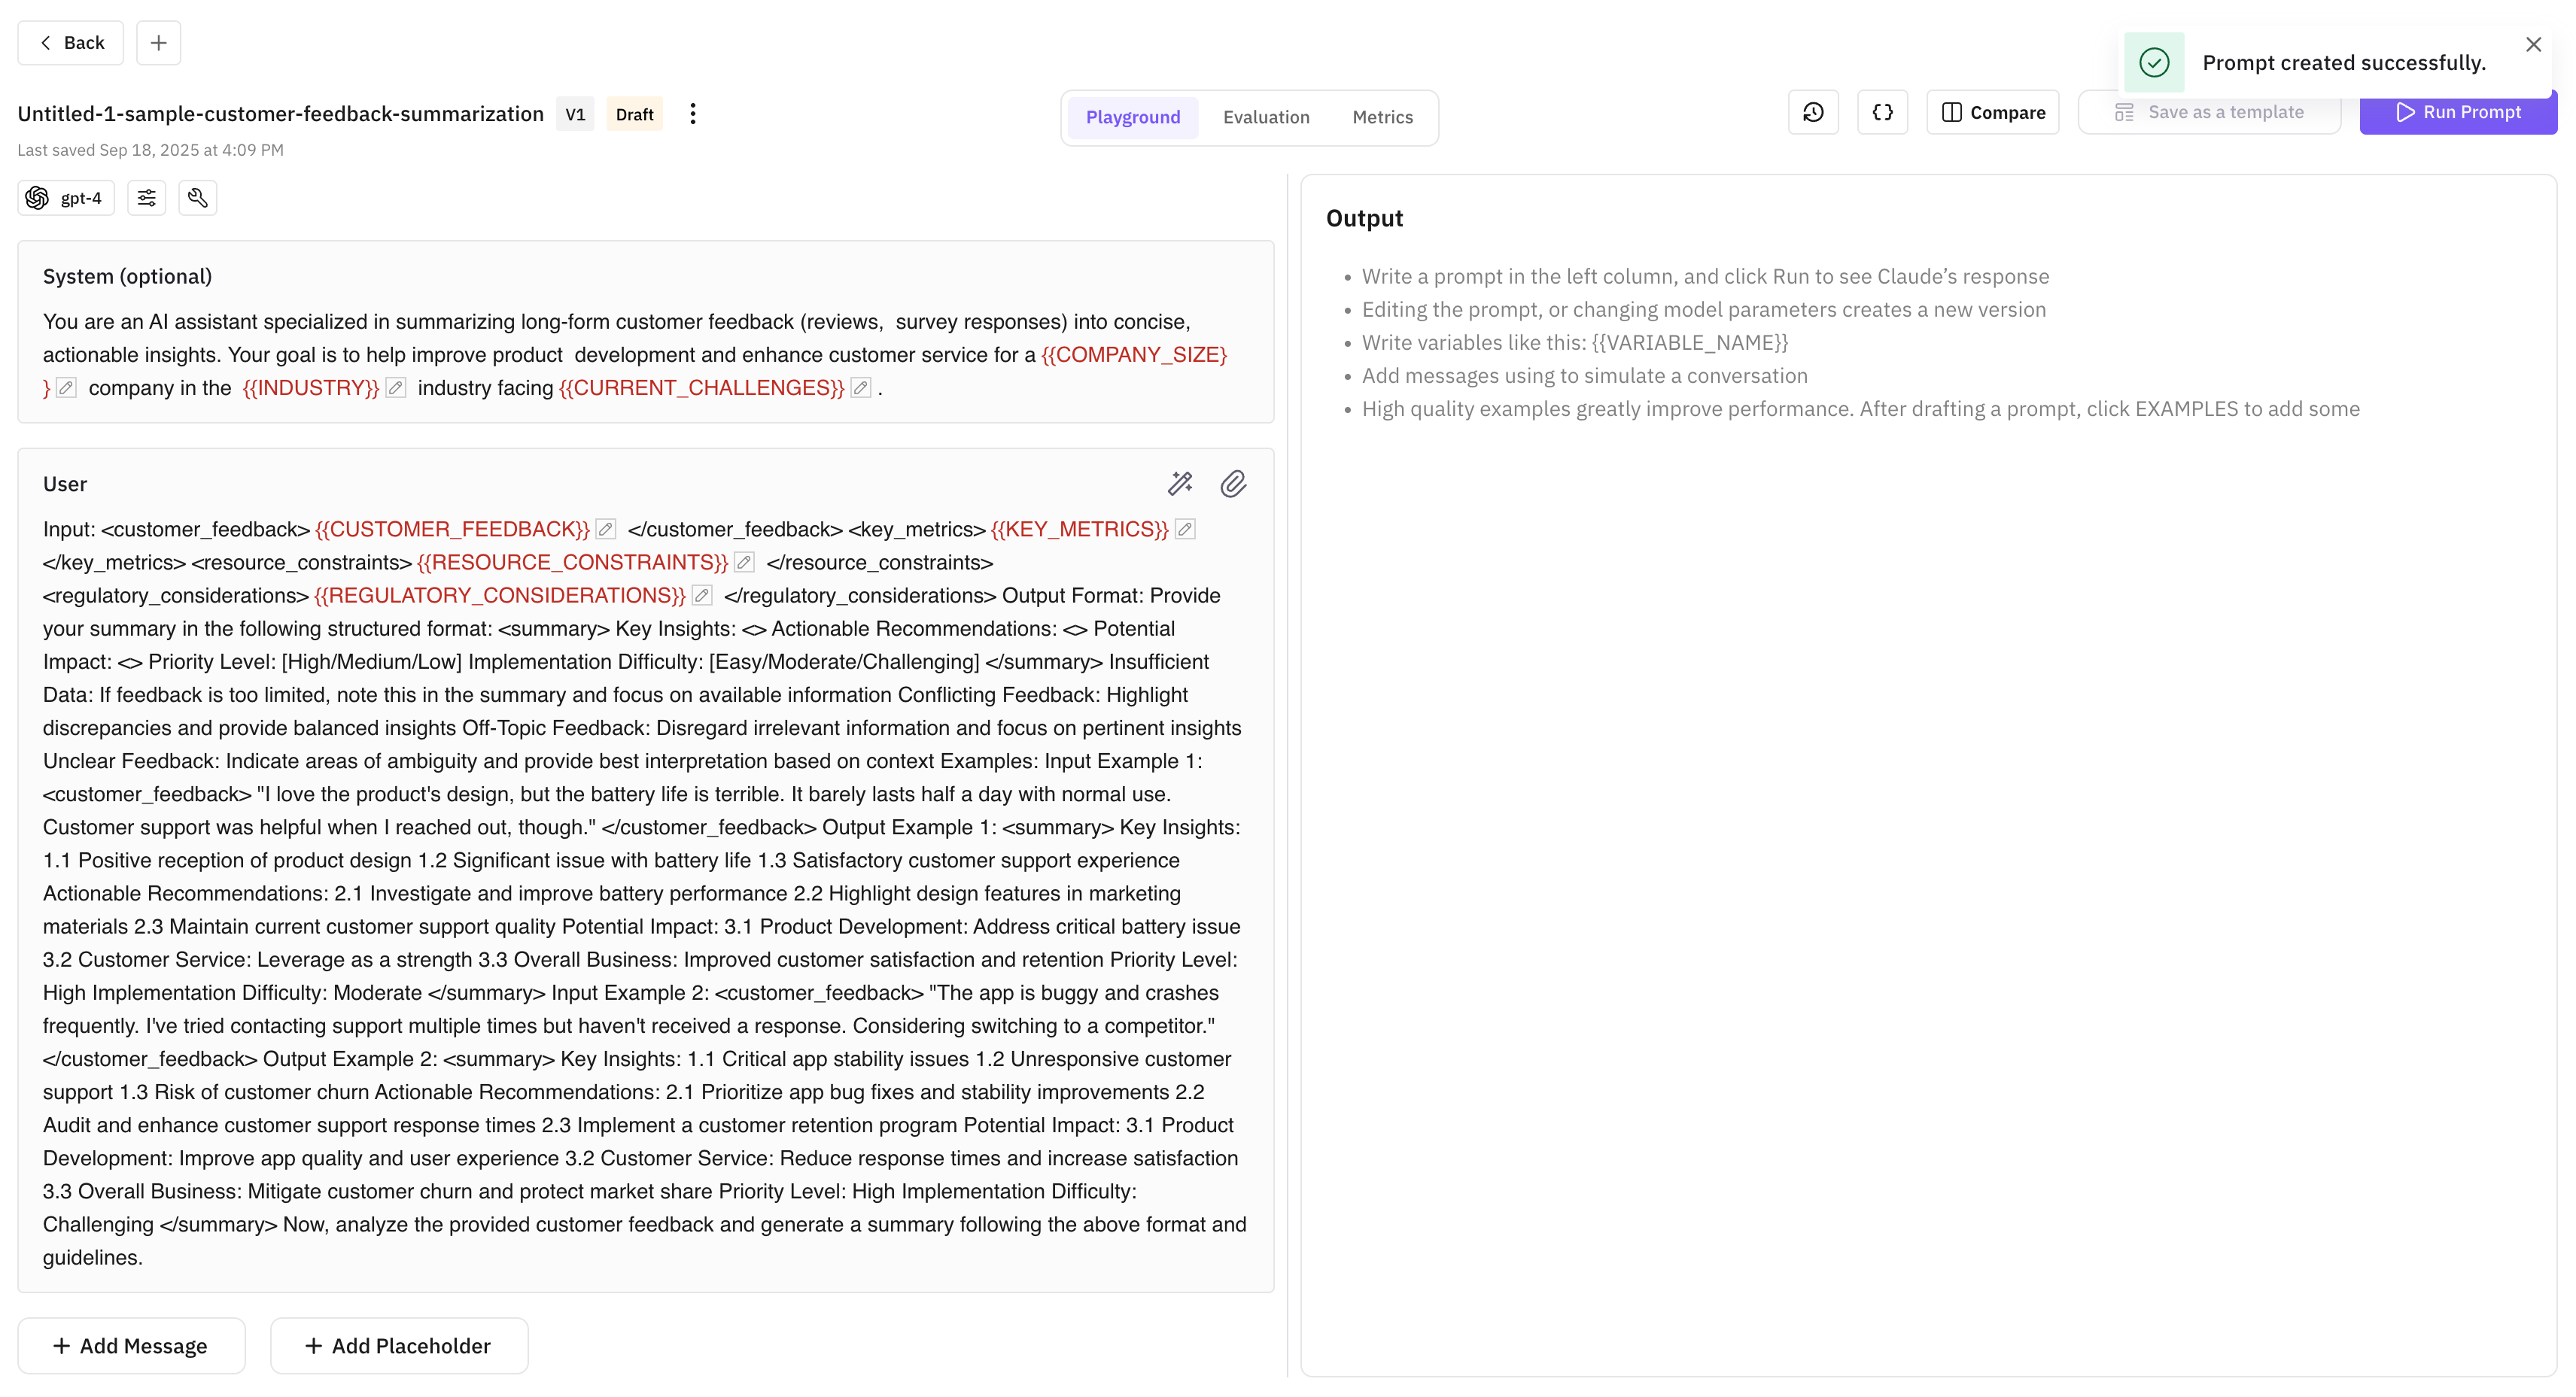
Many templates include helpful comments explaining how to use them effectively. Pay attention to these instructions to get the best results.
Run and Test Your Prompt
Once you’ve customized the template to your needs, click the “Run Prompt” button in the top-right corner to execute it and see the AI’s response.
Review the output to ensure it meets your requirements. You may need to iterate on your customizations to get the exact results you’re looking for.
Optional next steps
After running your prompt, you can:
- Save your customized version as a new template: Save it for future use so you or your team can start from this version.
- Make further refinements: Tweak the prompt or model parameters based on the responses you receive, then run again.
- Explore other templates: Try different templates to discover effective prompt patterns for other use cases.
Next Steps
Create a Prompt from Scratch
Build a prompt manually with full control over structure and parameters.
Create with AI
Generate a prompt from a plain-language description.
Link Prompts to Traces
Connect prompts to traces to monitor performance in production.
Prompt SDK
Fetch and use prompts programmatically from your application.
Questions & Discussion