Build a workflow
Add nodes to the canvas, wire them up, and save the graph
This guide picks up once you’ve created an agent and opened it, on an empty canvas. As the running example, say you’re building Invoice Triage, a workflow that needs to read each invoice and decide where it goes: an LLM Prompt node to classify the invoice, feeding an Agent Node that routes it to the right approver. Getting that shape onto the canvas, wiring the two nodes together, and saving the result is what this guide walks through.
Note
What you type into either node’s own settings isn’t covered here; see Configure an LLM Prompt node and Configure an Agent node.
Tour the builder
Open an agent and you land on the Agent Builder tab, one of three tabs across the top alongside Changelog and Executions. Agent Builder holds the canvas itself; the other two sit outside what this guide covers.
The builder splits into three regions. The node palette sits on the left, listing the node types you can place. The canvas fills the middle and holds the graph as you build it, the nodes and the connections between them. The node drawer opens on the right once you select a node, carrying that node’s own settings.
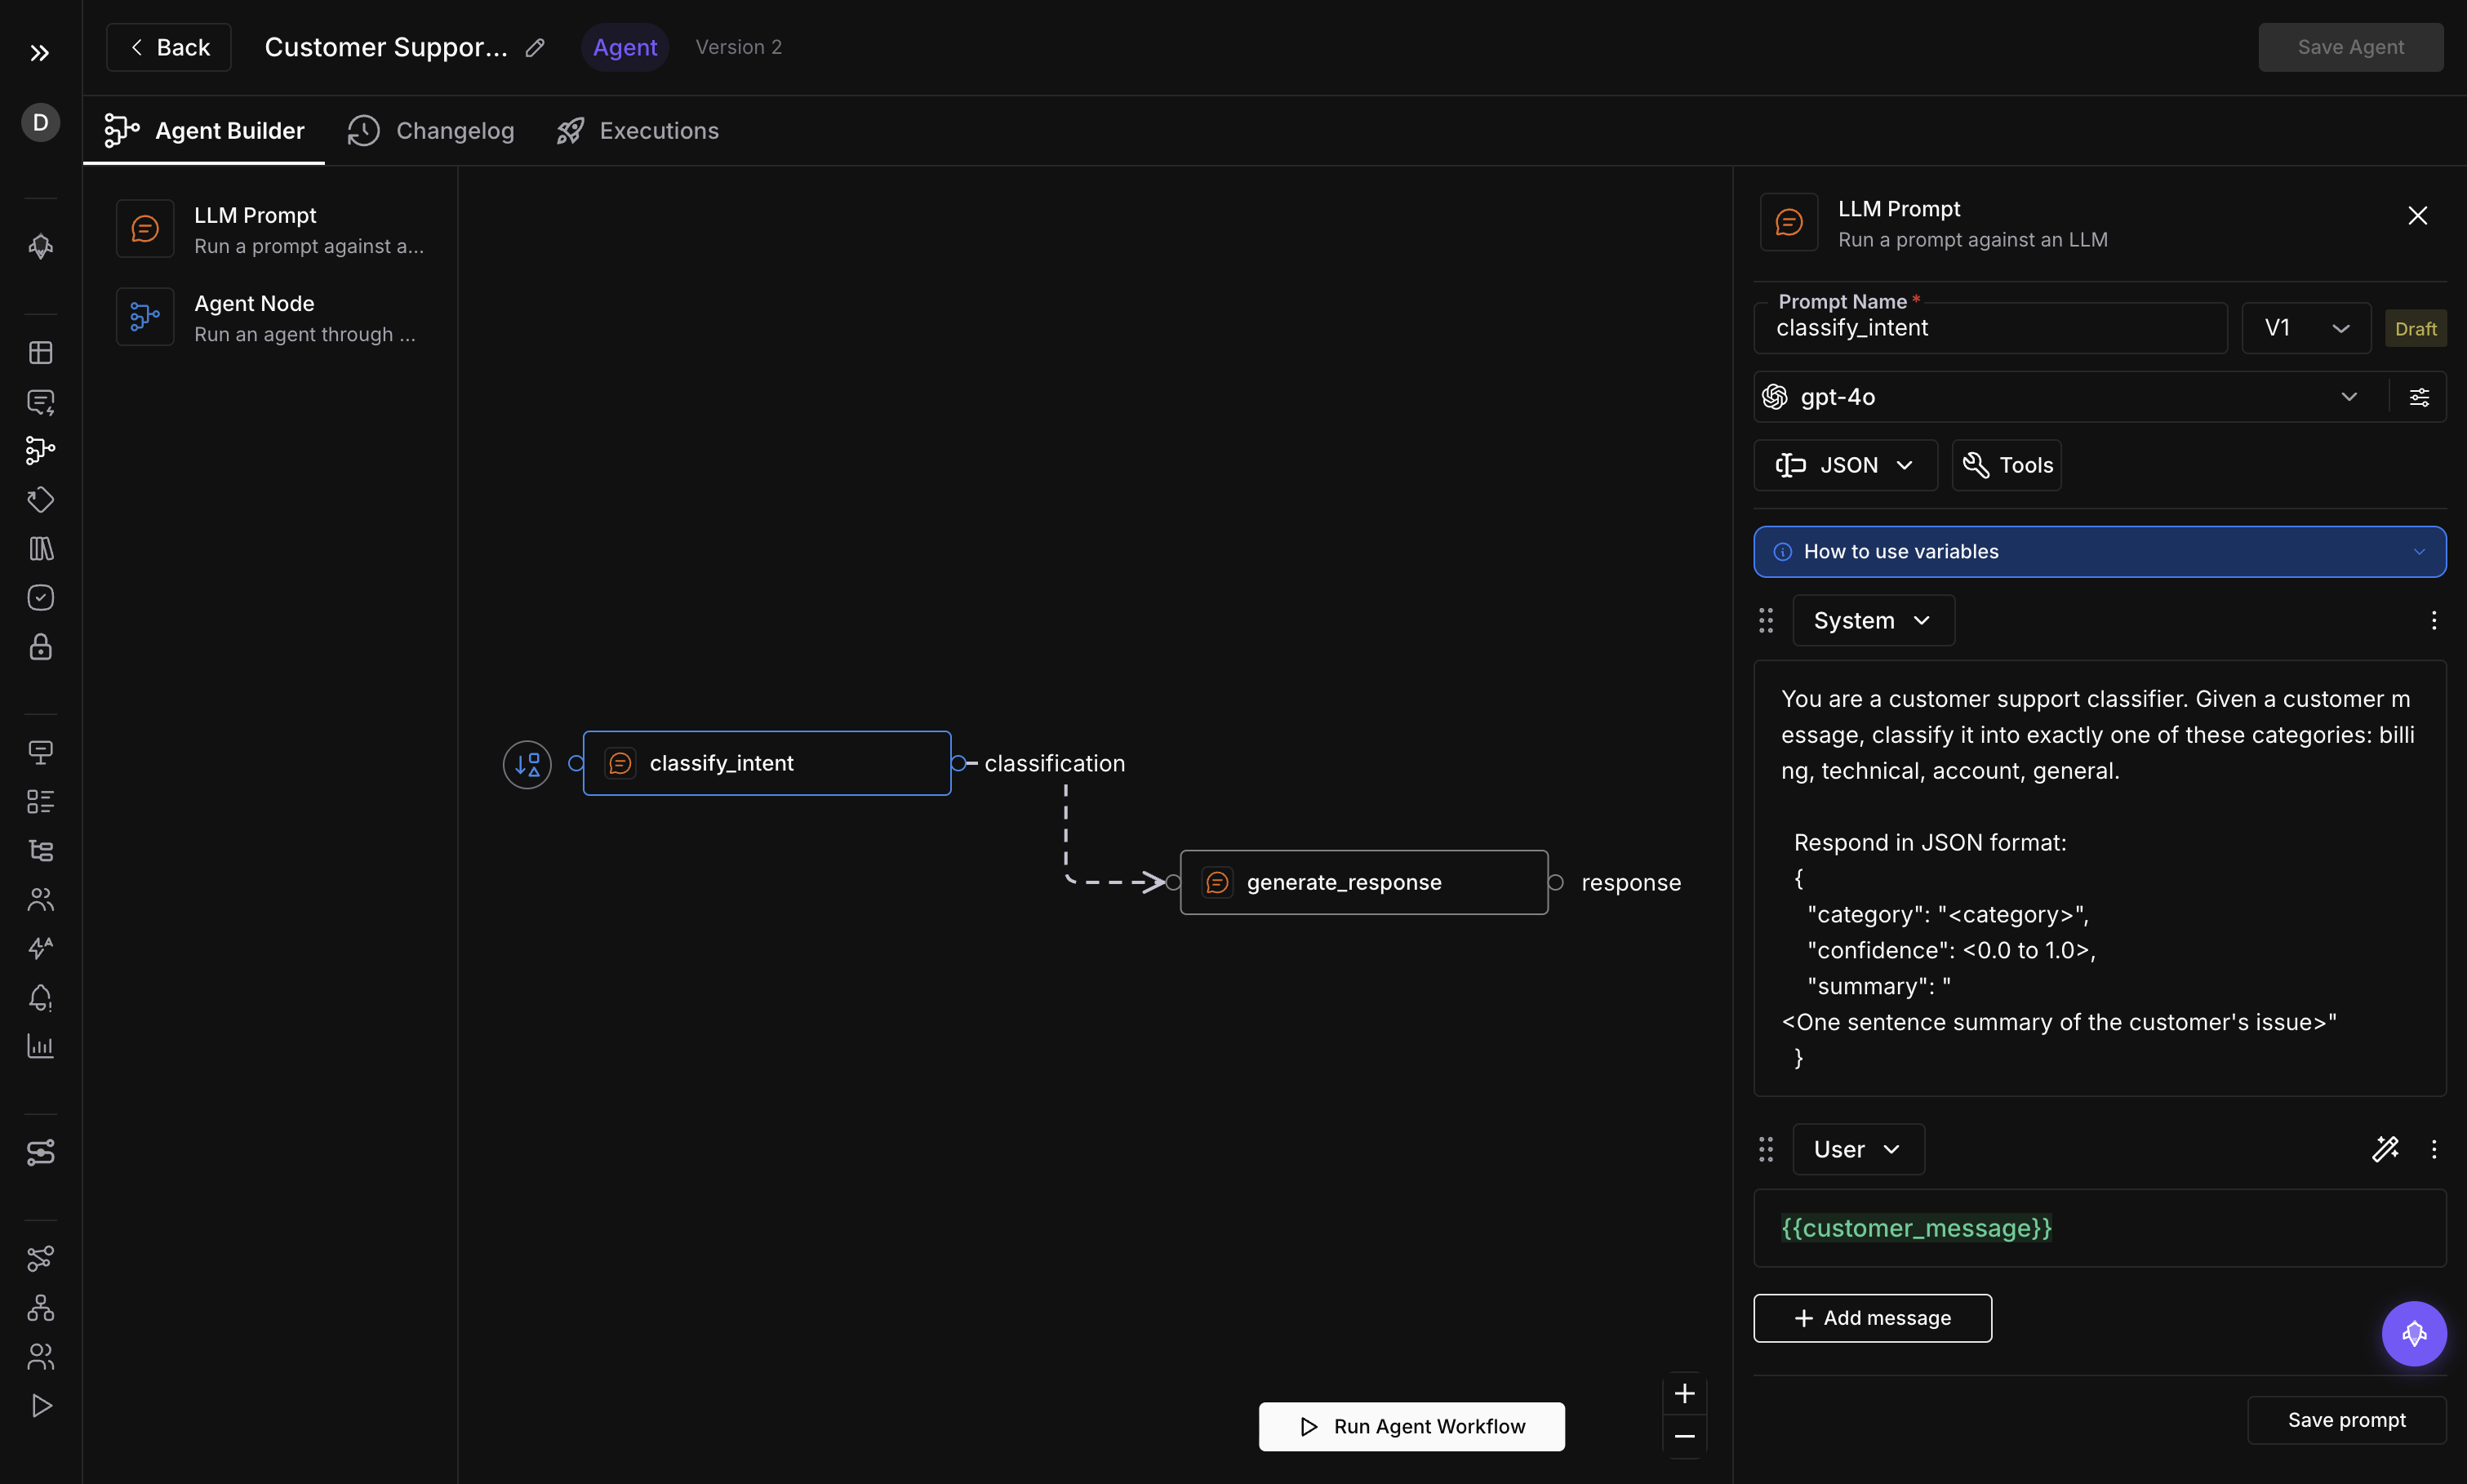
Agent Builder, Changelog, and Executions sit across the top; palette, canvas, and drawer make up the three regions underneath
Add a node to the canvas
The node palette lists the node types you can add, among them LLM Prompt, described as “Run a prompt against an LLM”, and Agent Node, described as “Run an agent through LLM”. Get either one onto the canvas by clicking its card, which drops the node straight onto the canvas, or by dragging the card and releasing it wherever you want the node to land.
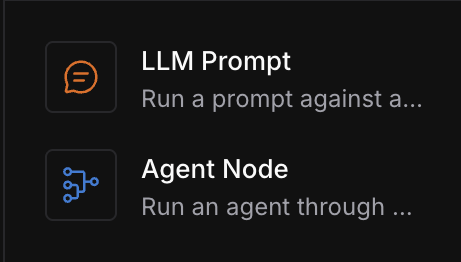
Click or drag either card onto the canvas
Reach for an LLM Prompt node for a single, focused call to an LLM, the way Invoice Triage uses one to classify an invoice. Reach for an Agent Node when the step needs to run an agent, the way Invoice Triage uses one to route the invoice to the right approver.
There’s a third way to add a node, once you already have one down: a node with no outgoing connection carries a + button to its right. Click it and the same node picker opens, so the new node lands already connected to the one before it.
Connect nodes
A single configured node already runs on its own; wiring is how one node’s output becomes the next node’s input. Every node has an output handle and an input handle; drag from one node’s output handle to the next node’s input handle, and the builder draws the connection between them. On Invoice Triage, that means dragging from the classifier’s output to the router’s input.
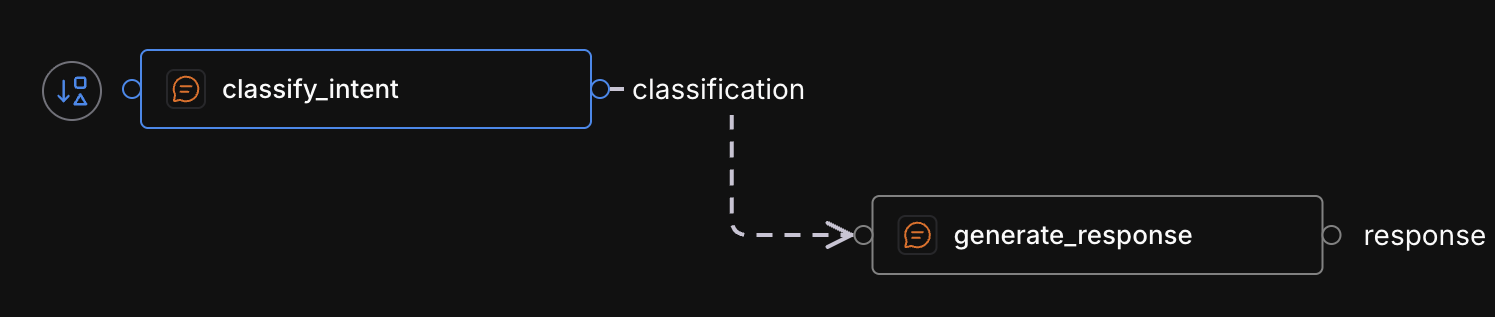
Output and input handles sit on the edge of each node; drag from the classifier’s output to the router’s input to connect them
Connections follow a few rules:
- One output can feed as many inputs as you connect it to, so a single node’s result can branch into several downstream nodes at once
- One input takes only one source
- A connection that loops back into a node’s own upstream path draws fine but won’t save
Invoice Triage’s LLM Prompt node still needs the invoice text itself to classify, and that value comes from outside any node, as an input variable.
Delete a node
A node can go from two places: a delete icon sits right on the node itself on the canvas, and the node drawer offers the same action for whichever node you have open. The canvas icon removes the node immediately, with no confirmation. The drawer’s delete icon opens a dialog titled Delete Node that asks “Are you sure you want to delete this node? This action cannot be undone.” Click Delete to confirm, or close the dialog to keep the node. If the deletion doesn’t go through, a “Failed to delete node” toast tells you.
Save Agent
Click Save Agent once the graph looks right. If the graph contains a cycle or a node is left unconfigured, Save Agent toasts the error instead of opening anything. Once the graph passes that check, the dialog opens, carrying a Version field you can’t edit, a Commit Message box for a note about the change, and a single action button. That button reads Save, or Save & Run if you reached the dialog by clicking Run Agent Workflow on an unsaved draft, in which case it also runs the agent after saving, the same run covered in Run an agent.
The dialog closes and the graph is saved as a new version; find it later, commit message and all, in the Changelog tab.
Save Agent itself stays disabled until you have permission to edit the agent, the agent is on a draft, you’re on the Agent Builder tab, no run is already in progress, and the canvas has finished loading. Hover a disabled button to see why; without edit permission, the tooltip reads “You don’t have permission to edit this agent.”
With that saved, Invoice Triage has its shape: an LLM Prompt node feeding an Agent Node, connected and versioned. Configuring what each node actually does comes next.
Dive deeper
Questions & Discussion