Adding Static and Dynamic Columns to a Dataset
Add static columns for fixed values or dynamic columns whose values are computed from other columns or external operations.
About
Adding a column extends your dataset with a new field. Columns can be of two kinds:
- Static columns: Store fixed values (text, numbers, boolean, array, JSON) that you enter or paste. They do not require computation; you edit cells manually.
- Dynamic columns: Values are computed or fetched when you need them (e.g. from an LLM prompt, vector DB, API, custom code, or from existing columns). You configure the type, test, then create; the system fills the column row by row.
Both are added via + Add Columns in your dataset.
When to use
- Store reference data: Keep fixed labels, scores, or expected outputs alongside generated responses for use in evals.
- Generate model responses: Run a prompt on each row and store the output in a new column, ready for evaluation or comparison.
- Add retrieved context: Fetch relevant chunks from a vector database per row for RAG evaluation or prompt injection.
- Classify by category: Assign topic, sentiment, or intent labels to each row using a model and your predefined categories.
- Extract from free text: Pull specific entities or values from an unstructured column into a clean, structured column.
How to
Open your dataset and click + Add Columns. Choose Static for fixed values or Dynamic for computed columns; under Dynamic, pick the method you need.
Open Add Columns
In your dataset, go to the Data tab and click + Add Columns. The Add Columns panel opens.

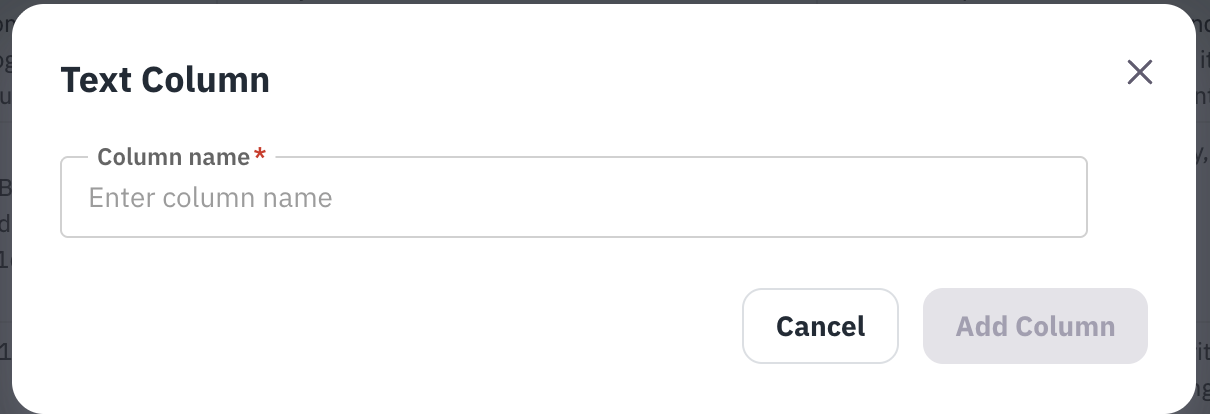
Select Static Column type
Under Static Columns, choose the data type: Text, Float, Integer, Boolean, Array, or JSON.
Configure and create
Enter a Column Name and ensure Data Type matches your choice. Click Create New Column to add it. You can then fill or edit cells manually.
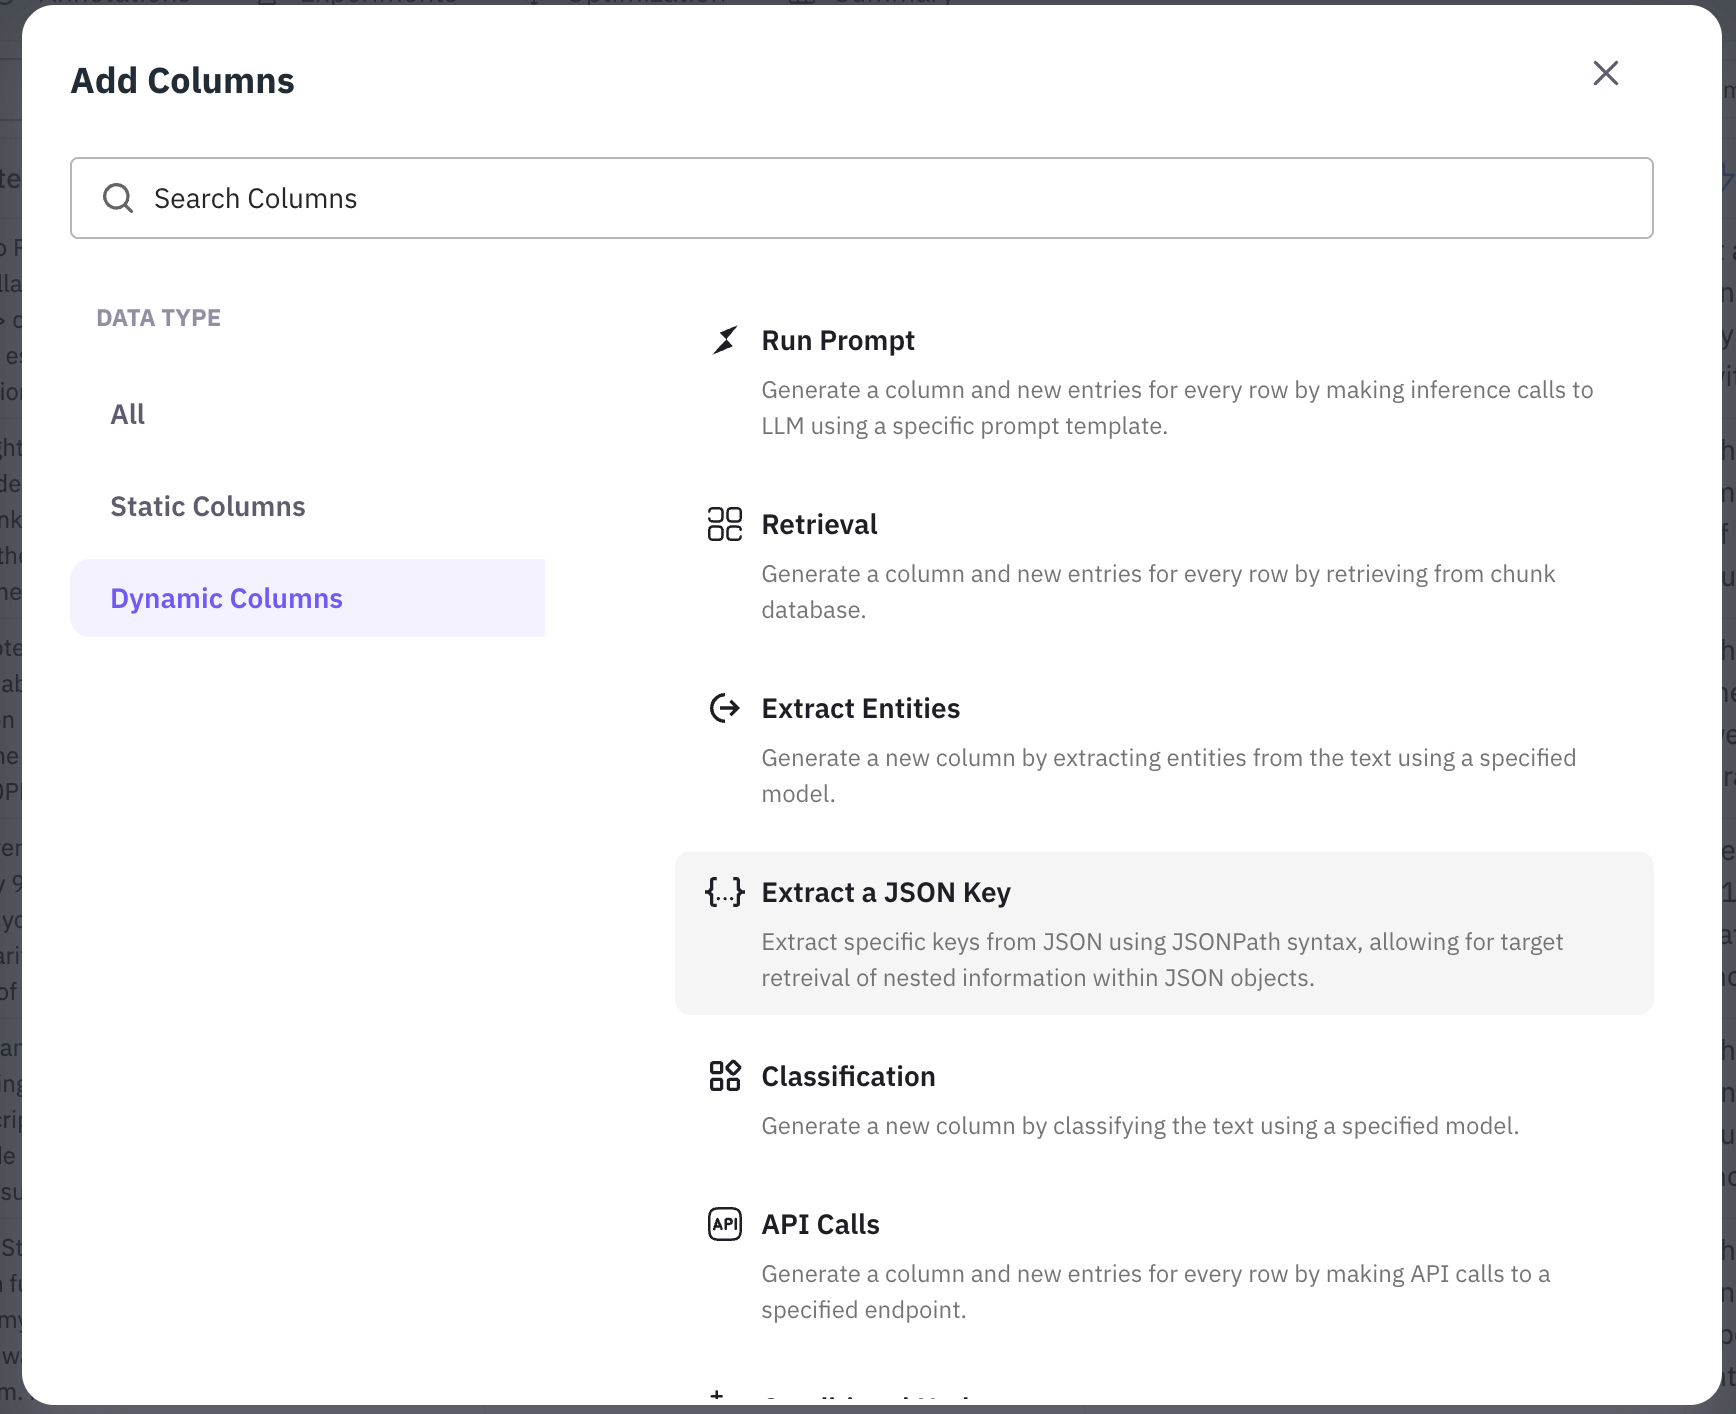
Choose a dynamic column type below. Configure it, use Test to preview, then Create New Column.
Open Add Columns and choose Run Prompt
In your dataset, click + Add Columns. Under Dynamic Columns, select Run Prompt.
Name the column and build the prompt
Give the column a name. Build the prompt with messages; use placeholders like {{column_name}} to pull values from other columns.
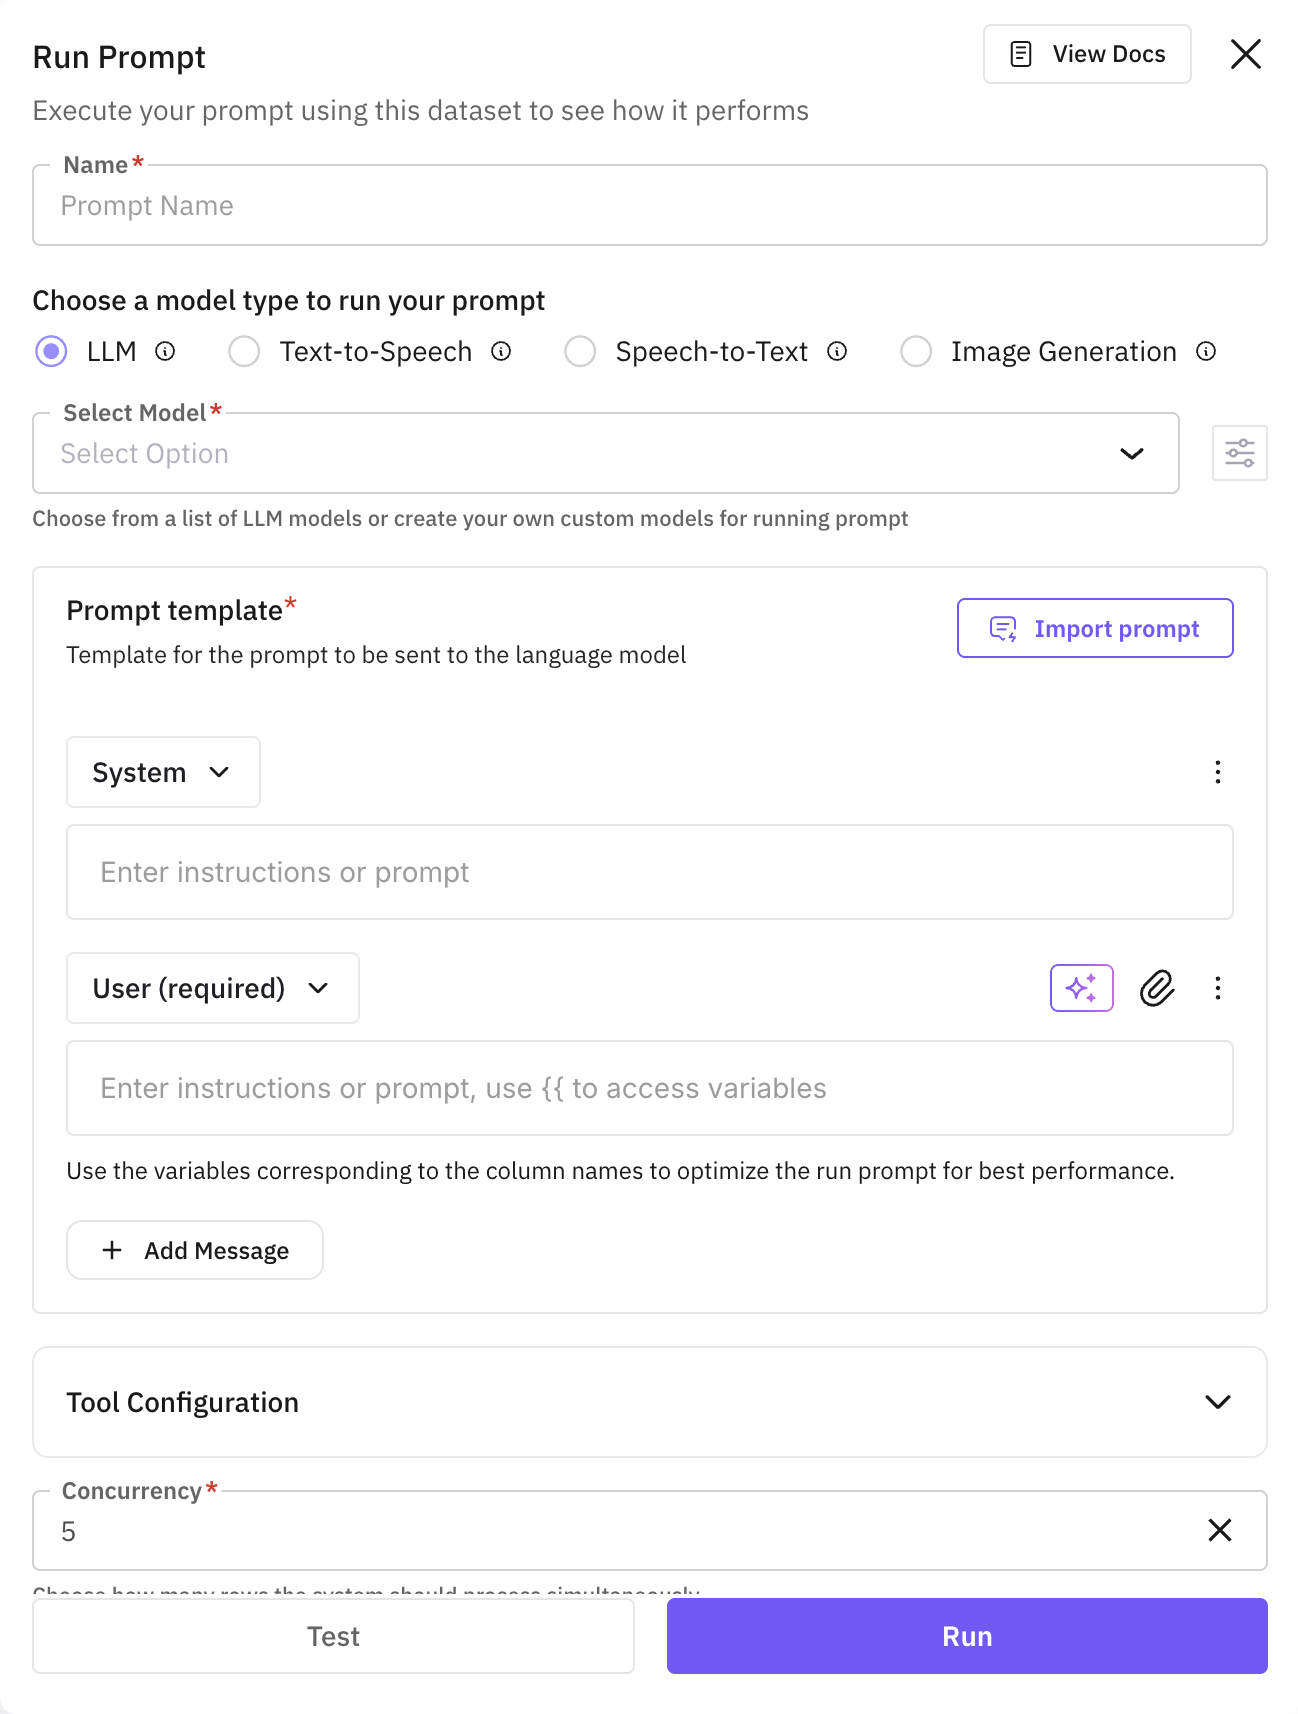
Choose model type and model
Select model type (LLM, Text-to-Speech, Speech-to-Text, or Image) and the model. Optionally configure parameters and tools.
Set concurrency and test
Set concurrency, then click Test to preview outputs. Click Create New Column to add the column.
Tip
Run Prompt in Dataset has the full walkthrough.
Open Add Columns and choose Retrieval
In your dataset, click + Add Columns. Under Dynamic Columns, select Retrieval.
Name the column and choose provider
Name the column. Select the vector database: Pinecone, Qdrant, or Weaviate.
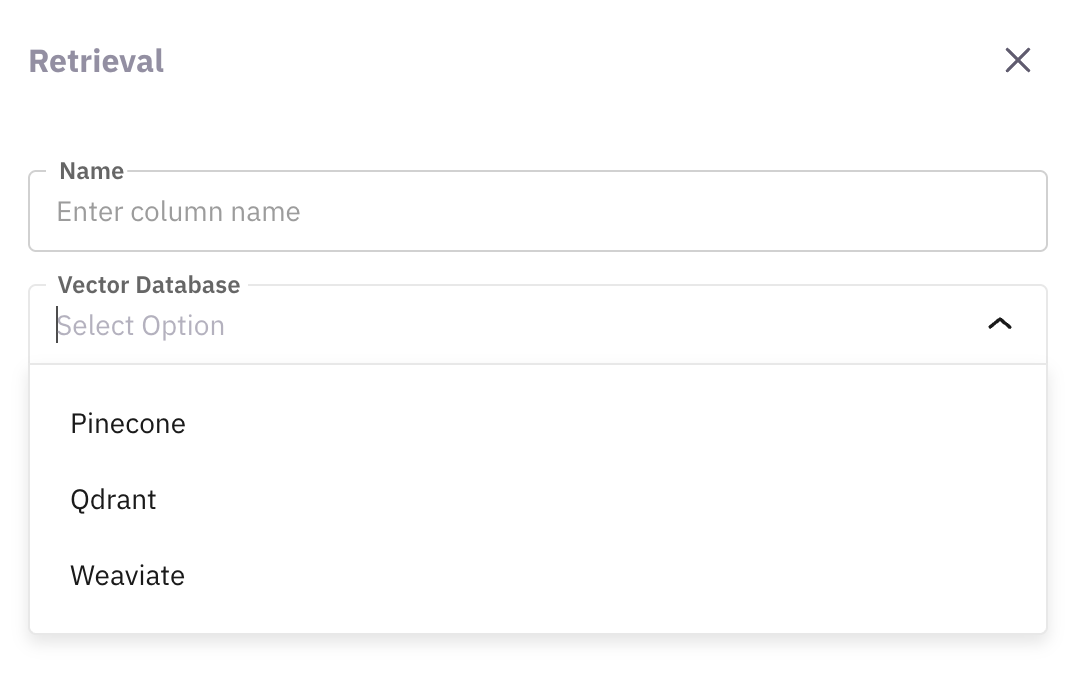
Configure database connection
Select the query column. Add API key/secret. Set Index Name, Namespace, Number of Chunks, and Query Key.
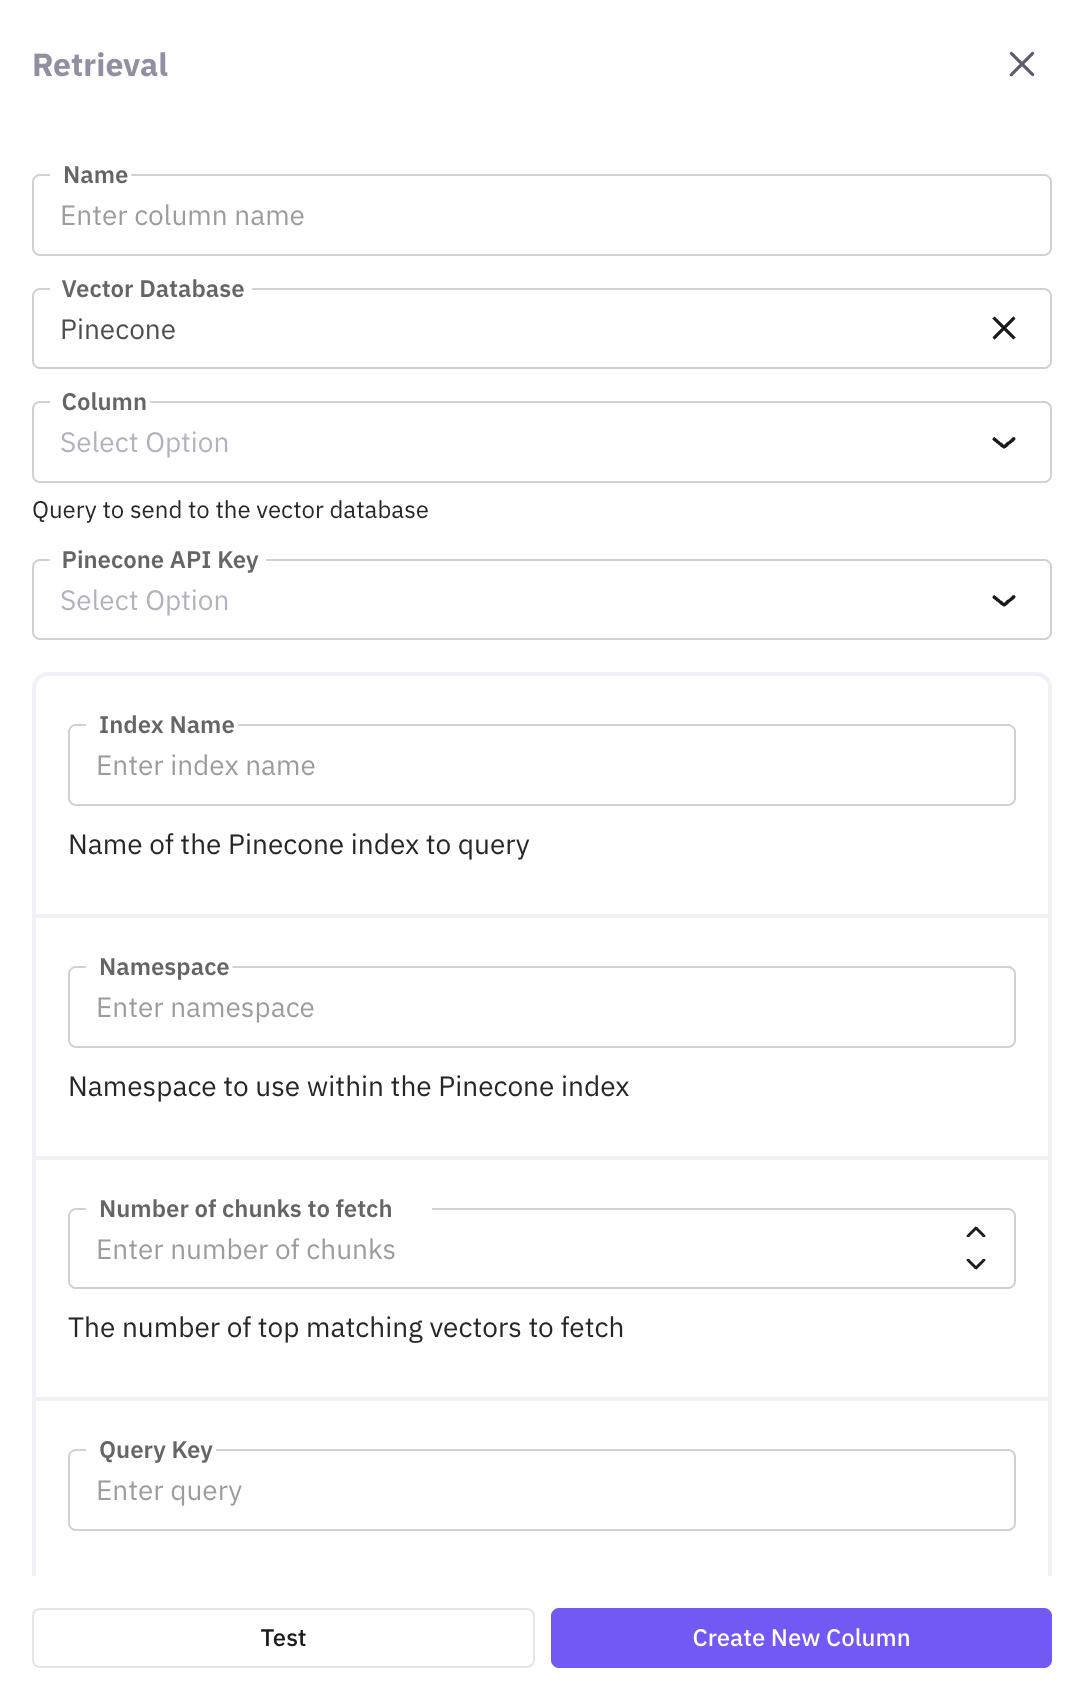
Configure embedding and concurrency
Set embedding type, model, key to extract, and vector length. Set concurrency, then Test and Create New Column.
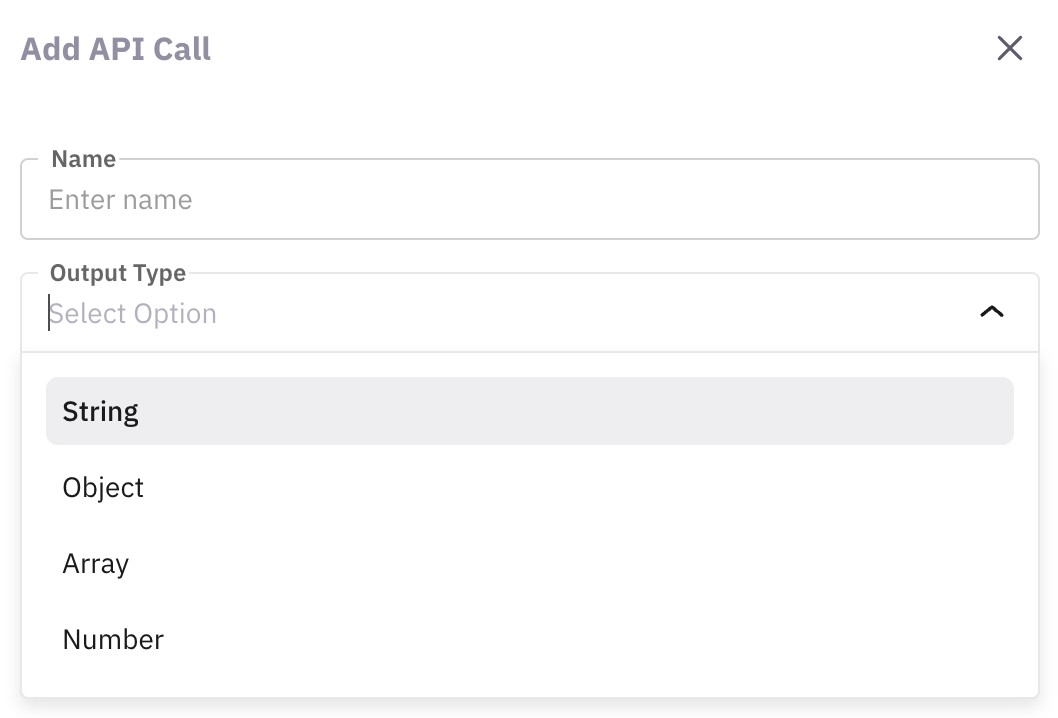
Open Add Columns and choose API Call
In your dataset, click + Add Columns. Under Dynamic Columns, select API Call.
Name the column and set output type
Name the column. Choose Output Type: string, object, array, or number.
Configure the API request
Enter API URL and Method (GET, POST, PUT, etc.). Add params, headers, and body; use {{column_name}} to reference column values.

Set concurrency and create column
Set concurrency. Click Test to verify, then Create New Column.
Open Add Columns and choose Extract JSON
In your dataset, click + Add Columns. Under Dynamic Columns, select Extract JSON Key.
Name the column and select source
Name the column. Select the dataset column of type JSON that contains the data.
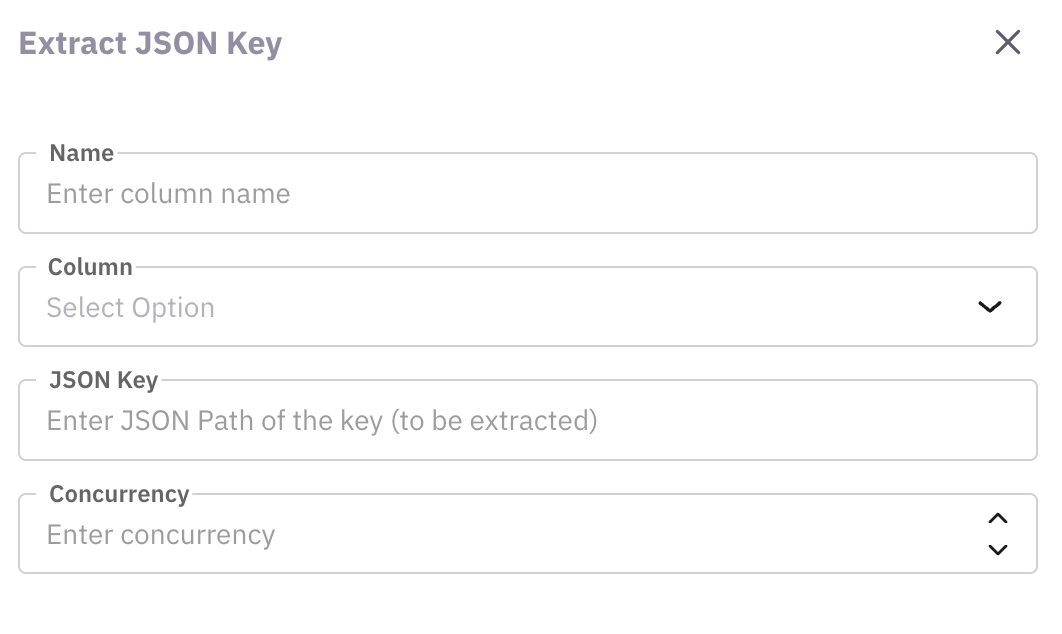
Enter JSON path and create column
Enter the JSON key (path) to extract (e.g. age for a JSON object like {"name": "John", "age": 30}). Set concurrency, Test, then Create New Column.
Open Add Columns and choose Extract Entities
In your dataset, click + Add Columns. Under Dynamic Columns, select Extract Entities.
Name the column and select source column
Name the column. Select the column to extract from and enter instructions for what to extract.
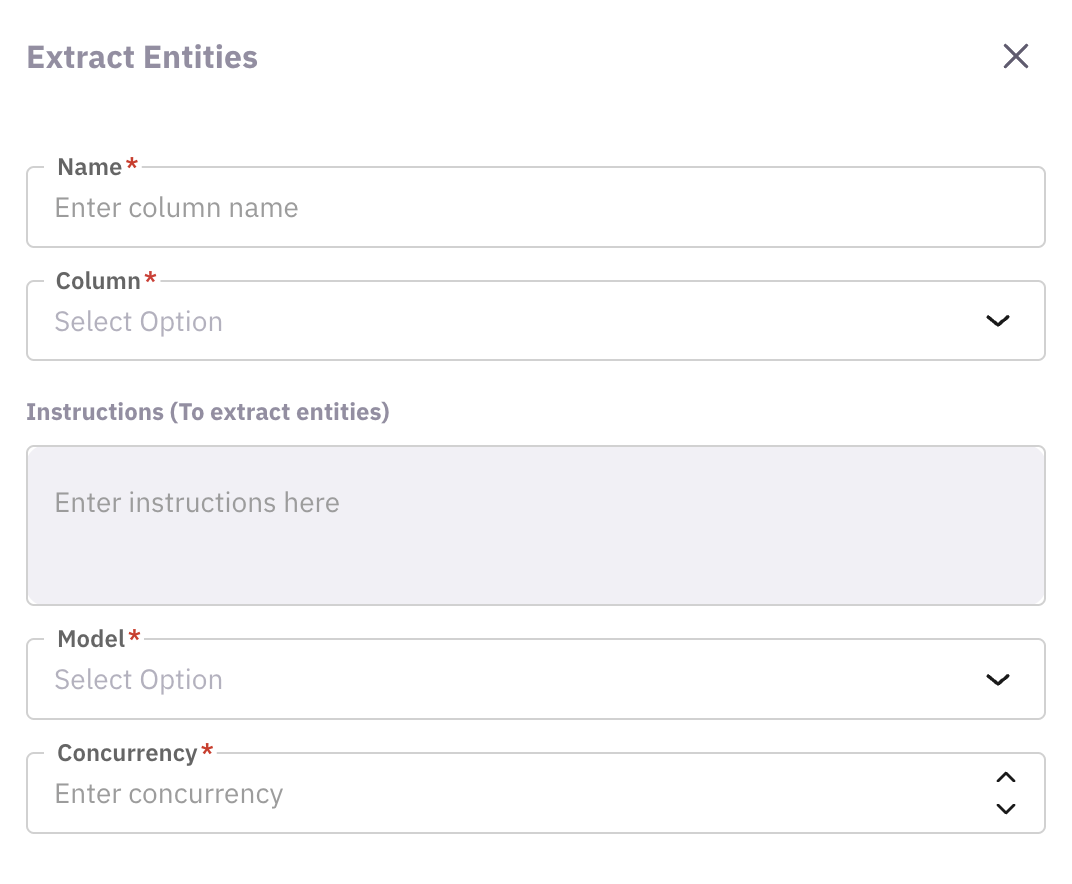
Choose model and create column
Select the model (API key may be required). Set concurrency, Test, then Create New Column.
Open Add Columns and choose Classification
In your dataset, click + Add Columns. Under Dynamic Columns, select Classification.
Name the column and select text column
Name the column. Select the column that contains the text to classify.
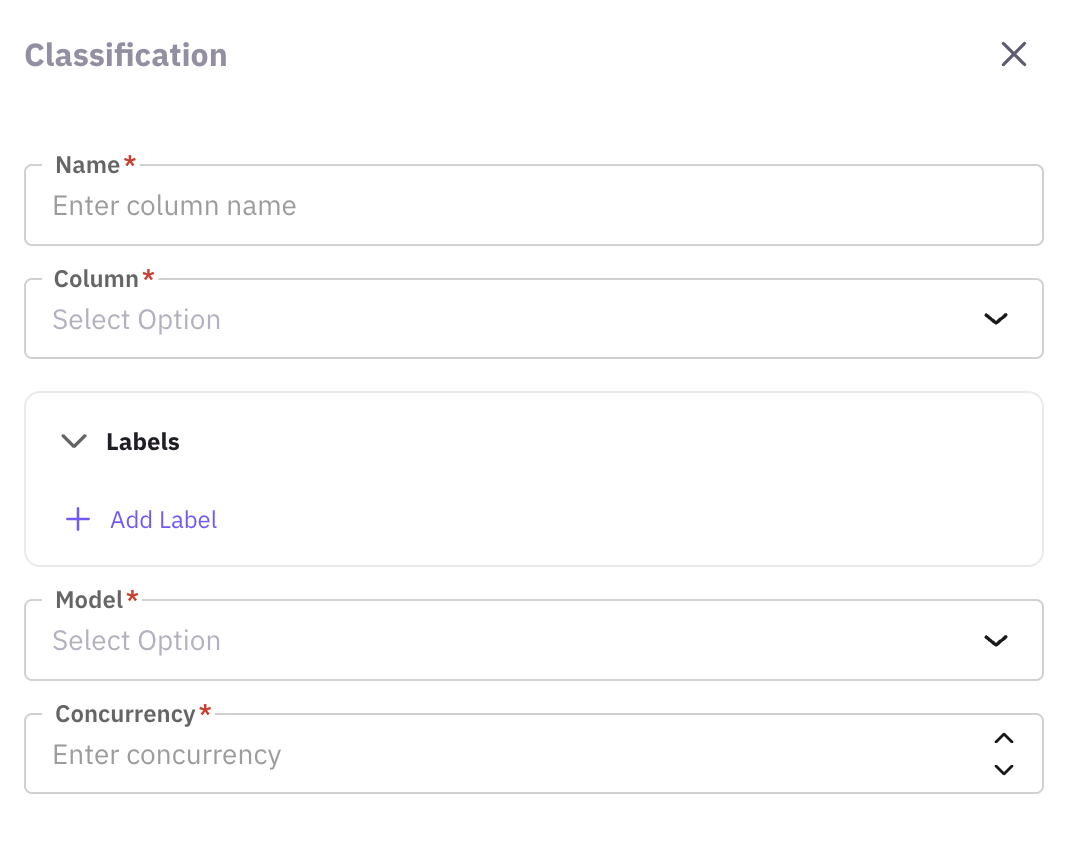
Add labels and choose model
Click Add Label and define categories (e.g. Positive, Negative, Neutral). Choose the model and set concurrency.
Test and create column
Click Test to preview, then Create New Column.
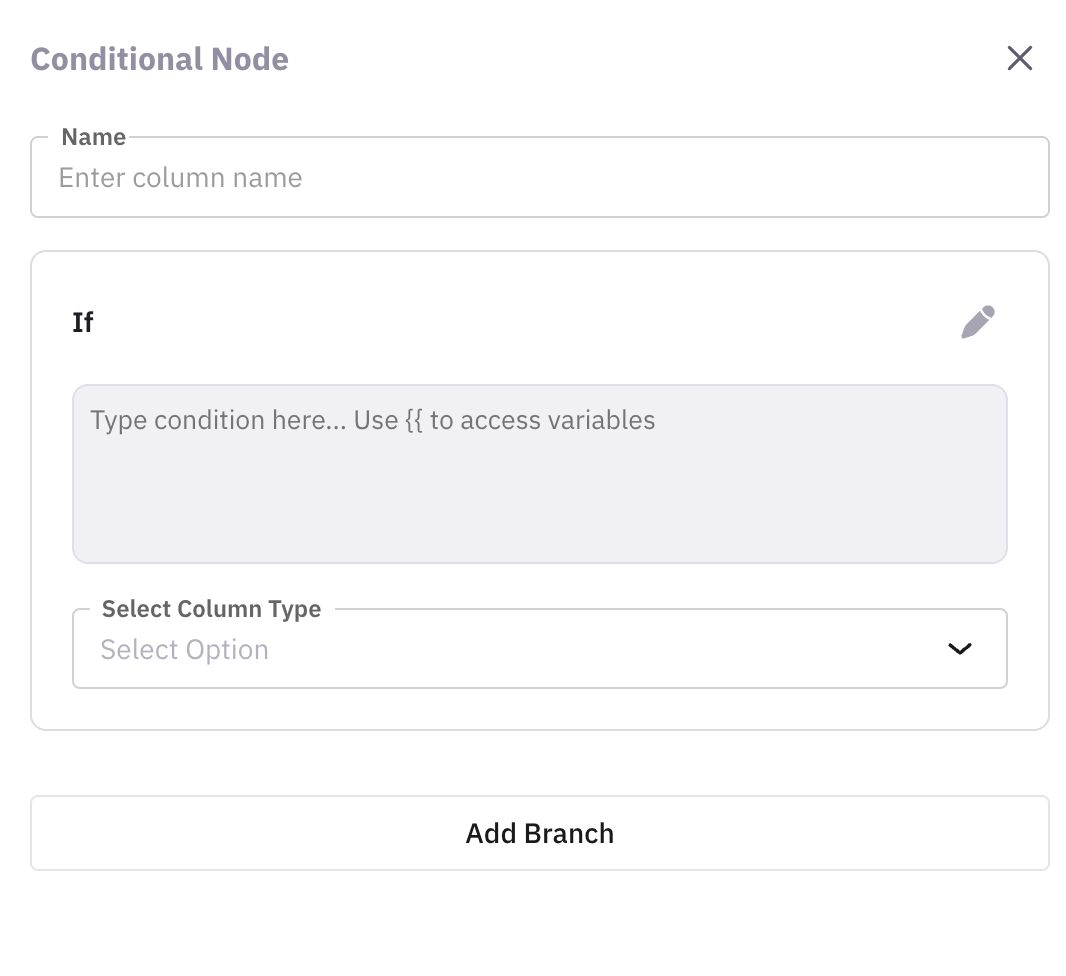
Open Add Columns and choose Conditional
In your dataset, click + Add Columns. Under Dynamic Columns, select Conditional Node.
Name the column and define branches
Name the column. Define if, elif (optional), and else conditions.
Choose an operation per branch
For each branch, choose an operation (Run Prompt, Retrieval, Extract Entities, Extract JSON, Execute Code, Classification, or API Call) and configure it.
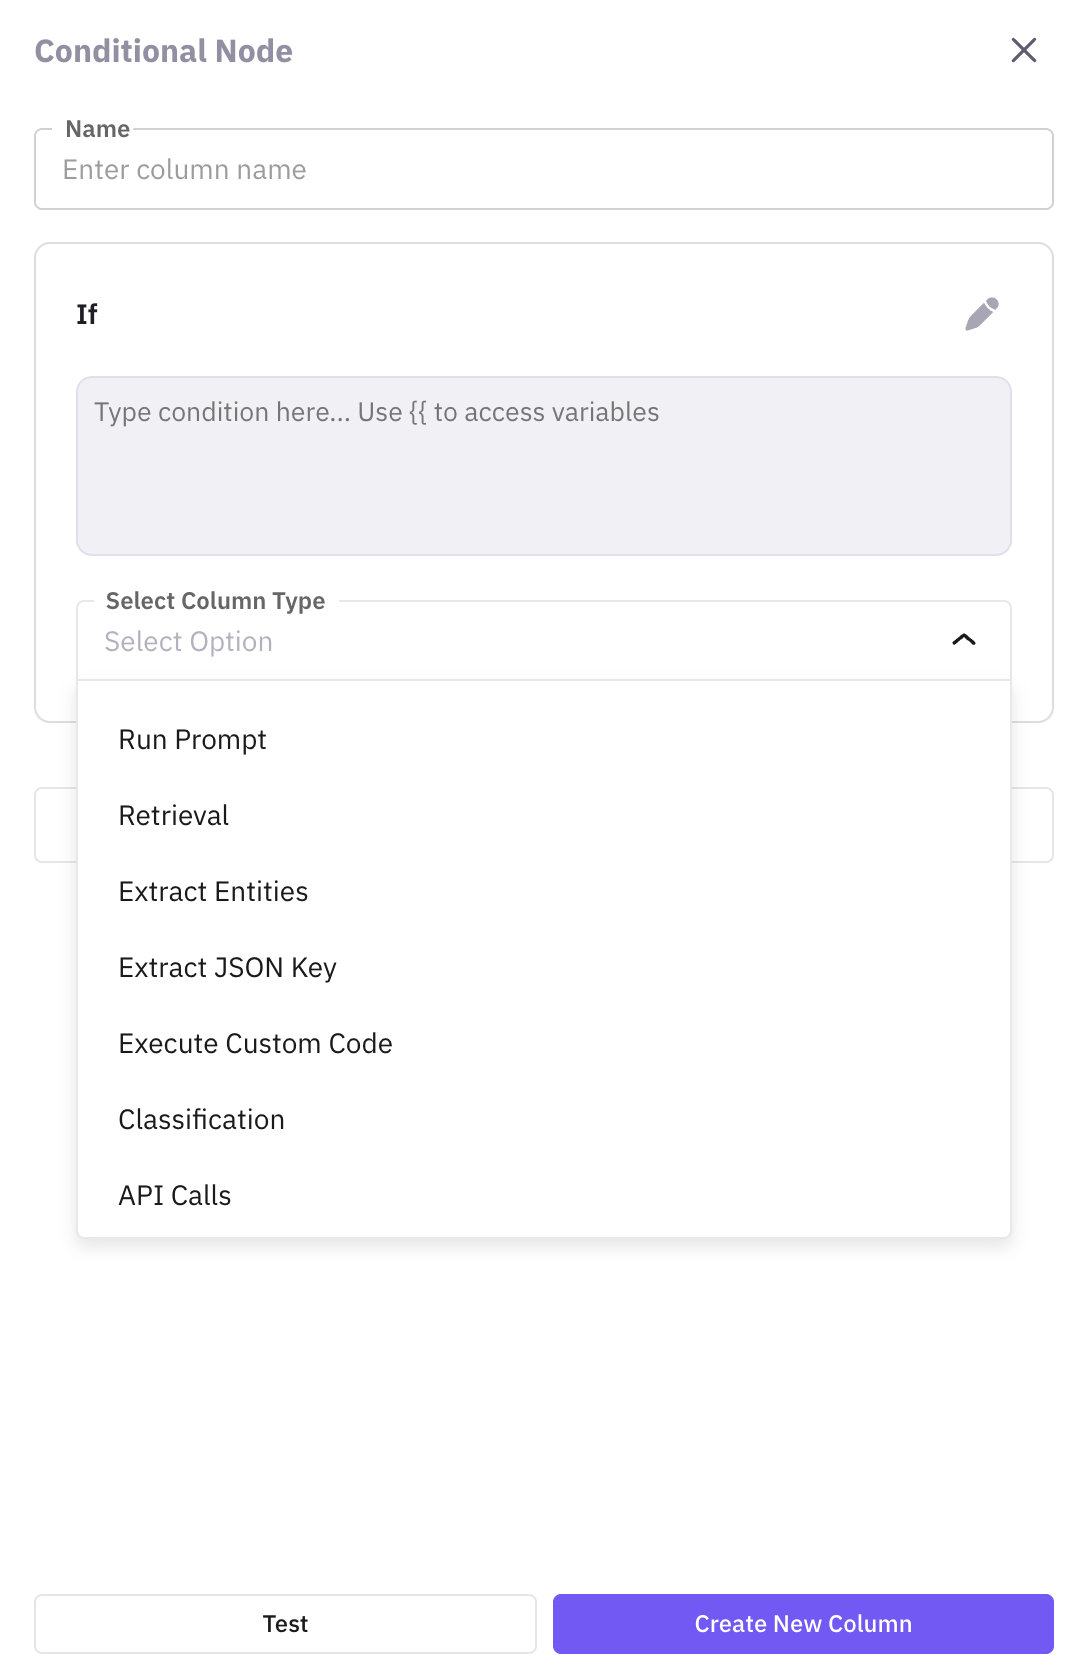
Test and create column
Click Test to verify, then Create New Column.
Next Steps
Add Rows to Dataset
Add individual records or bulk import data rows to your dataset
Run Prompts
Test and execute prompts against your dataset entries
Experiments
Design and run controlled experiments to compare approaches
Annotate Dataset
Add metadata and annotations to enrich your dataset
Create New Dataset
Create another dataset using SDK, file upload, or synthetic generation
Questions & Discussion