Dataset Experiments: Compare Prompts and Models Side by Side
Test different prompt and model combinations on the same dataset. Score outputs with built-in evals and compare results side by side.
About
Experiments give you a structured way to answer questions like: Which prompt performs better? Which model gives the best results? Does my agent beat my prompt for this task? You import prompts and agents, run them across multiple model and parameter configurations on the same dataset, score the outputs with evals, and compare results side by side so you can make data-driven decisions instead of guessing.
When to use
- Compare prompts and agents: Pull prompts from the Prompt section and agents from the Agent Playground into the same experiment and see which produces better outputs.
- Compare models and parameters: Add the same prompt with multiple models, temperatures, or tool configs to compare quality, latency, and cost across configurations.
- Validate before rollout: Test a prompt or agent change on a dataset before promoting it to production.
- Optimize with evals: Attach built-in or custom evals and use scores to rank prompt/agent-model combinations and pick a winner.
- Iterate fast: Stop a long run, edit a single config, or rerun just the failed cells without restarting the whole experiment.
How to
Experiment creation is a guided three-step flow: Basic Info → Configuration → Evaluations. Each step validates before you can move forward, and you can jump back to any completed step to edit it.
Navigate to Experiments
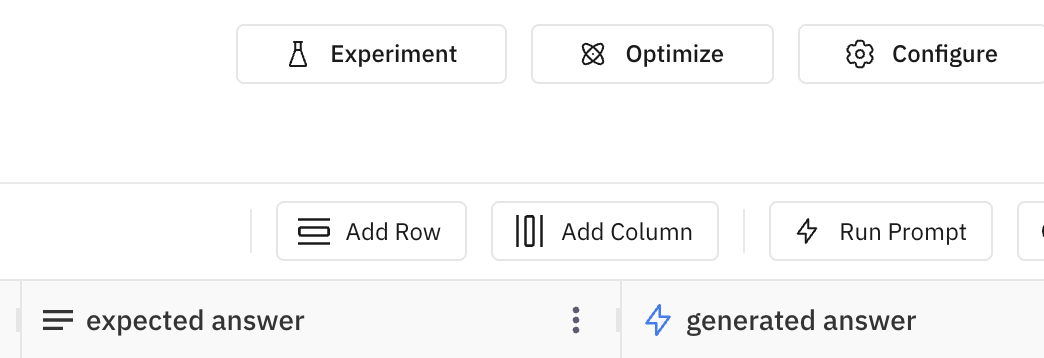
Open the dataset and click the Experiments button in the top-right of the dataset dashboard.
Step 1: Basic Info
Give the experiment a name and pick the experiment type.
The name Set up the prompt and model configurations you want to compare. Each configuration becomes a separate column in the experiment grid. is pre-filled with an auto-suggested name based on your dataset. Accept it as-is or overwrite it with your own. Names must be unique within the dataset.
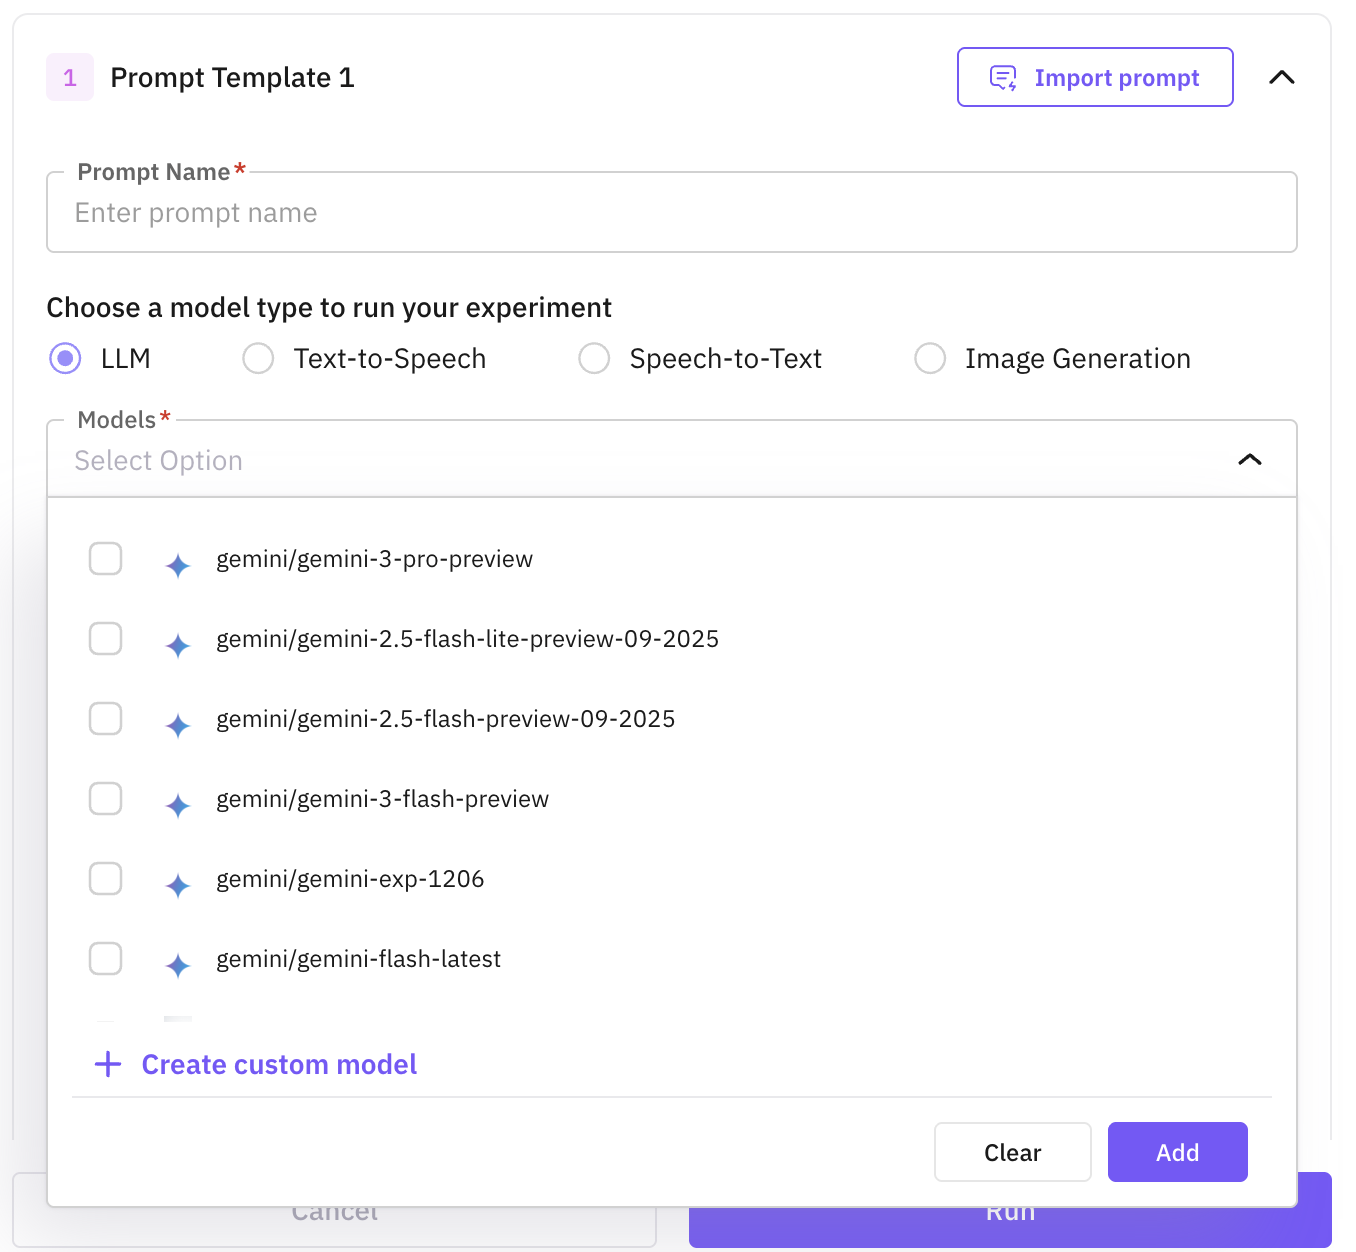
Pick the experiment type that matches the task you’re testing:
Use LLM for text generation. You can import prompts and agents in the same experiment.
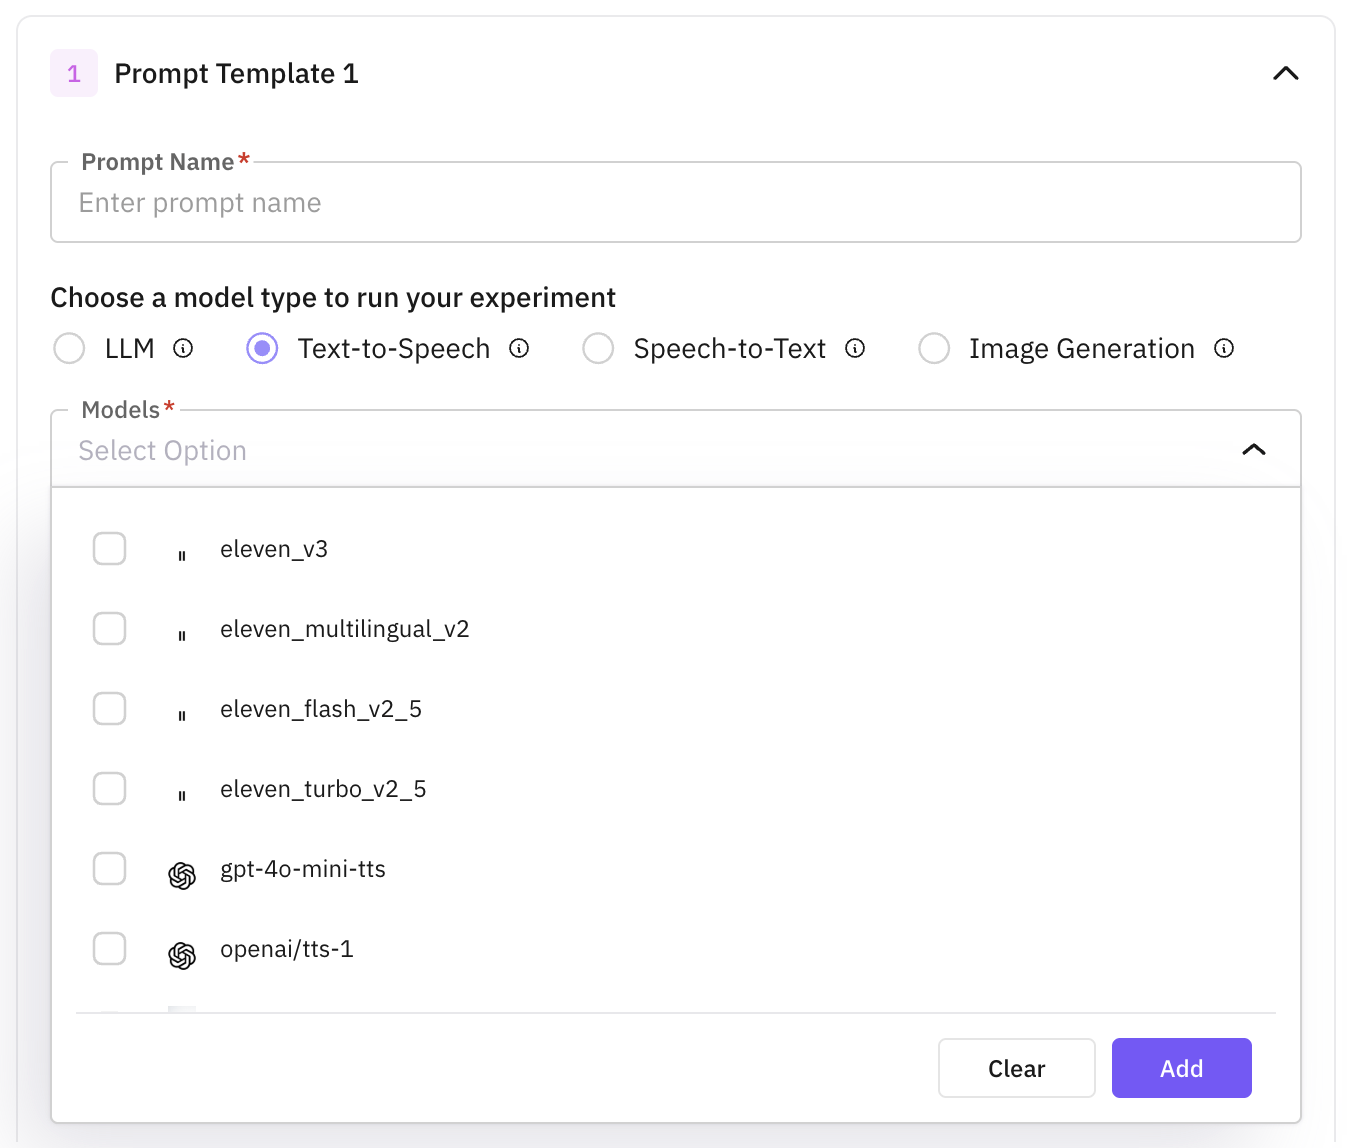
Use TTS to generate audio from text. Add prompts with different voices, models, and parameters to compare.
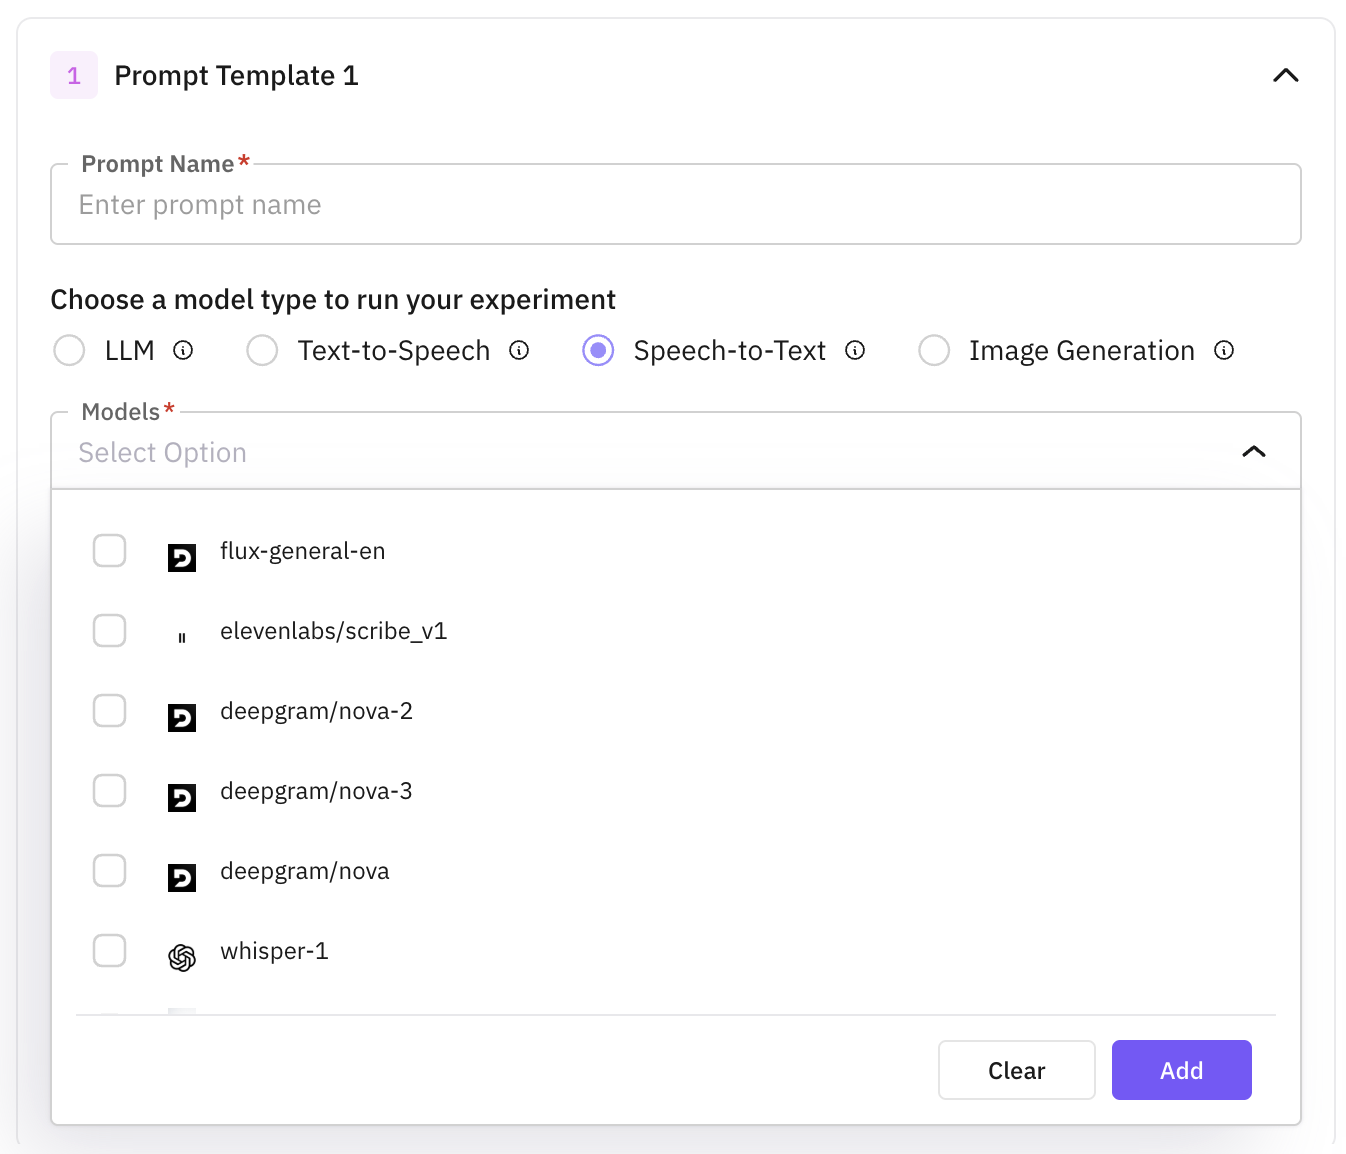
Use STT to transcribe audio. Each prompt configuration must point at a dataset column containing the input audio.
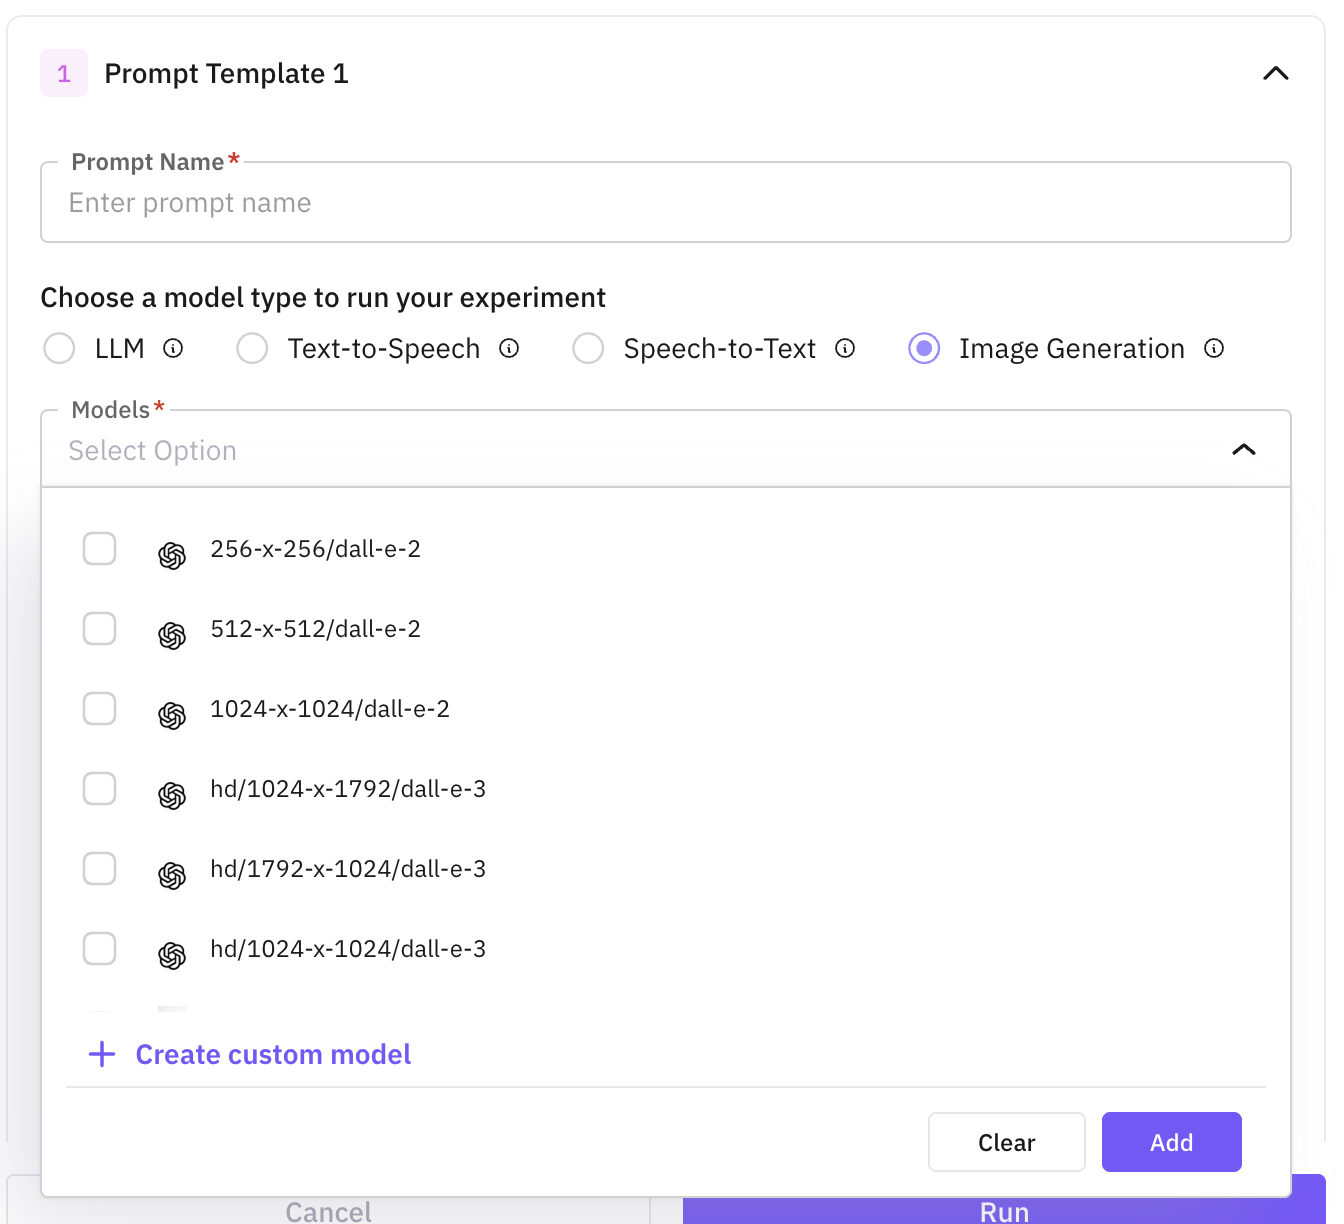
Use Image Generation to create images from text (or text + image). Compare image models and prompts side by side.

Step 2: Configuration
Set up the prompt and model configurations you want to compare. Each configuration becomes a separate column in the experiment grid.
For LLM experiments, click Add Prompt/Agents to import a prompt or agent. You can mix prompts and agents in the same experiment and score them against the same evals.
- Prompts: pick a prompt from the Prompt section, select a published version, then attach one or more models. Each (prompt, model) pair becomes its own configuration, so adding three models to one prompt creates three columns to compare. For each model you can tune temperature, max tokens, top-p, response format, and tool config.
- Agents: pick an agent from the Agent Playground and select a published version. The agent’s model, tools, and graph are captured at that version, so the run stays reproducible even if the agent is edited later. You don’t pick a model again here.

For each prompt, write the instructions inline (use {{column_name}} to reference dataset columns) and attach one or more TTS models (with voice and format settings). Click + Add Prompt to add more prompt entries. Each (prompt, model) pair becomes its own column. Output format is fixed to Audio.
For each prompt, write the instructions inline (use {{column_name}} to reference dataset columns), pick the dataset column containing the input audio, and attach one or more STT models. Click + Add Prompt to add more entries to compare transcription quality.
For each prompt, write the instructions inline (use {{column_name}} to reference dataset columns) and attach one or more image models. Click + Add Prompt to add more entries and compare output quality across models and parameters.
Models you’ve added through Custom Models show up in the model picker for prompt configurations across all experiment types.
Tip
See Custom Models for how to register a custom or self-hosted model.
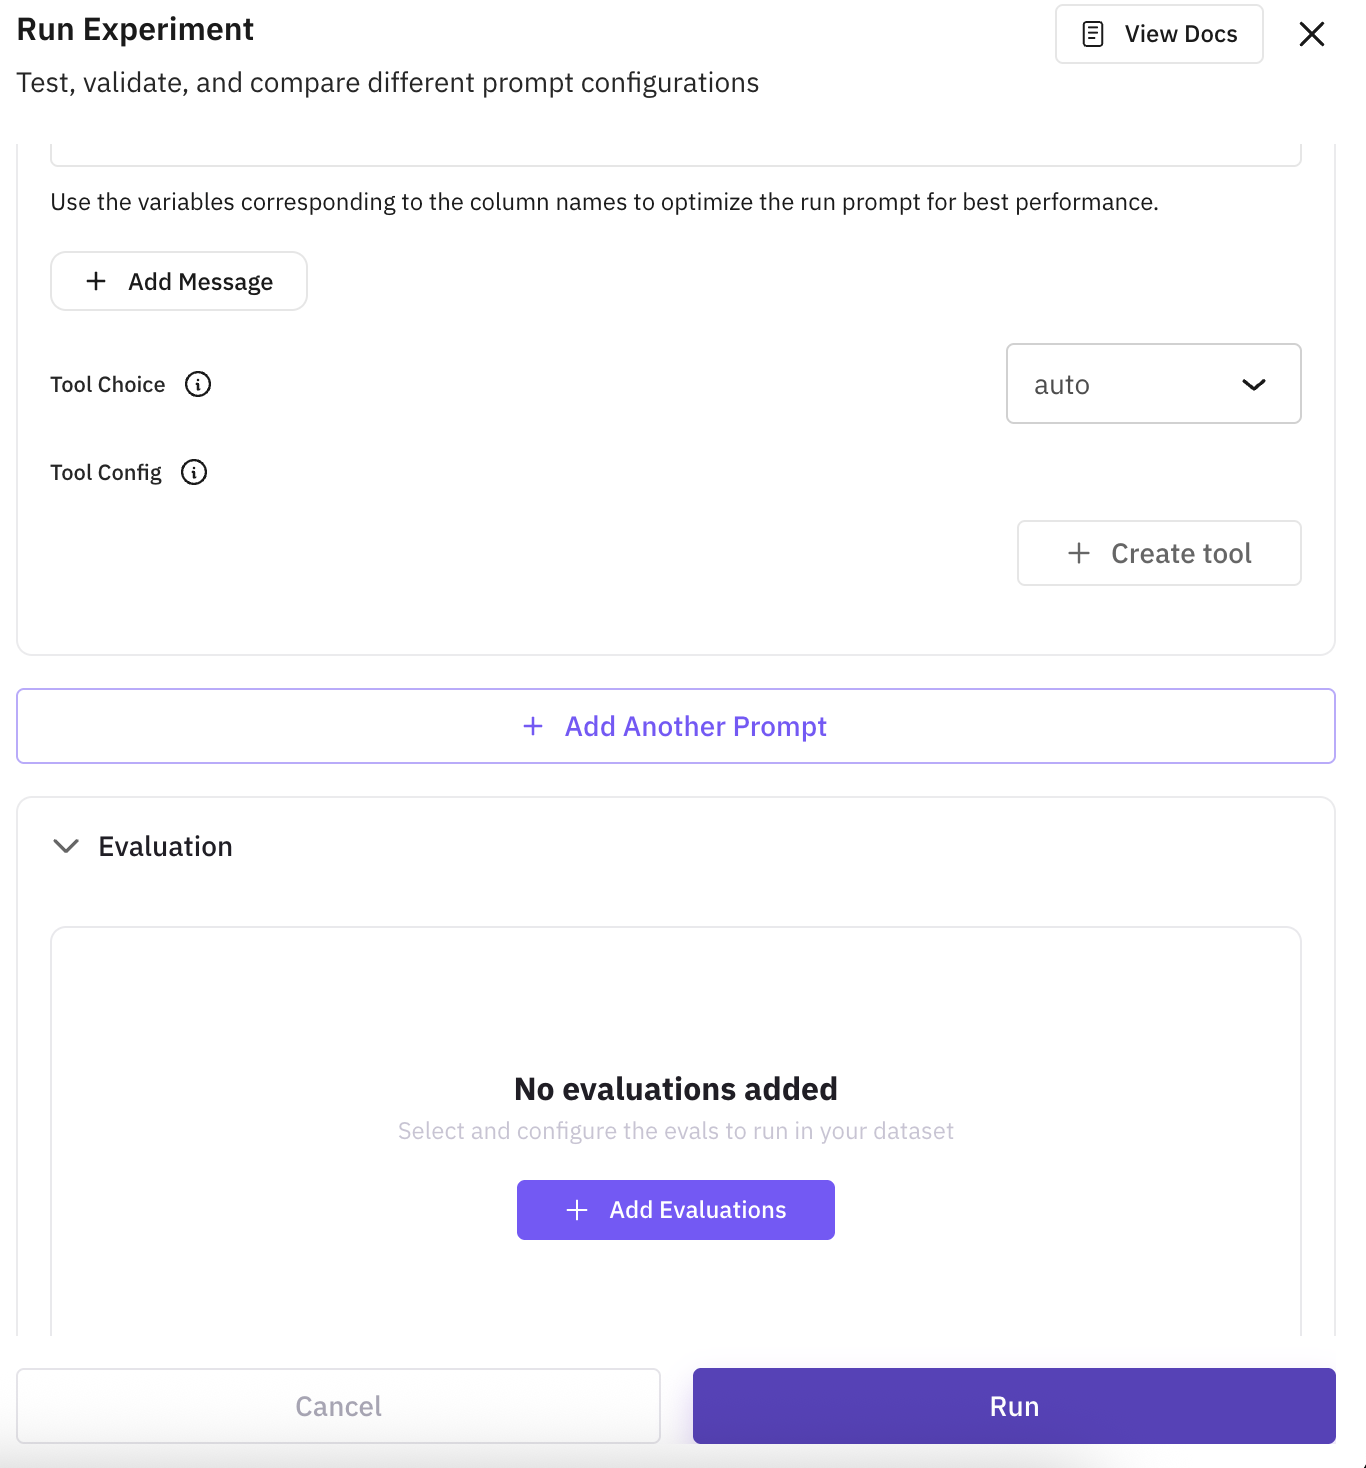
For prompts, you can also configure tool calling with Auto, Required, or None, and add tool definitions the model can invoke.
Step 3: Evaluations
The final step has two parts: an optional base column and the evals you want to score outputs with.
Compare against baseline (optional): pick a column from the dataset to compare model outputs against (typically a ground-truth or existing run-prompt column). Skip it if you don’t have a reference output yet; you can still run the experiment, attach evals that don’t need a baseline, and add a base column later by editing the experiment.
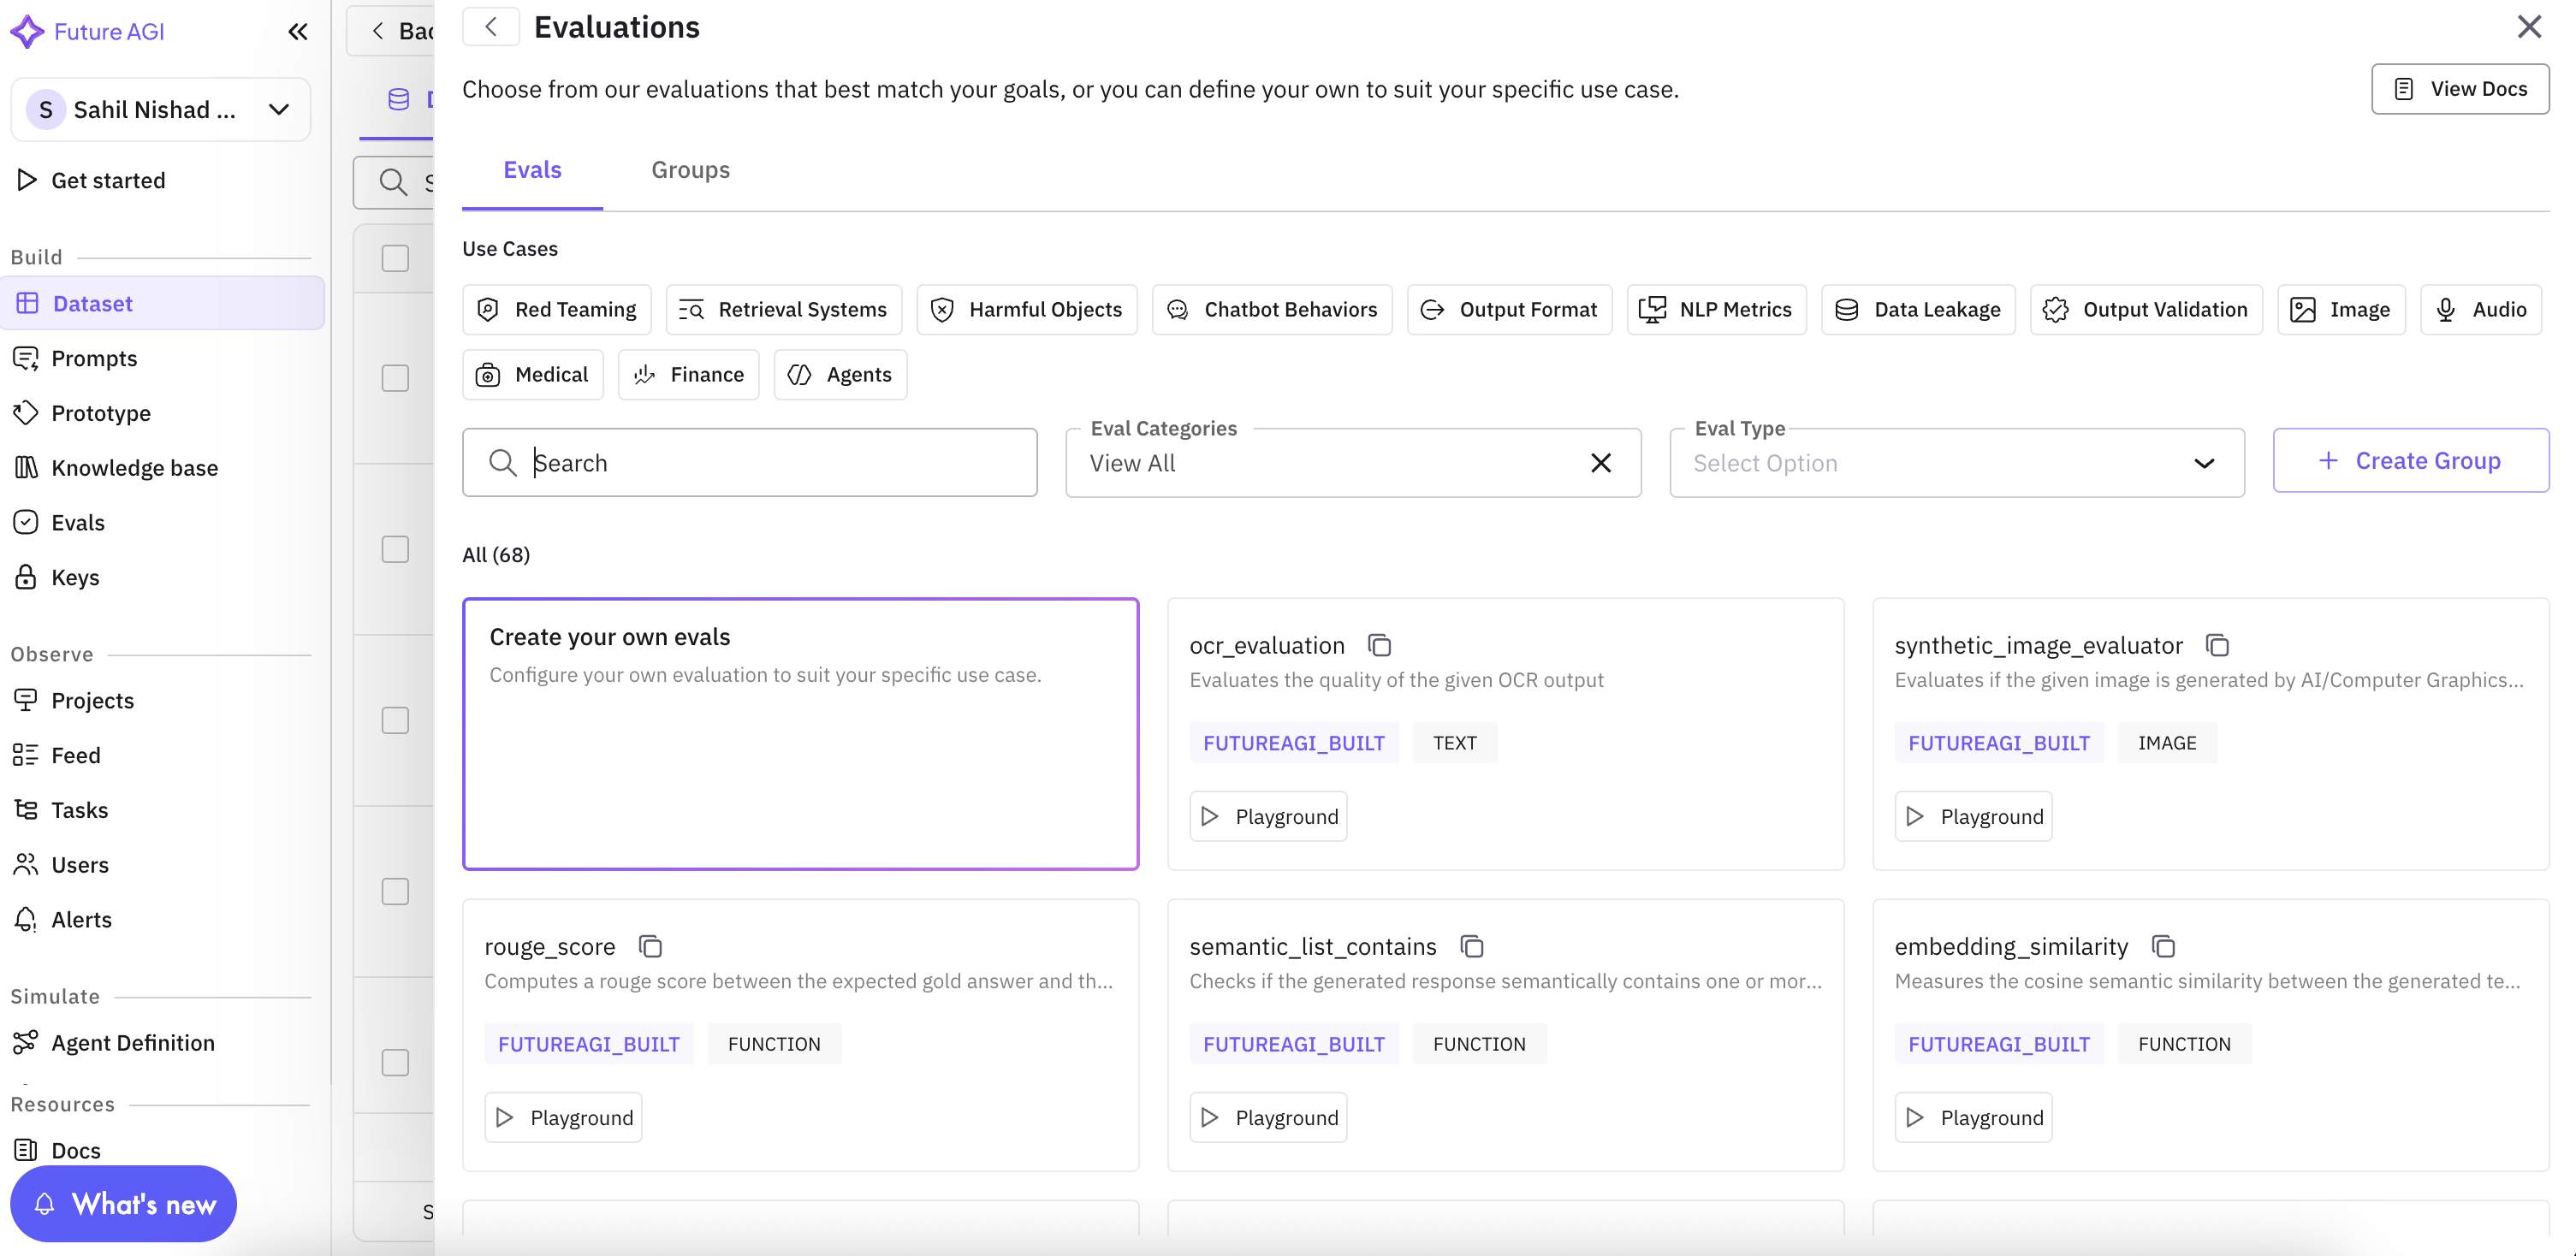
Add evaluations: click Add Evaluation and pick from the built-in eval catalog or create a custom eval. Add as many as you need. Every eval runs on every configuration so the results are directly comparable.
For each eval, map its inputs (e.g. output, input, expected) to the model output or to dataset columns. Mapping is required before the experiment can run.
Run the experiment
Click Run to start. The experiment processes every row across every prompt/agent-model configuration in parallel, running the evals on each output as it arrives. The grid streams results live so you can watch progress without waiting for the whole run to finish.
Stop a running experiment
If you spot a misconfiguration or want to abort, click Stop on a running experiment from the Experiments tab. Any in-flight cells are marked as errored, and you can then edit the experiment and rerun without waiting for the full run to complete.
Edit and rerun
Use Rerun Experiment to re-execute the entire experiment after editing prompts, models, evals, or the base column. Editing is granular: only the configurations you actually changed are re-executed, and results from untouched configurations are preserved.
For more targeted reruns:
- Rerun a single cell: hover any output or eval cell in the grid and click the rerun icon. Useful when one row failed transiently or you’ve tweaked a single configuration.
- Rerun a column: from the column header, choose Run all cells in the column or Run only failed cells in the column. Failed-only is the fastest way to recover from API hiccups without redoing successful work.
- Rerun an eval: re-execute a single eval across all rows after changing its config or mapping, without re-generating any model outputs.
Compare results and choose a winner
Open the Compare view to see how every configuration performed. Set weights (0-10) for each eval score and for response time, completion tokens, and total tokens. The system normalizes the metrics, computes an overall rating per configuration, and ranks them so the winner is clear. Adjust the weights to match what matters for your use case (e.g. prioritize quality over cost) and the ranking updates in place.
Tips
- Use published versions: experiments only run published prompt and agent versions. Publish the version you want to test before importing it.
- Mix prompts and agents: an LLM experiment can contain prompts and agents side by side, scored against the same evals. Useful when you’re deciding whether an agent is worth the extra complexity over a prompt. TTS, STT, and Image experiments accept prompts only.
- Failed-only rerun: when transient failures (rate limits, network blips) leave a few cells errored, use the failed-only rerun on the column to recover them without redoing successful rows.
Next Steps
Add Rows to Dataset
Add individual records or bulk import data rows to your dataset
Add Columns to Dataset
Extend your dataset structure with additional data fields
Run Prompts
Test and execute prompts against your dataset entries
Annotate Dataset
Add metadata and annotations to enrich your dataset
Create New Dataset
Create another dataset using SDK, file upload, or synthetic generation
Questions & Discussion