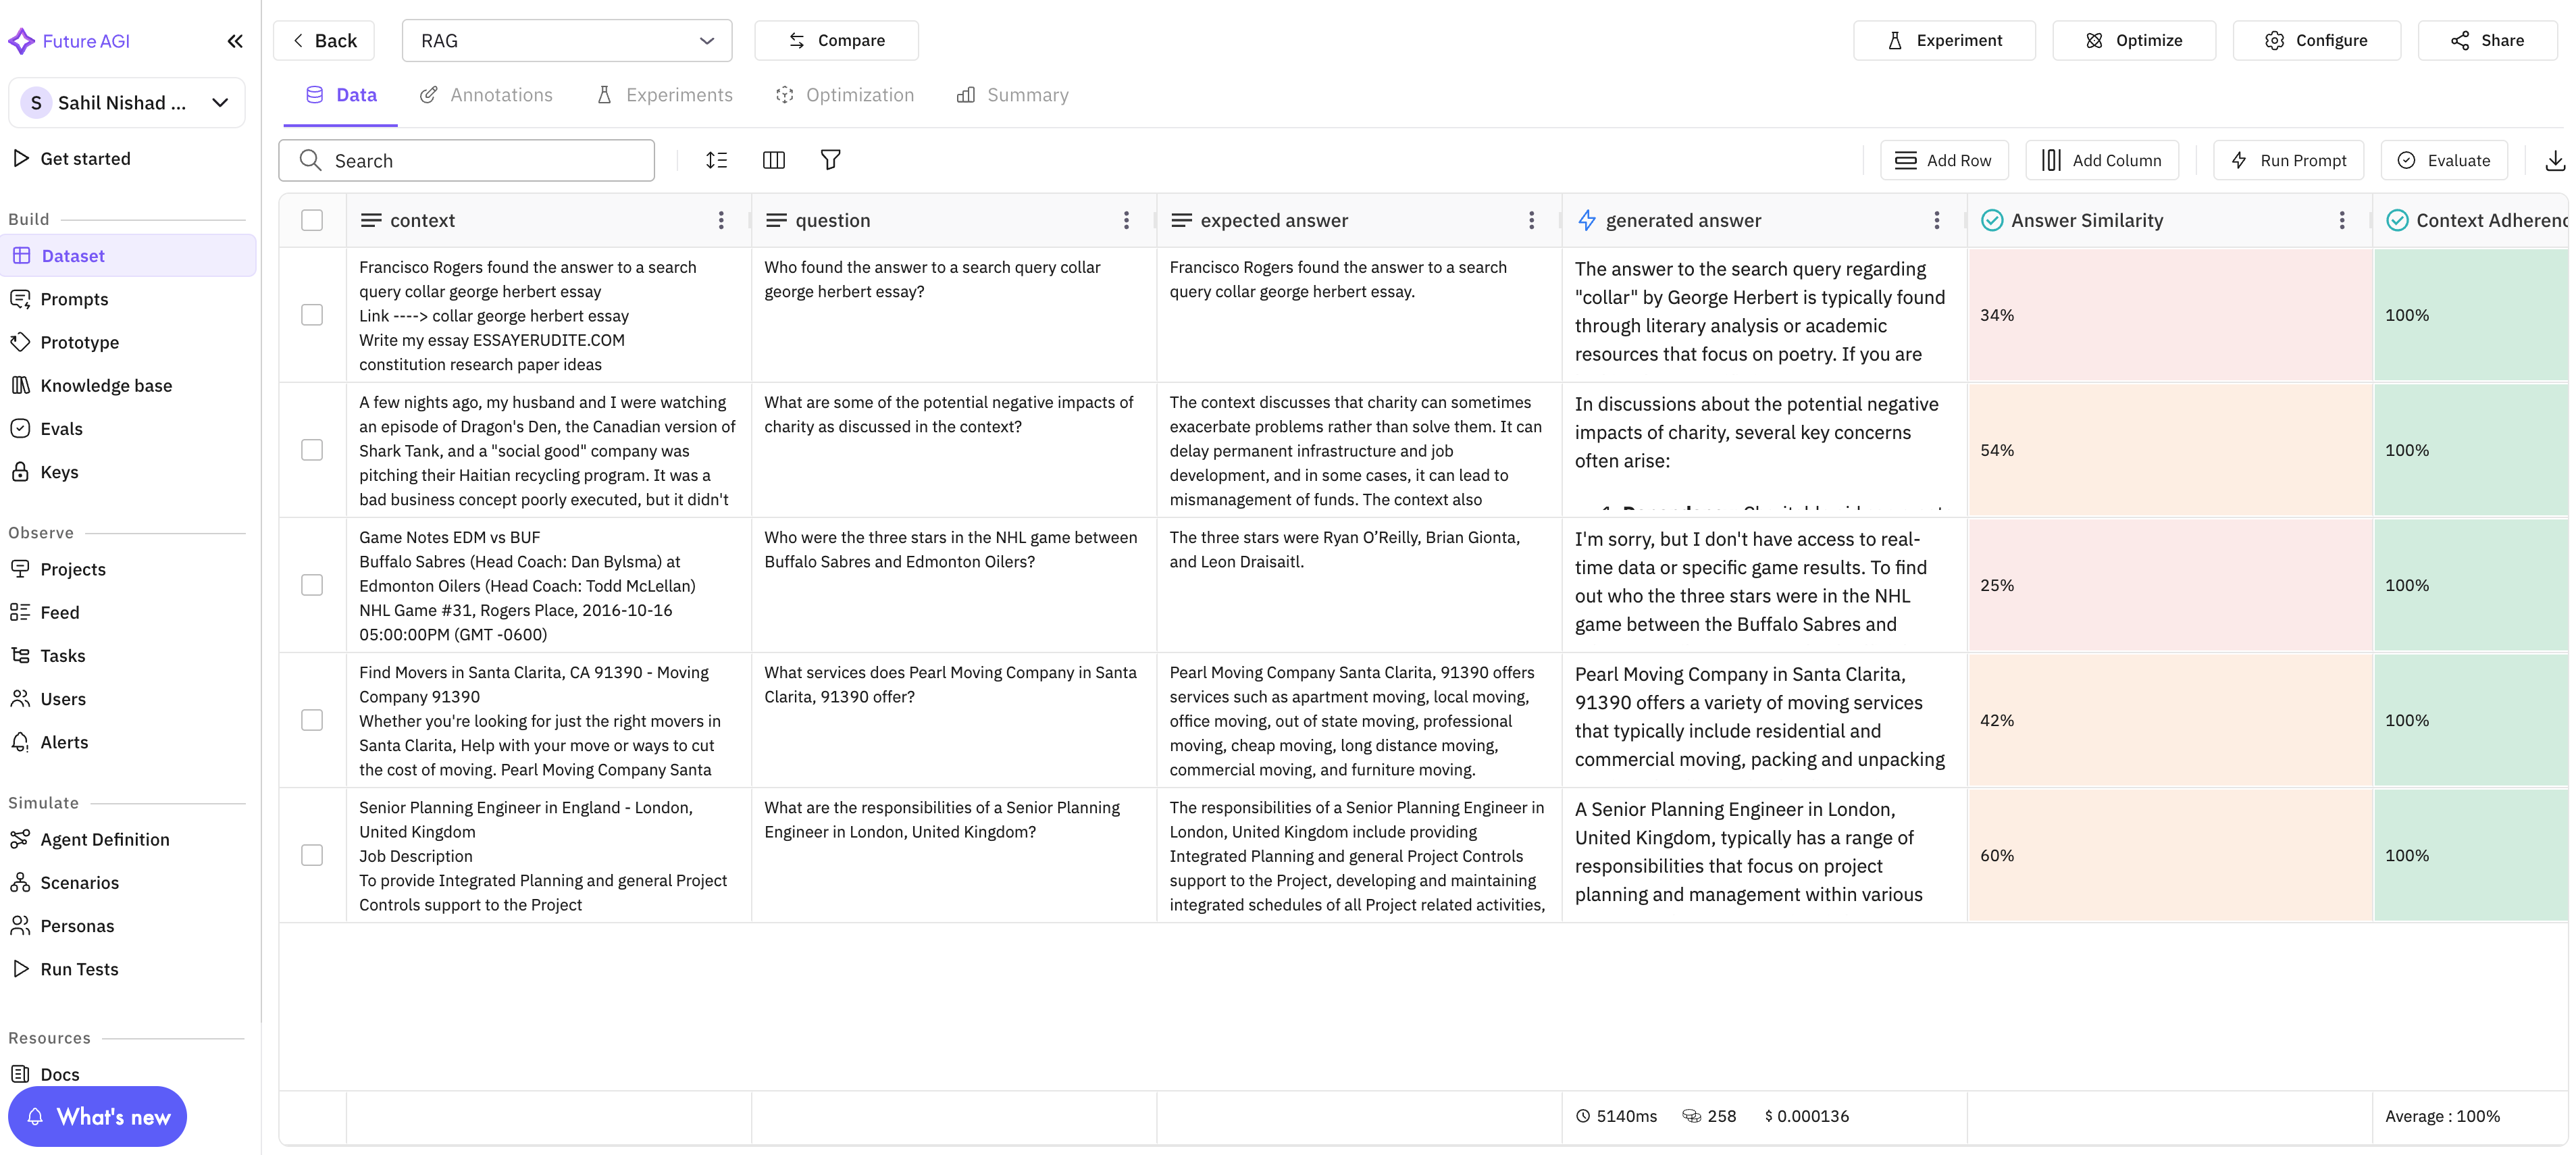
Adding Data Rows to an Existing Dataset in Future AGI
Add data points to an existing dataset manually, from another dataset, Hugging Face, from production traces, or by generating synthetic rows.
About
Add Rows is how you add more data points (rows) to an existing dataset. Each new row gets one cell per column. You either provide the values, copy them from another dataset or source, or generate them (e.g. synthetic or from traces). The dataset’s columns stay as they are; only new rows and their cells are created.
When to use
- Manual or API data entry: You have new test cases (e.g. new queries or examples). Add rows with cell values via the UI or API so they become part of the same dataset for run prompt and evals.
- Copy from another dataset: You have rows in a different dataset (or an experiment snapshot) and want them in this one. Add rows from that source with a column mapping so the right fields line up.
- Append from Hugging Face: You want more examples from a Hugging Face dataset. Add rows from that dataset into the current one so you don’t re-import from scratch.
- Generate more synthetic data: The dataset was created with synthetic config; you want more rows with the same logic. Add synthetic rows to fill more of the table.
- Bring in more production data: You have new traces/spans in the tracer. Add them to an existing dataset so evals and experiments stay on one dataset.
How to
Choose how you want to add rows to your dataset:
Tip
Learn how to create a new dataset first if you don’t have one yet.
Use the SDK to append rows to an existing dataset.
Open your dataset
In your app or script, open the dataset you want to add rows to (by name or ID).
Add rows via SDK
Define new rows with cells (column name + value), then call the add-rows API.
# pip install futureagi

import os
from fi.datasets import Dataset
from fi.datasets.types import (
    Cell,
    Column,
    DatasetConfig,
    DataTypeChoices,
    ModelTypes,
    Row,
    SourceChoices,
)

# Set environment variables
os.environ["FI_API_KEY"] = "<fi_api_key>"
os.environ["FI_SECRET_KEY"] = "<fi_secret_key>"

# Get existing dataset
config = DatasetConfig(name="Demo-dataset", model_type=ModelTypes.GENERATIVE_LLM)
dataset = Dataset(dataset_config=config)
dataset = Dataset.get_dataset_config("Demo-dataset")

# Define columns
columns = [
    Column(
        name="user_query",
        data_type=DataTypeChoices.TEXT,
        source=SourceChoices.OTHERS
    ),
    Column(
        name="response_quality",
        data_type=DataTypeChoices.INTEGER,
        source=SourceChoices.OTHERS
    ),
    Column(
        name="is_helpful",
        data_type=DataTypeChoices.BOOLEAN,
        source=SourceChoices.OTHERS
    )
]

# Define rows
rows = [
    Row(
        order=1,
        cells=[
            Cell(column_name="user_query", value="What is machine learning?"),
            Cell(column_name="response_quality", value=8),
            Cell(column_name="is_helpful", value=True)
        ]
    ),
    Row(
        order=2,
        cells=[
            Cell(column_name="user_query", value="Explain quantum computing"),
            Cell(column_name="response_quality", value=9),
            Cell(column_name="is_helpful", value=True)
        ]
    )
]

try:
    # Add rows to dataset
    dataset = dataset.add_rows(rows=rows)
    print("✓ Data added successfully")
except Exception as e:
    print(f"Failed to add data: {e}")
import { Dataset, DataTypeChoices, createRow, createCell } from "@future-agi/sdk";

process.env["FI_API_KEY"] = "<fi_api_key>";
process.env["FI_SECRET_KEY"] = "<fi_secret_key>";
process.env["FI_BASE_URL"] = "https://api.futureagi.com";

async function main() {
  try {
    const dsName = "Demo-dataset";

    // 1) Open the dataset (fetch if it exists, create if not)
    const dataset = await Dataset.open(dsName);

    // 2) Define rows
    const rows = [
      createRow({
        cells: [
          createCell({ columnName: "user_query", value: "What is machine learning?" }),
          createCell({ columnName: "response_quality", value: 8 }),
          createCell({ columnName: "is_helpful", value: true }),
        ],
      }),
      createRow({
        cells: [
          createCell({ columnName: "user_query", value: "Explain quantum computing" }),
          createCell({ columnName: "response_quality", value: 9 }),
          createCell({ columnName: "is_helpful", value: true }),
        ],
      }),
    ];
    await dataset.addRows(rows);
    console.log("✓ Data added successfully");
  } catch (err) {
    console.error("Failed to add data:", err);
  }
}

main();
curl --request POST \
--url https://api.futureagi.com/model-hub/develops/<dataset_id>/add_rows/ \
--header 'content-type: application/json' \
--header 'X-Api-Key: <fi_api_key>' \
--header 'X-Secret-Key: <fi_secret_key>' \
--data '{
"rows": [
{
"order": 1,
"cells": [
{
"column_name": "user_query",
"value": "What is machine learning?"
},
{
"column_name": "response_quality",
"value": 8
},
{
"column_name": "is_helpful",
"value": true
}
]
},
{
"order": 2,
"cells": [
{
"column_name": "user_query",
"value": "Explain quantum computing"
},
{
"column_name": "response_quality",
"value": 9
},
{
"column_name": "is_helpful",
"value": true
}
]
}
]
}'Note
Add rows using the Add Row option in the dataset view.
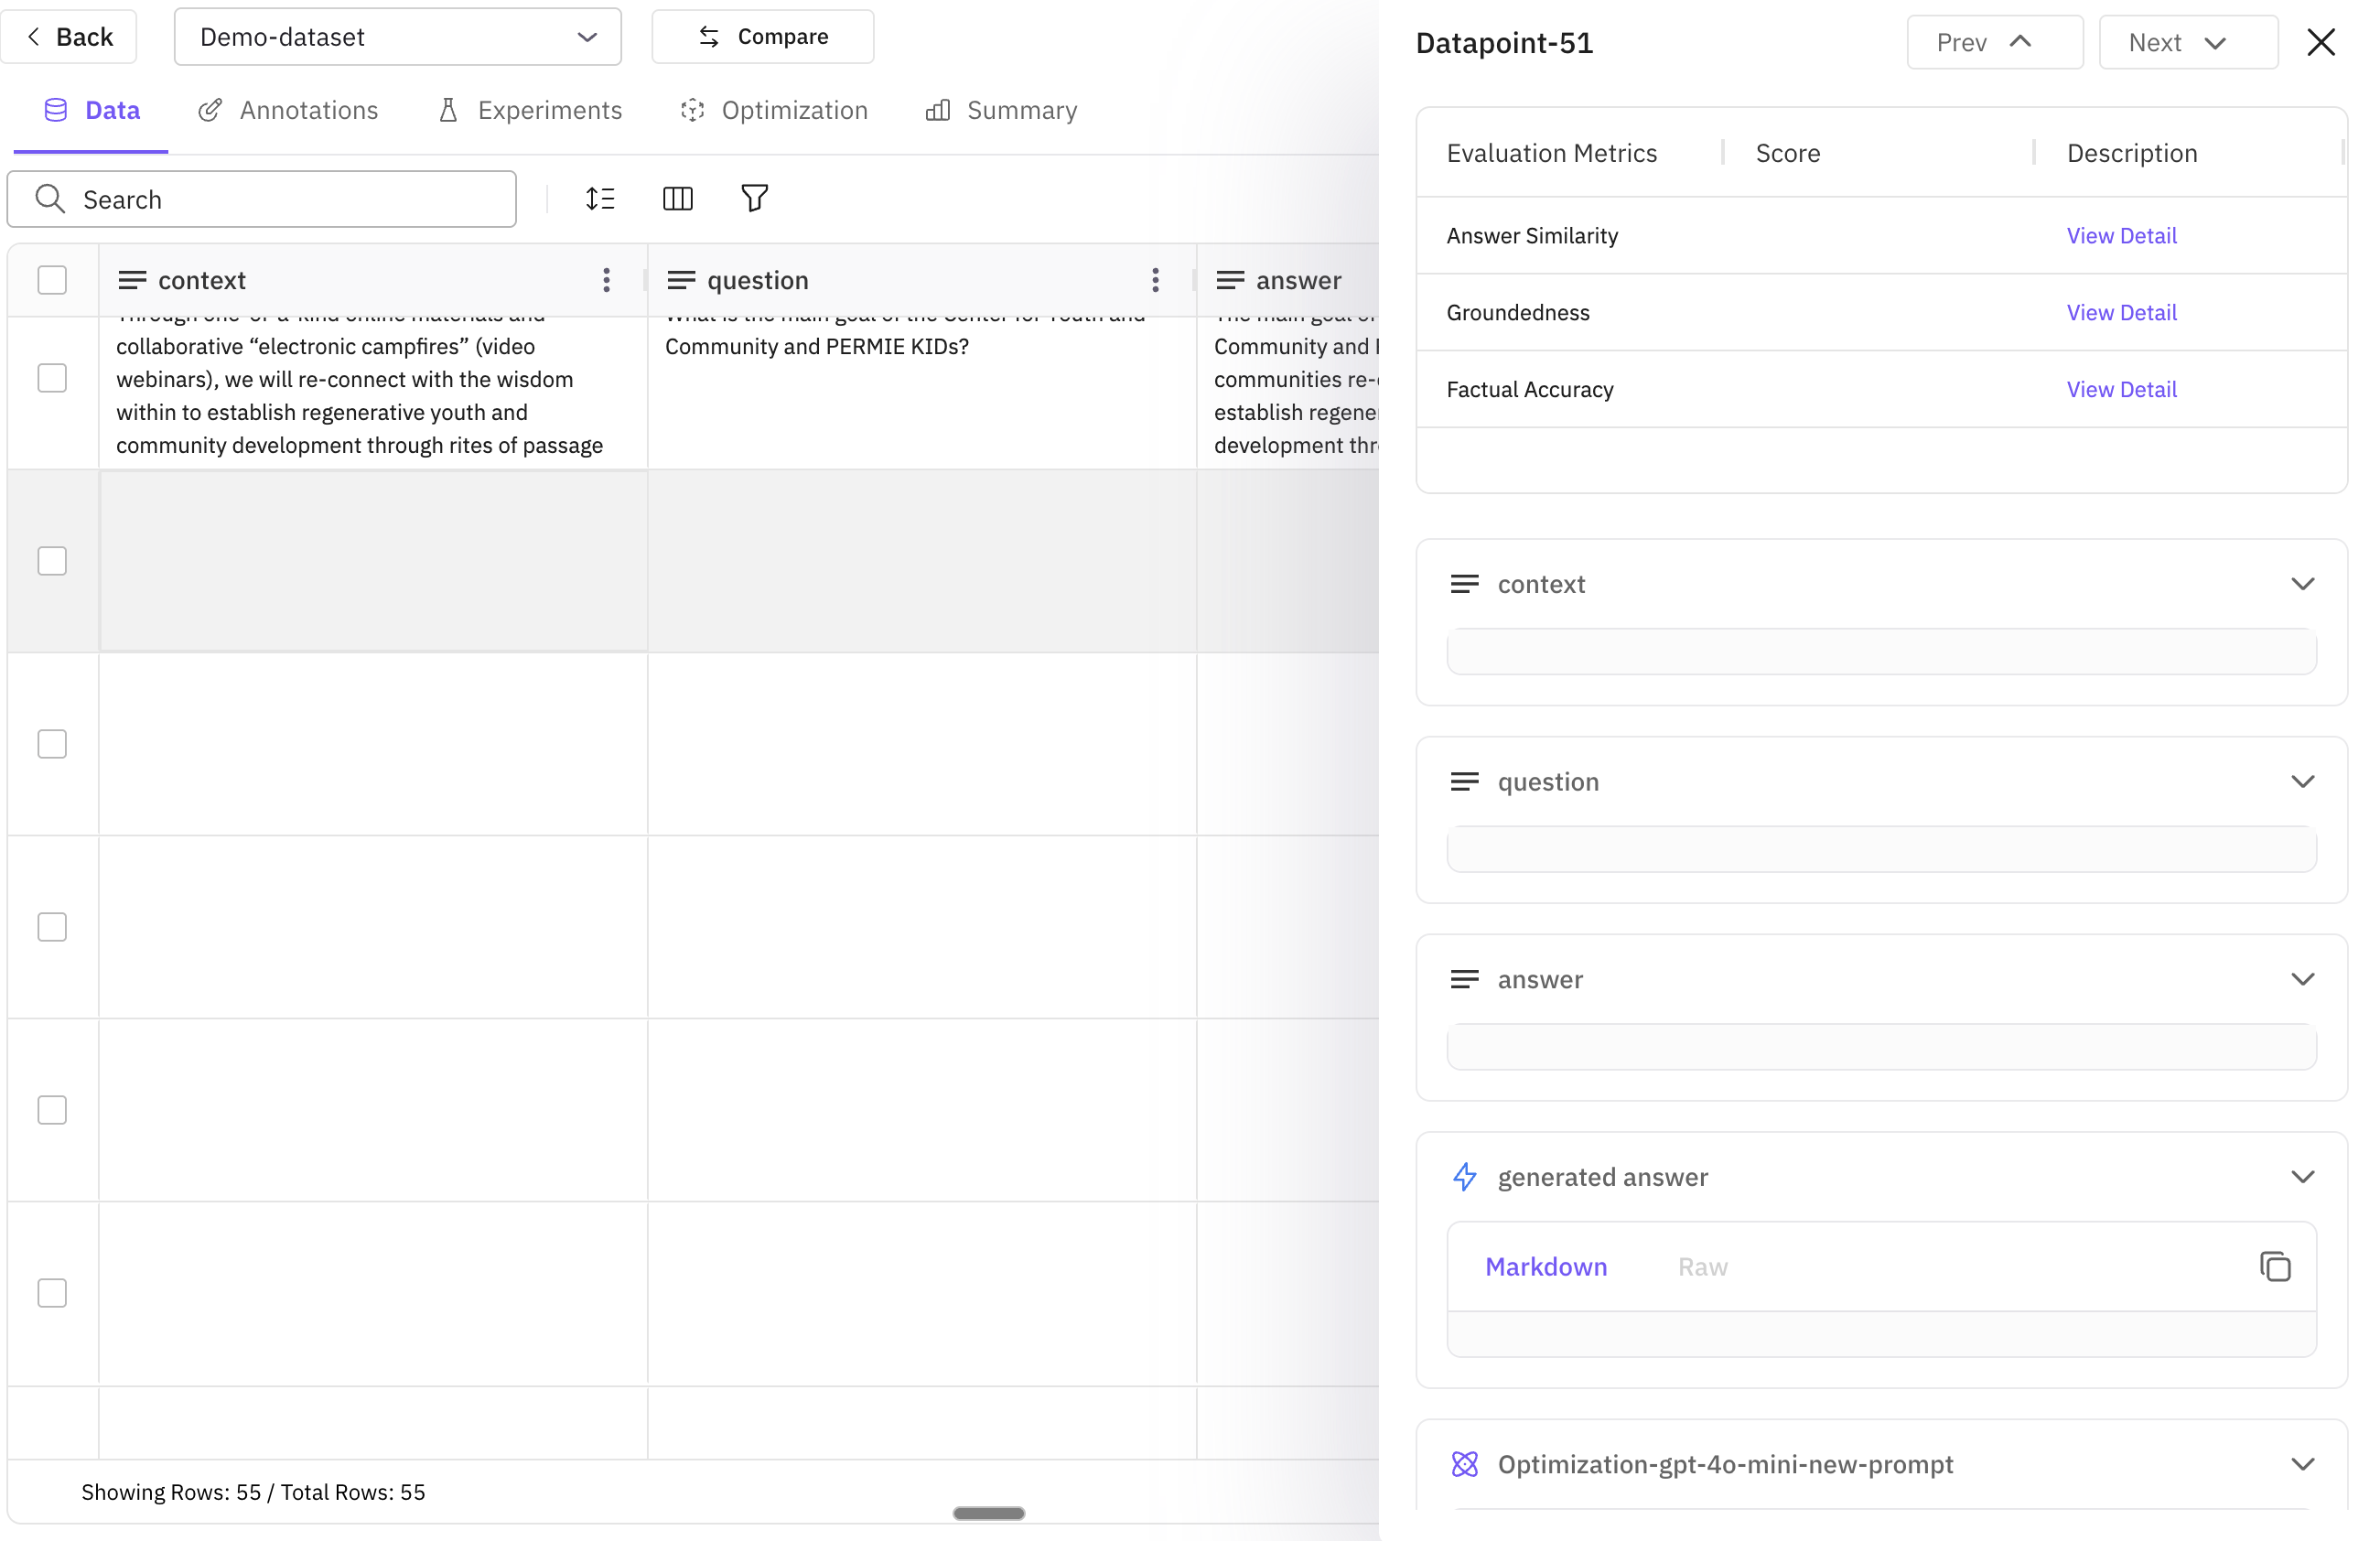
Open the dataset
Open the dataset you want to add rows to from your dashboard.
Use Add Row
Click the “Add Row” option to create one or more new rows. New rows appear at the bottom of the table.
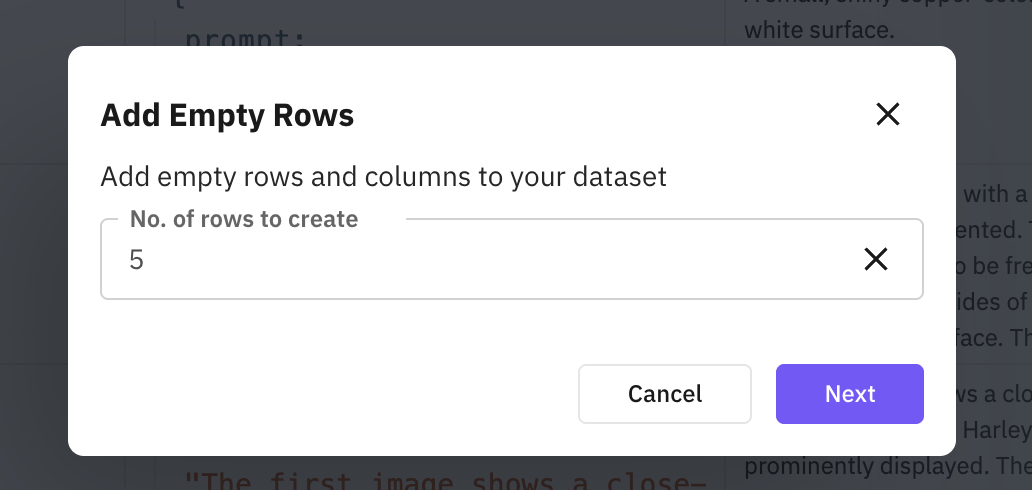
Fill cell values
Double-click a cell to edit it. Enter values for each column. Repeat for all new rows.
Copy rows from another dataset (or experiment dataset) into this one.
Open Add rows from existing dataset
From the dataset view, choose the option to add rows from an existing dataset.
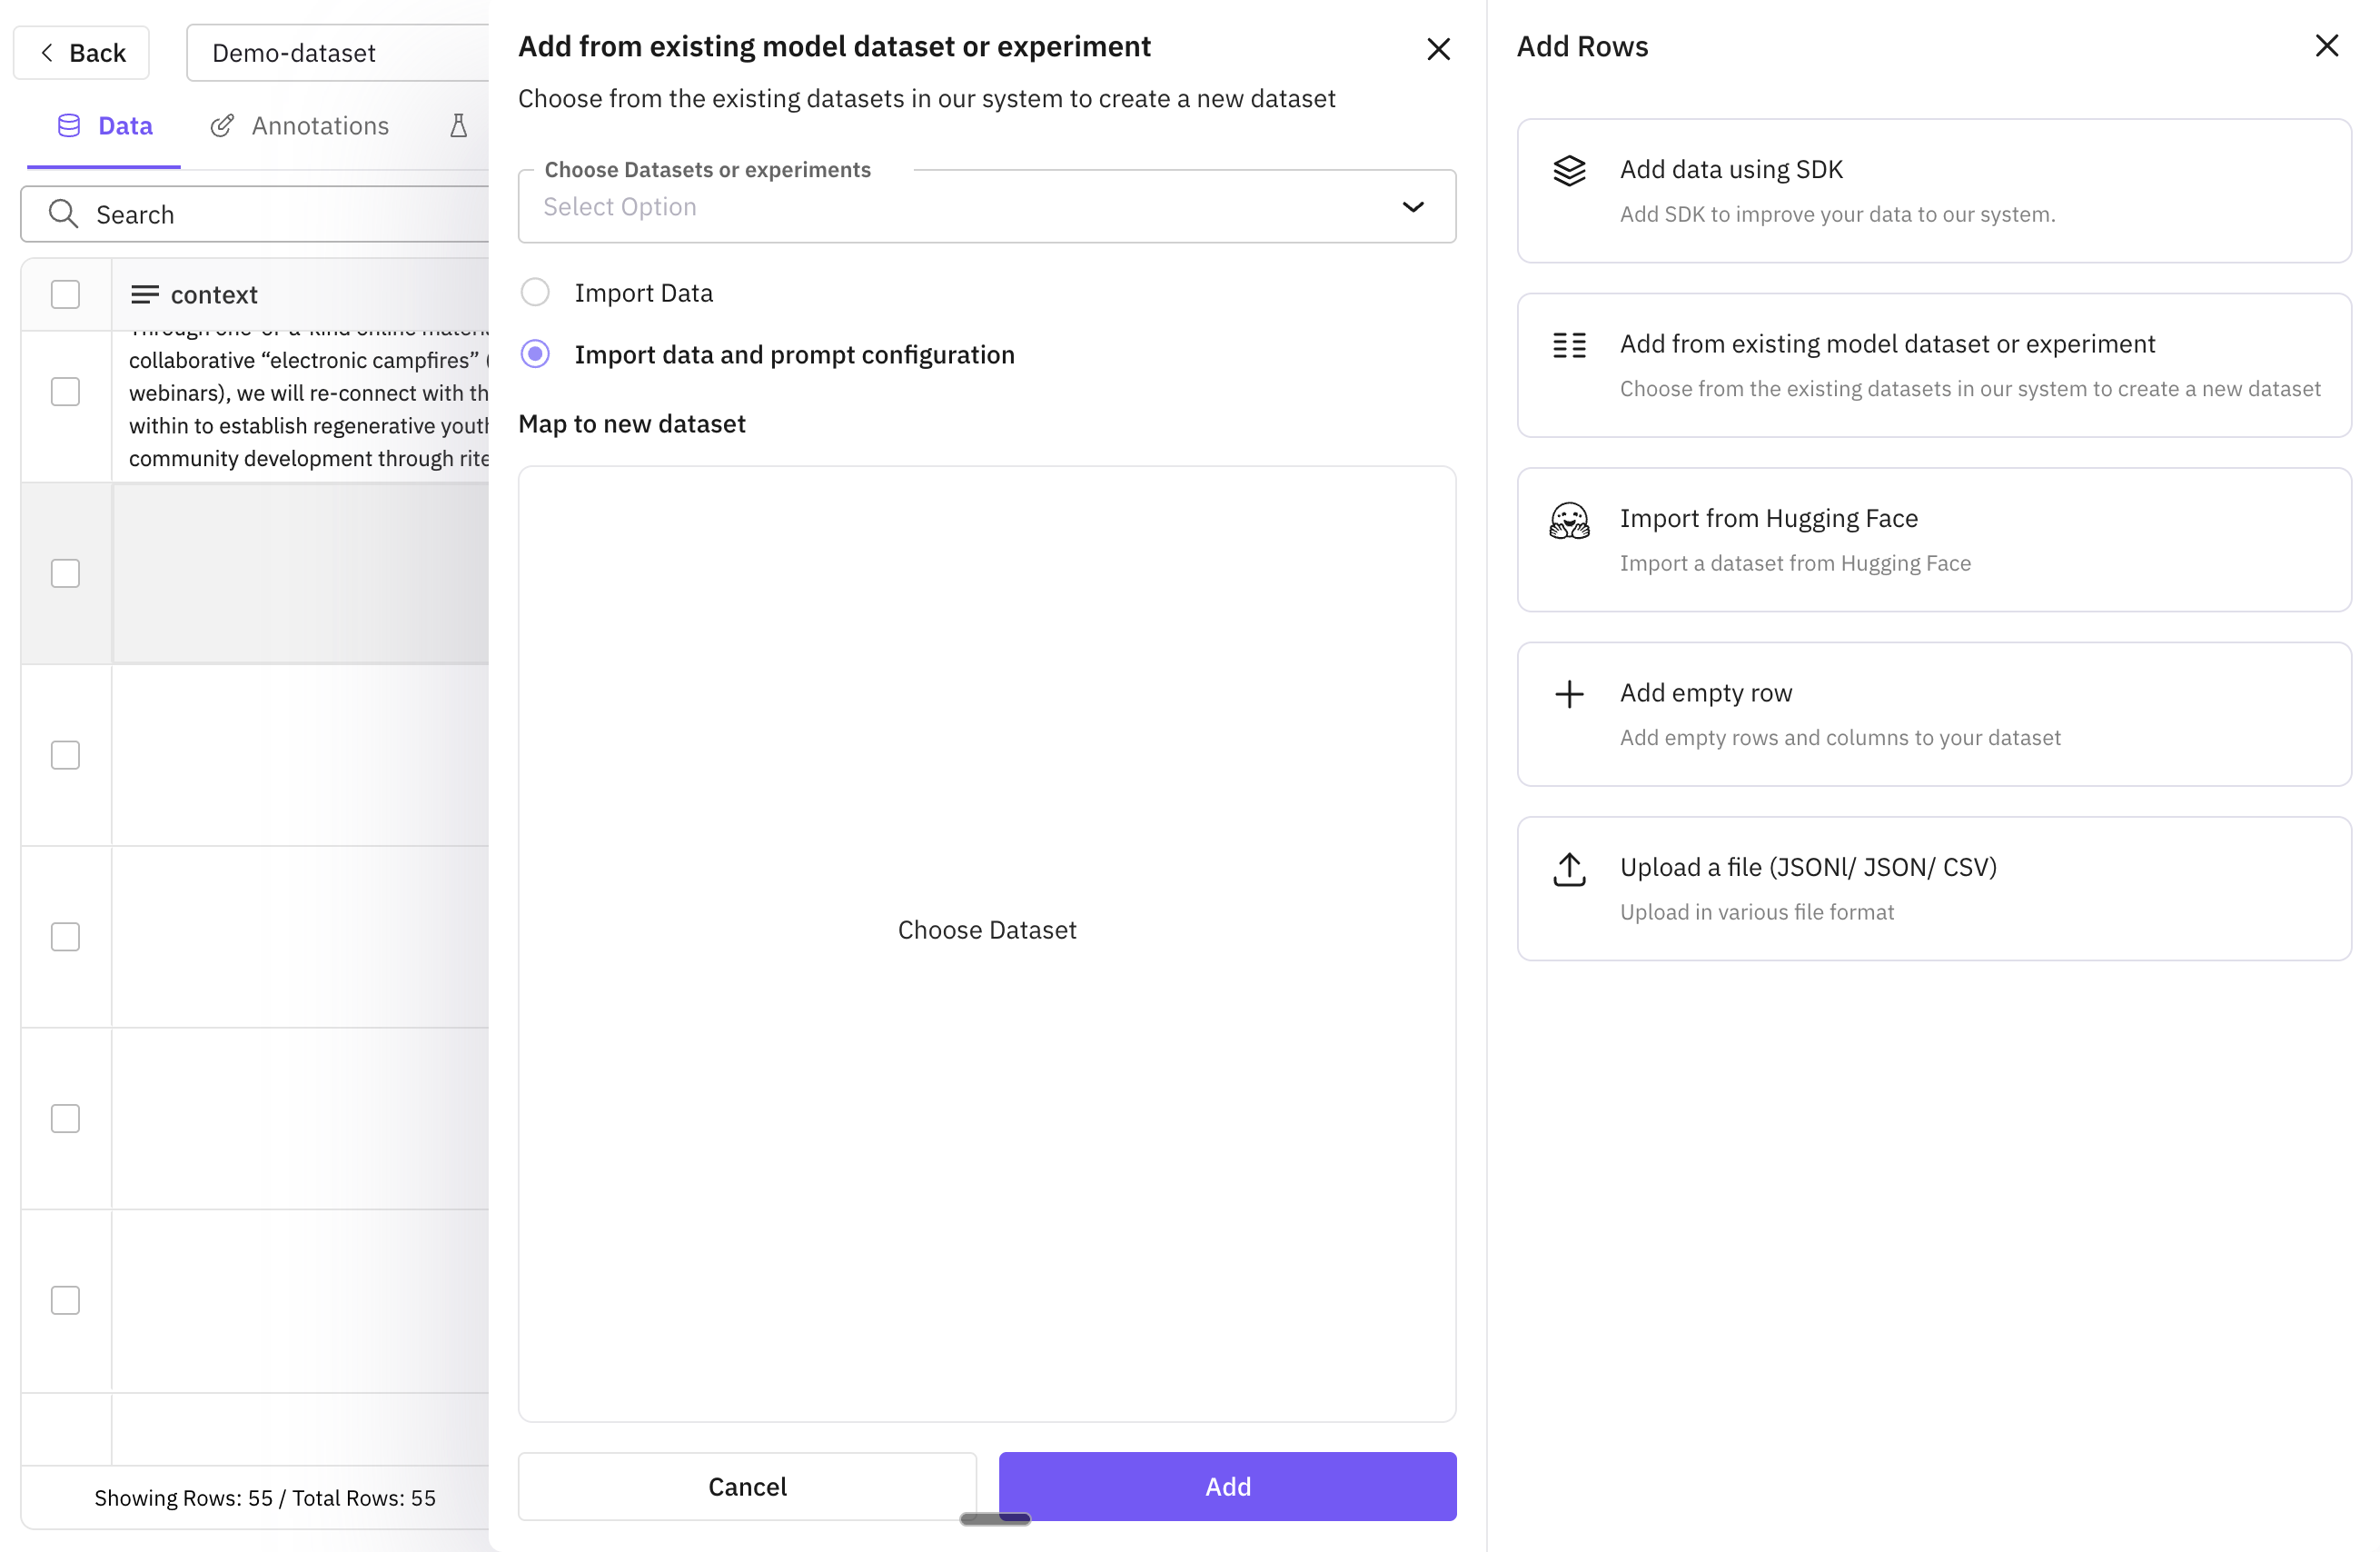
Select source and map columns
Select the source dataset (or experiment dataset). Map each source column to a column in the current dataset. Only mapped columns are copied.
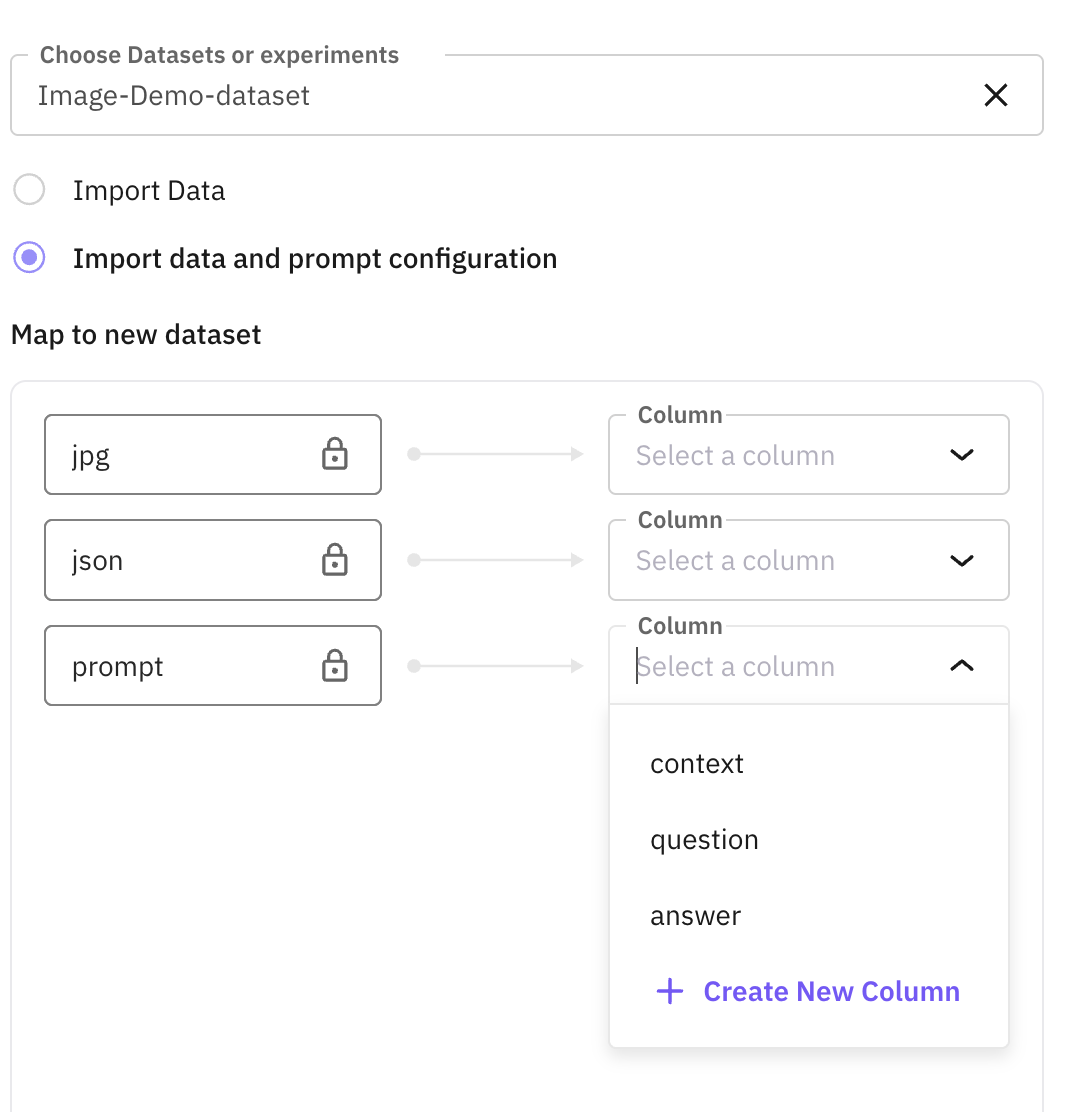
| Property | Description |
|---|---|
| Source dataset | The dataset or experiment dataset to copy rows from |
| Column mapping | Target column → source column (only mapped columns are copied) |
Add rows
Click “Add” to copy the rows. New rows are appended to the current dataset.
Append rows from a Hugging Face dataset.
Open Add rows from Hugging Face
From the dataset view, choose to add rows from Hugging Face.
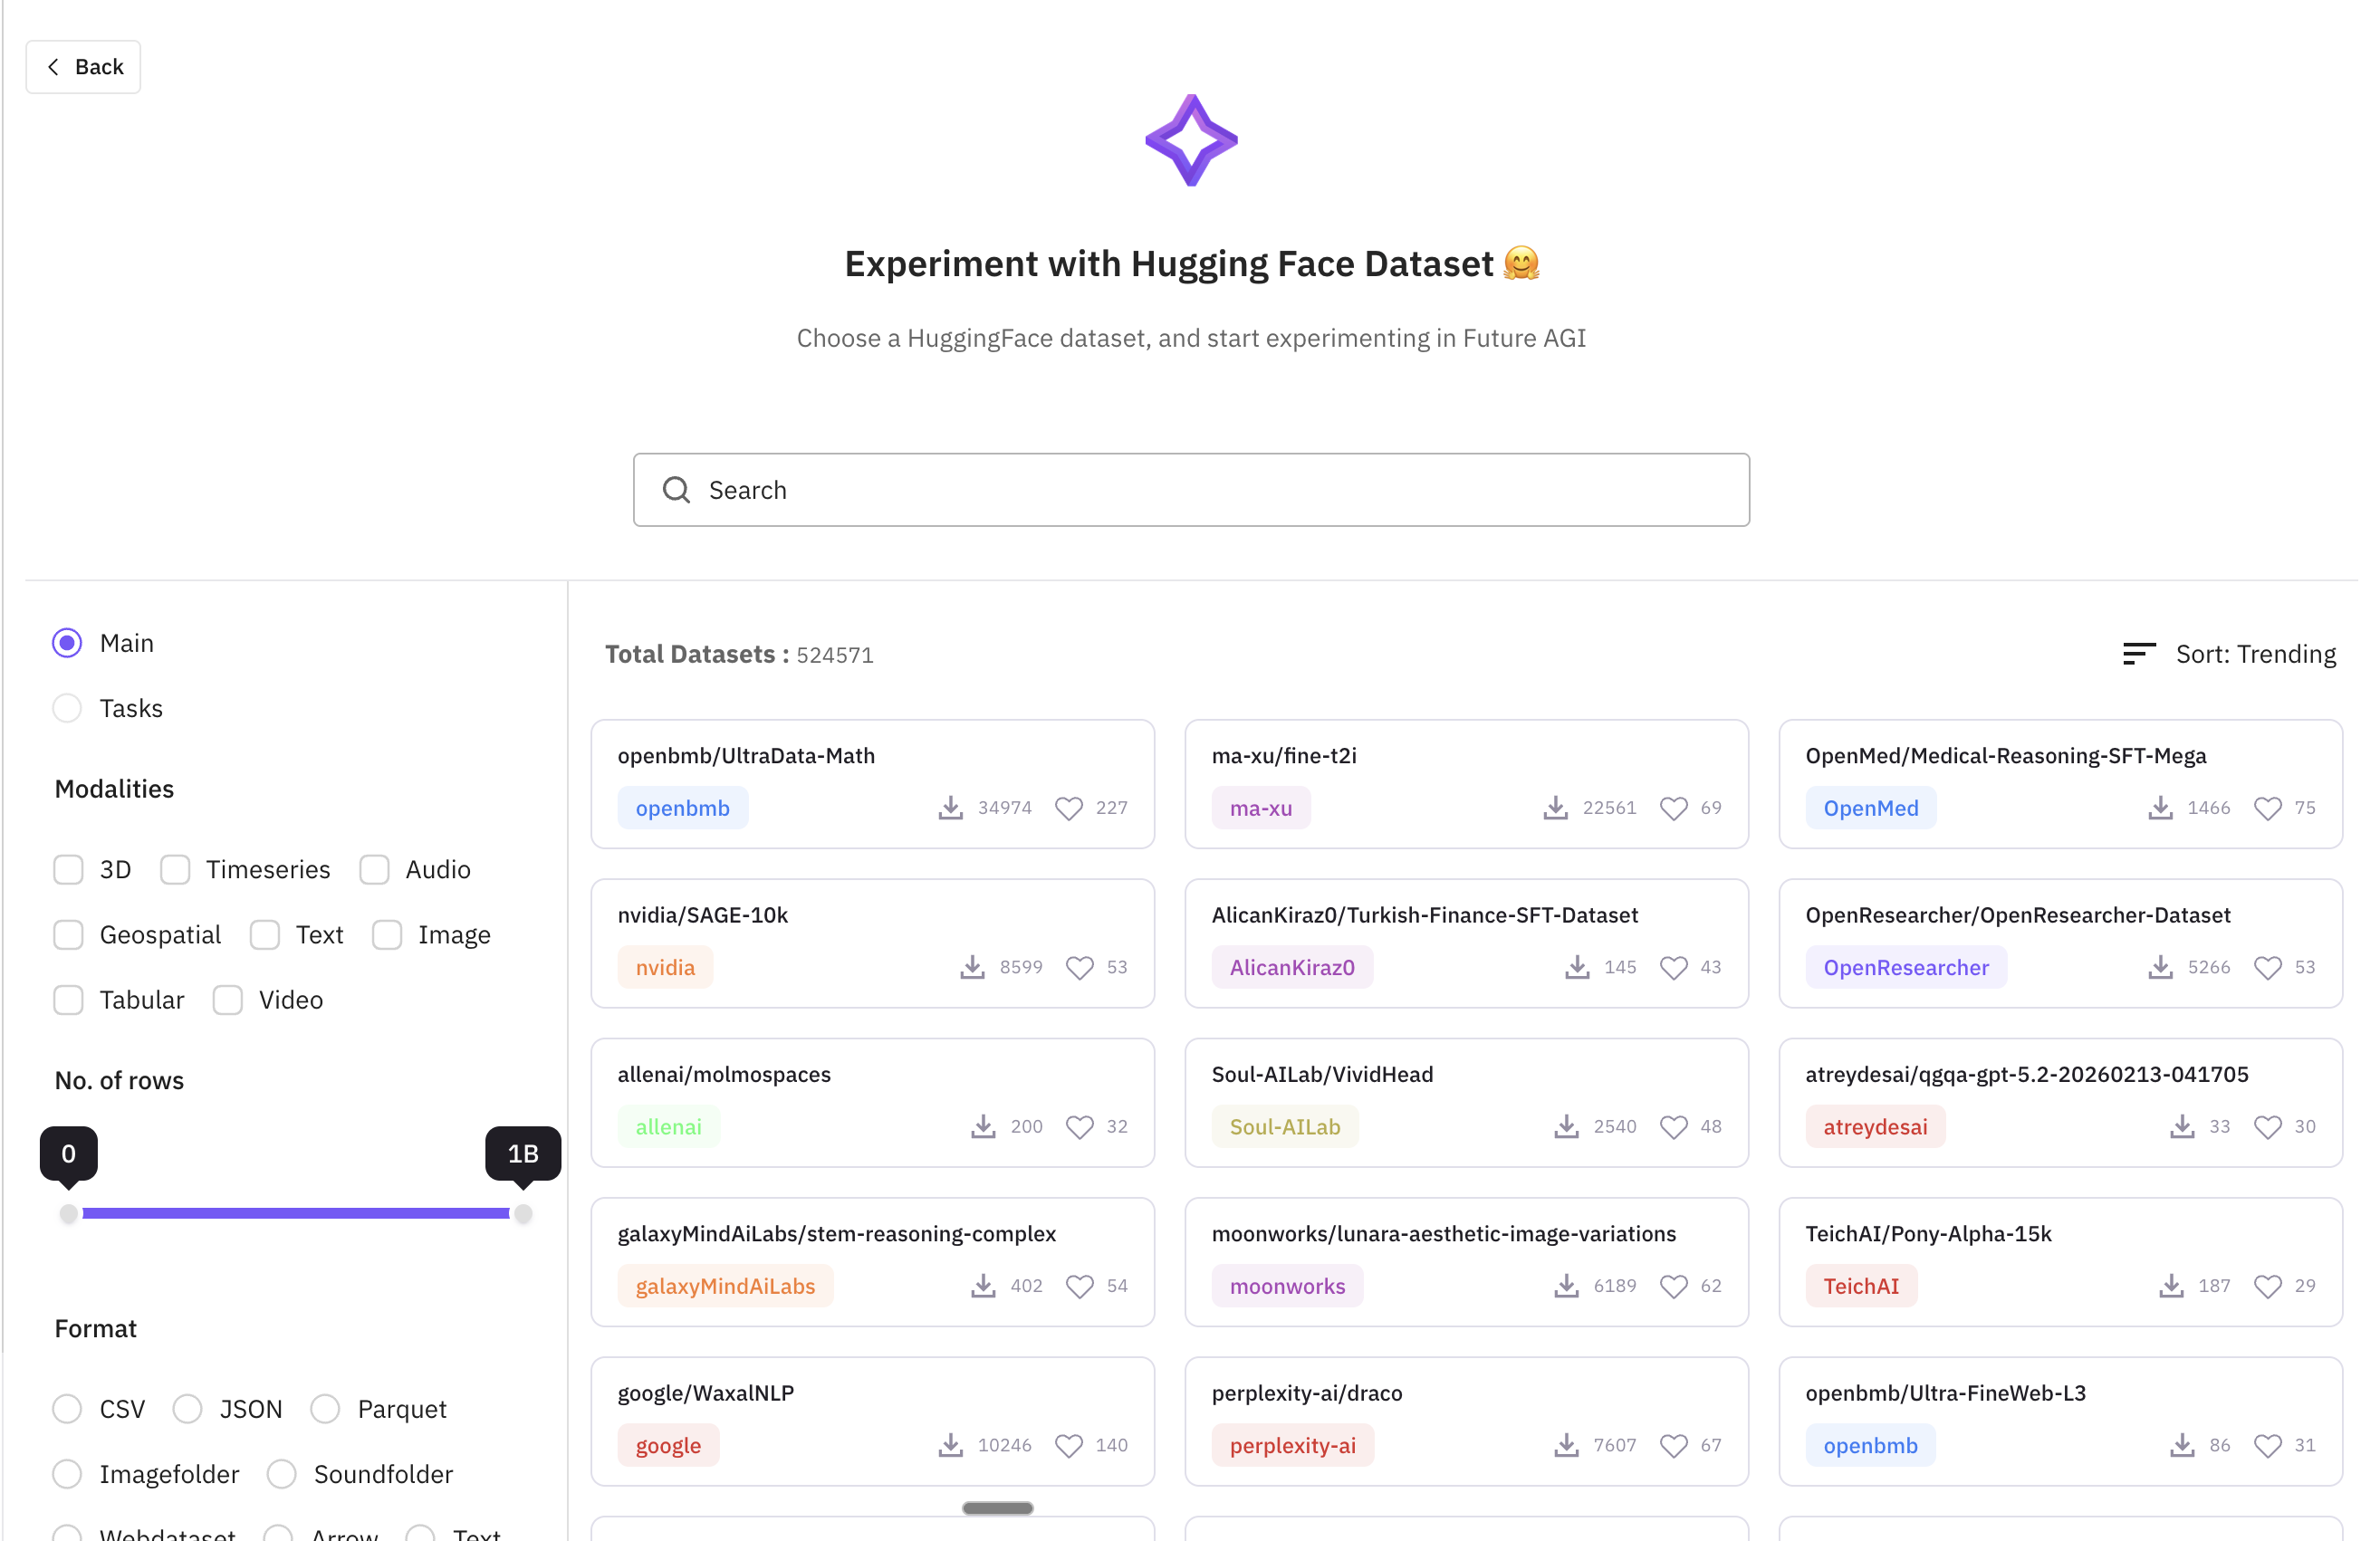
Select dataset and config
Search and select the Hugging Face dataset. Choose subset, split, and how many rows to import. Map or confirm columns if required.
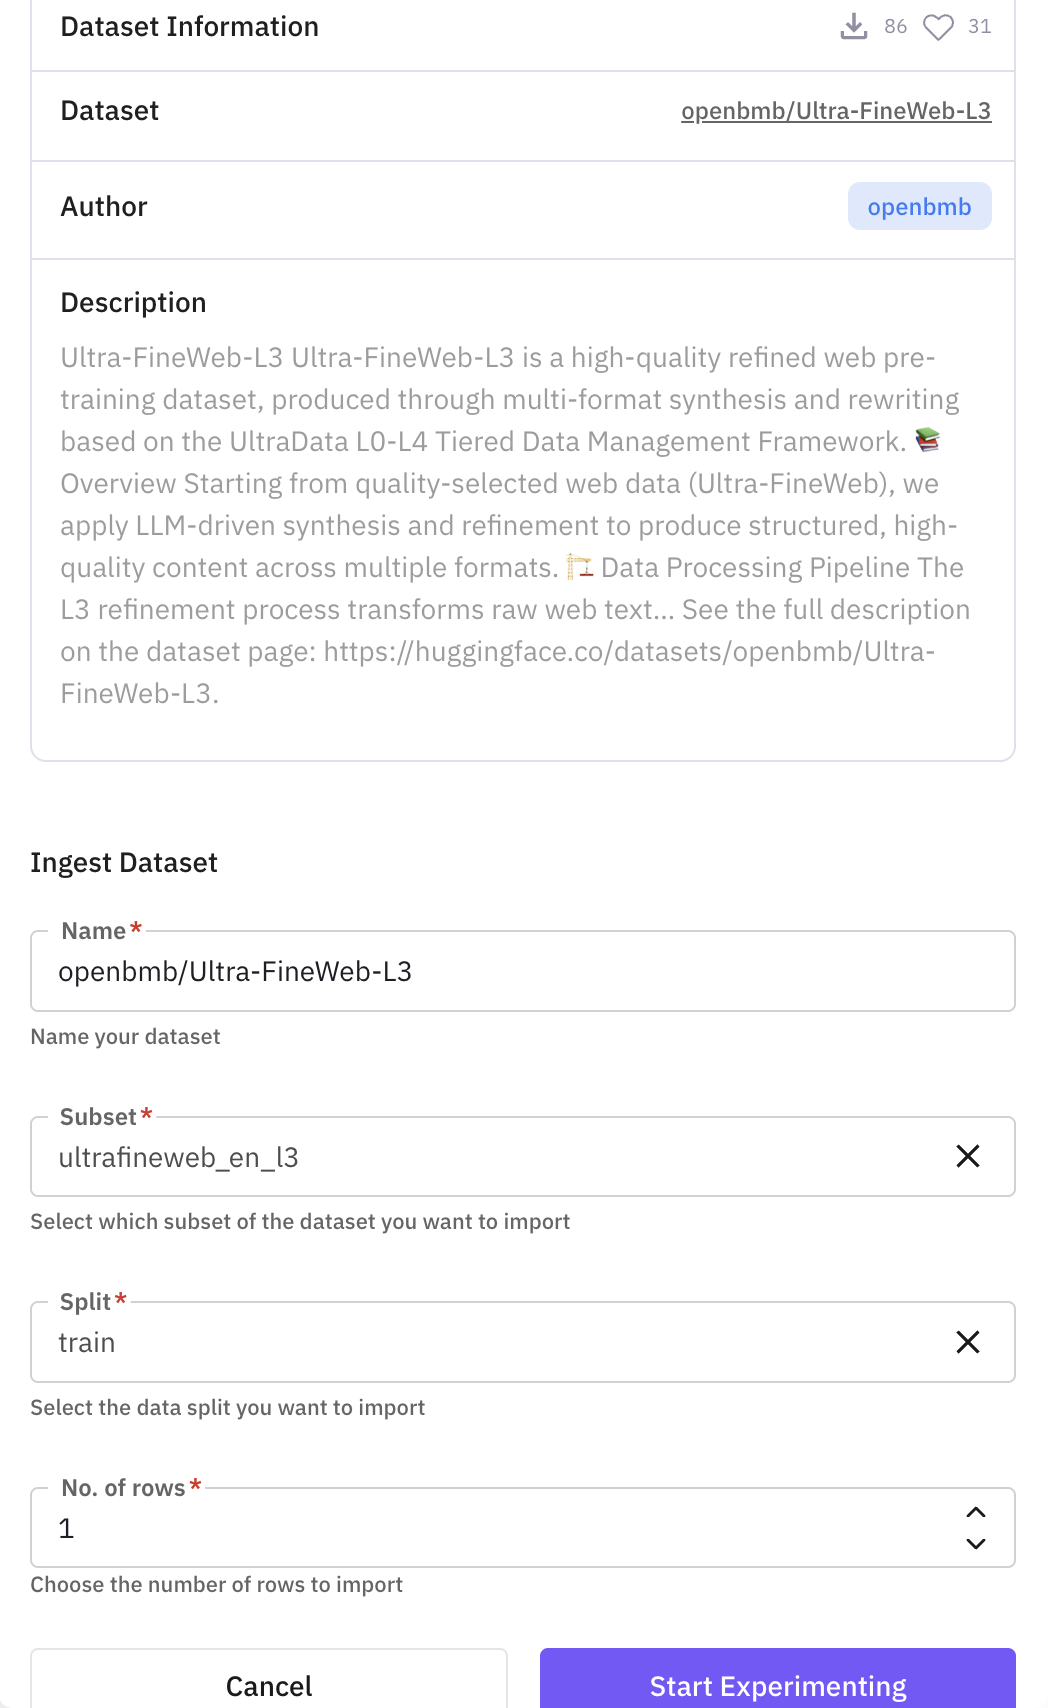
Import rows
Start the import. Rows are appended to your dataset and appear in your dashboard.
Upload a file (CSV, JSON, JSONL, or Excel) to append rows to your dataset.
Open Add rows from file
From the dataset view, choose the option to add rows by uploading a file.
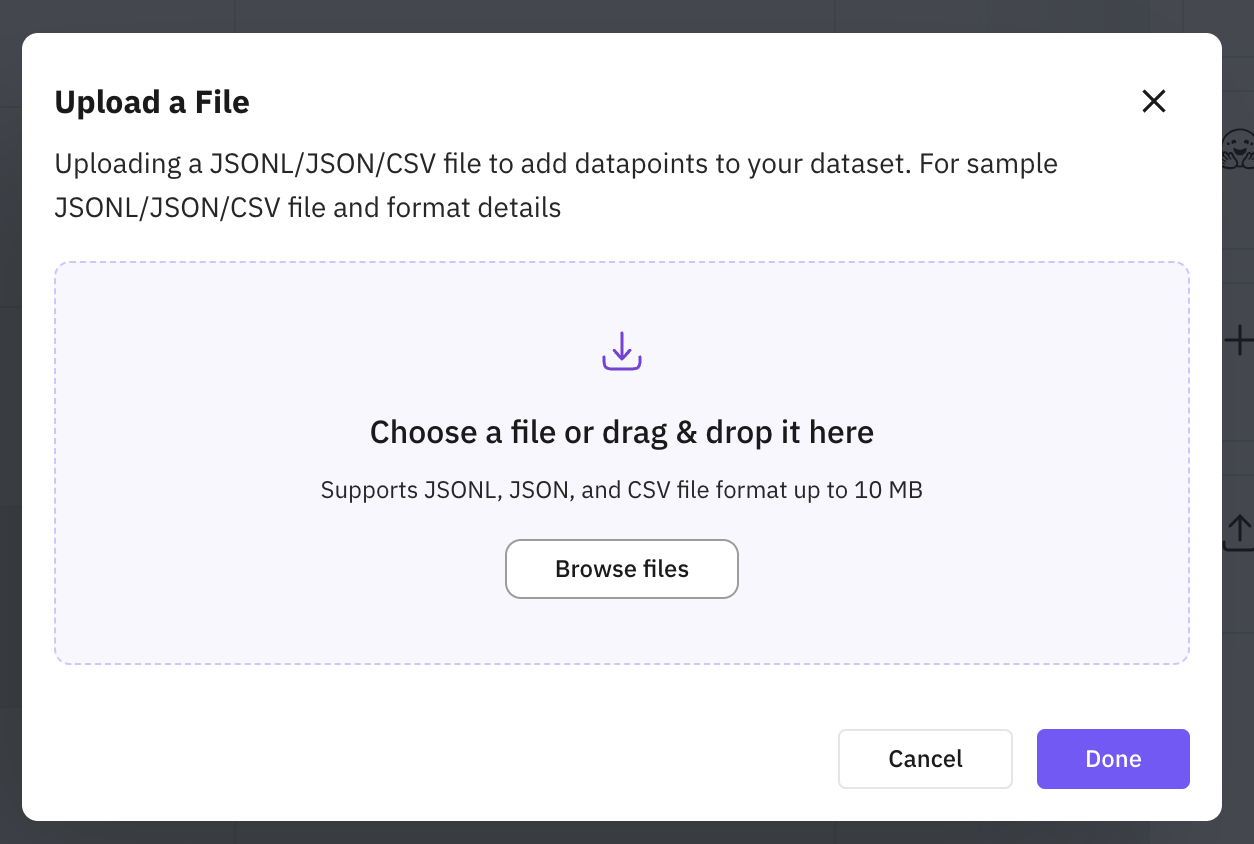
Select dataset and upload file
Select the dataset you want to add rows to, then upload your file. Column names in the file are matched to existing columns; if the file has new column names, new columns are created on the dataset.
| Property | Description |
|---|---|
| Dataset | The dataset to append rows to |
| File | CSV, JSON, JSONL, or Excel file. Column names should match (or will create new columns) |
Rows added
Rows from the file are appended to the dataset. Image and audio values are uploaded to storage. You can run prompt or evals on the updated dataset.
Note
The number of columns will increase automatically to match the number of columns in the new dataset. And the cells will be None by default.
Next Steps
Add Columns to Dataset
Extend your dataset structure with additional data fields
Run Prompts
Test and execute prompts against your dataset entries
Experiments
Design and run controlled experiments to compare approaches
Annotate Dataset
Add metadata and annotations to enrich your dataset
Create New Dataset
Create another dataset using SDK, file upload, or synthetic generation
Questions & Discussion