Create your first prompt
Create and run your first prompt in the Future AGI Prompt Workbench, with versioning and variables built in
A prompt is the instruction you give a model, and getting it right is one of the highest-leverage things you can do for an AI product. The Prompt Workbench gives every prompt a versioned home, so you can edit it, compare versions, and reuse it across datasets, simulations, experiments, and the SDK. This page walks you through creating and running your first prompt from scratch
Prerequisites
- A Future AGI account
- At least one model provider configured (Dashboard → Settings → AI Providers) so you can run the prompt
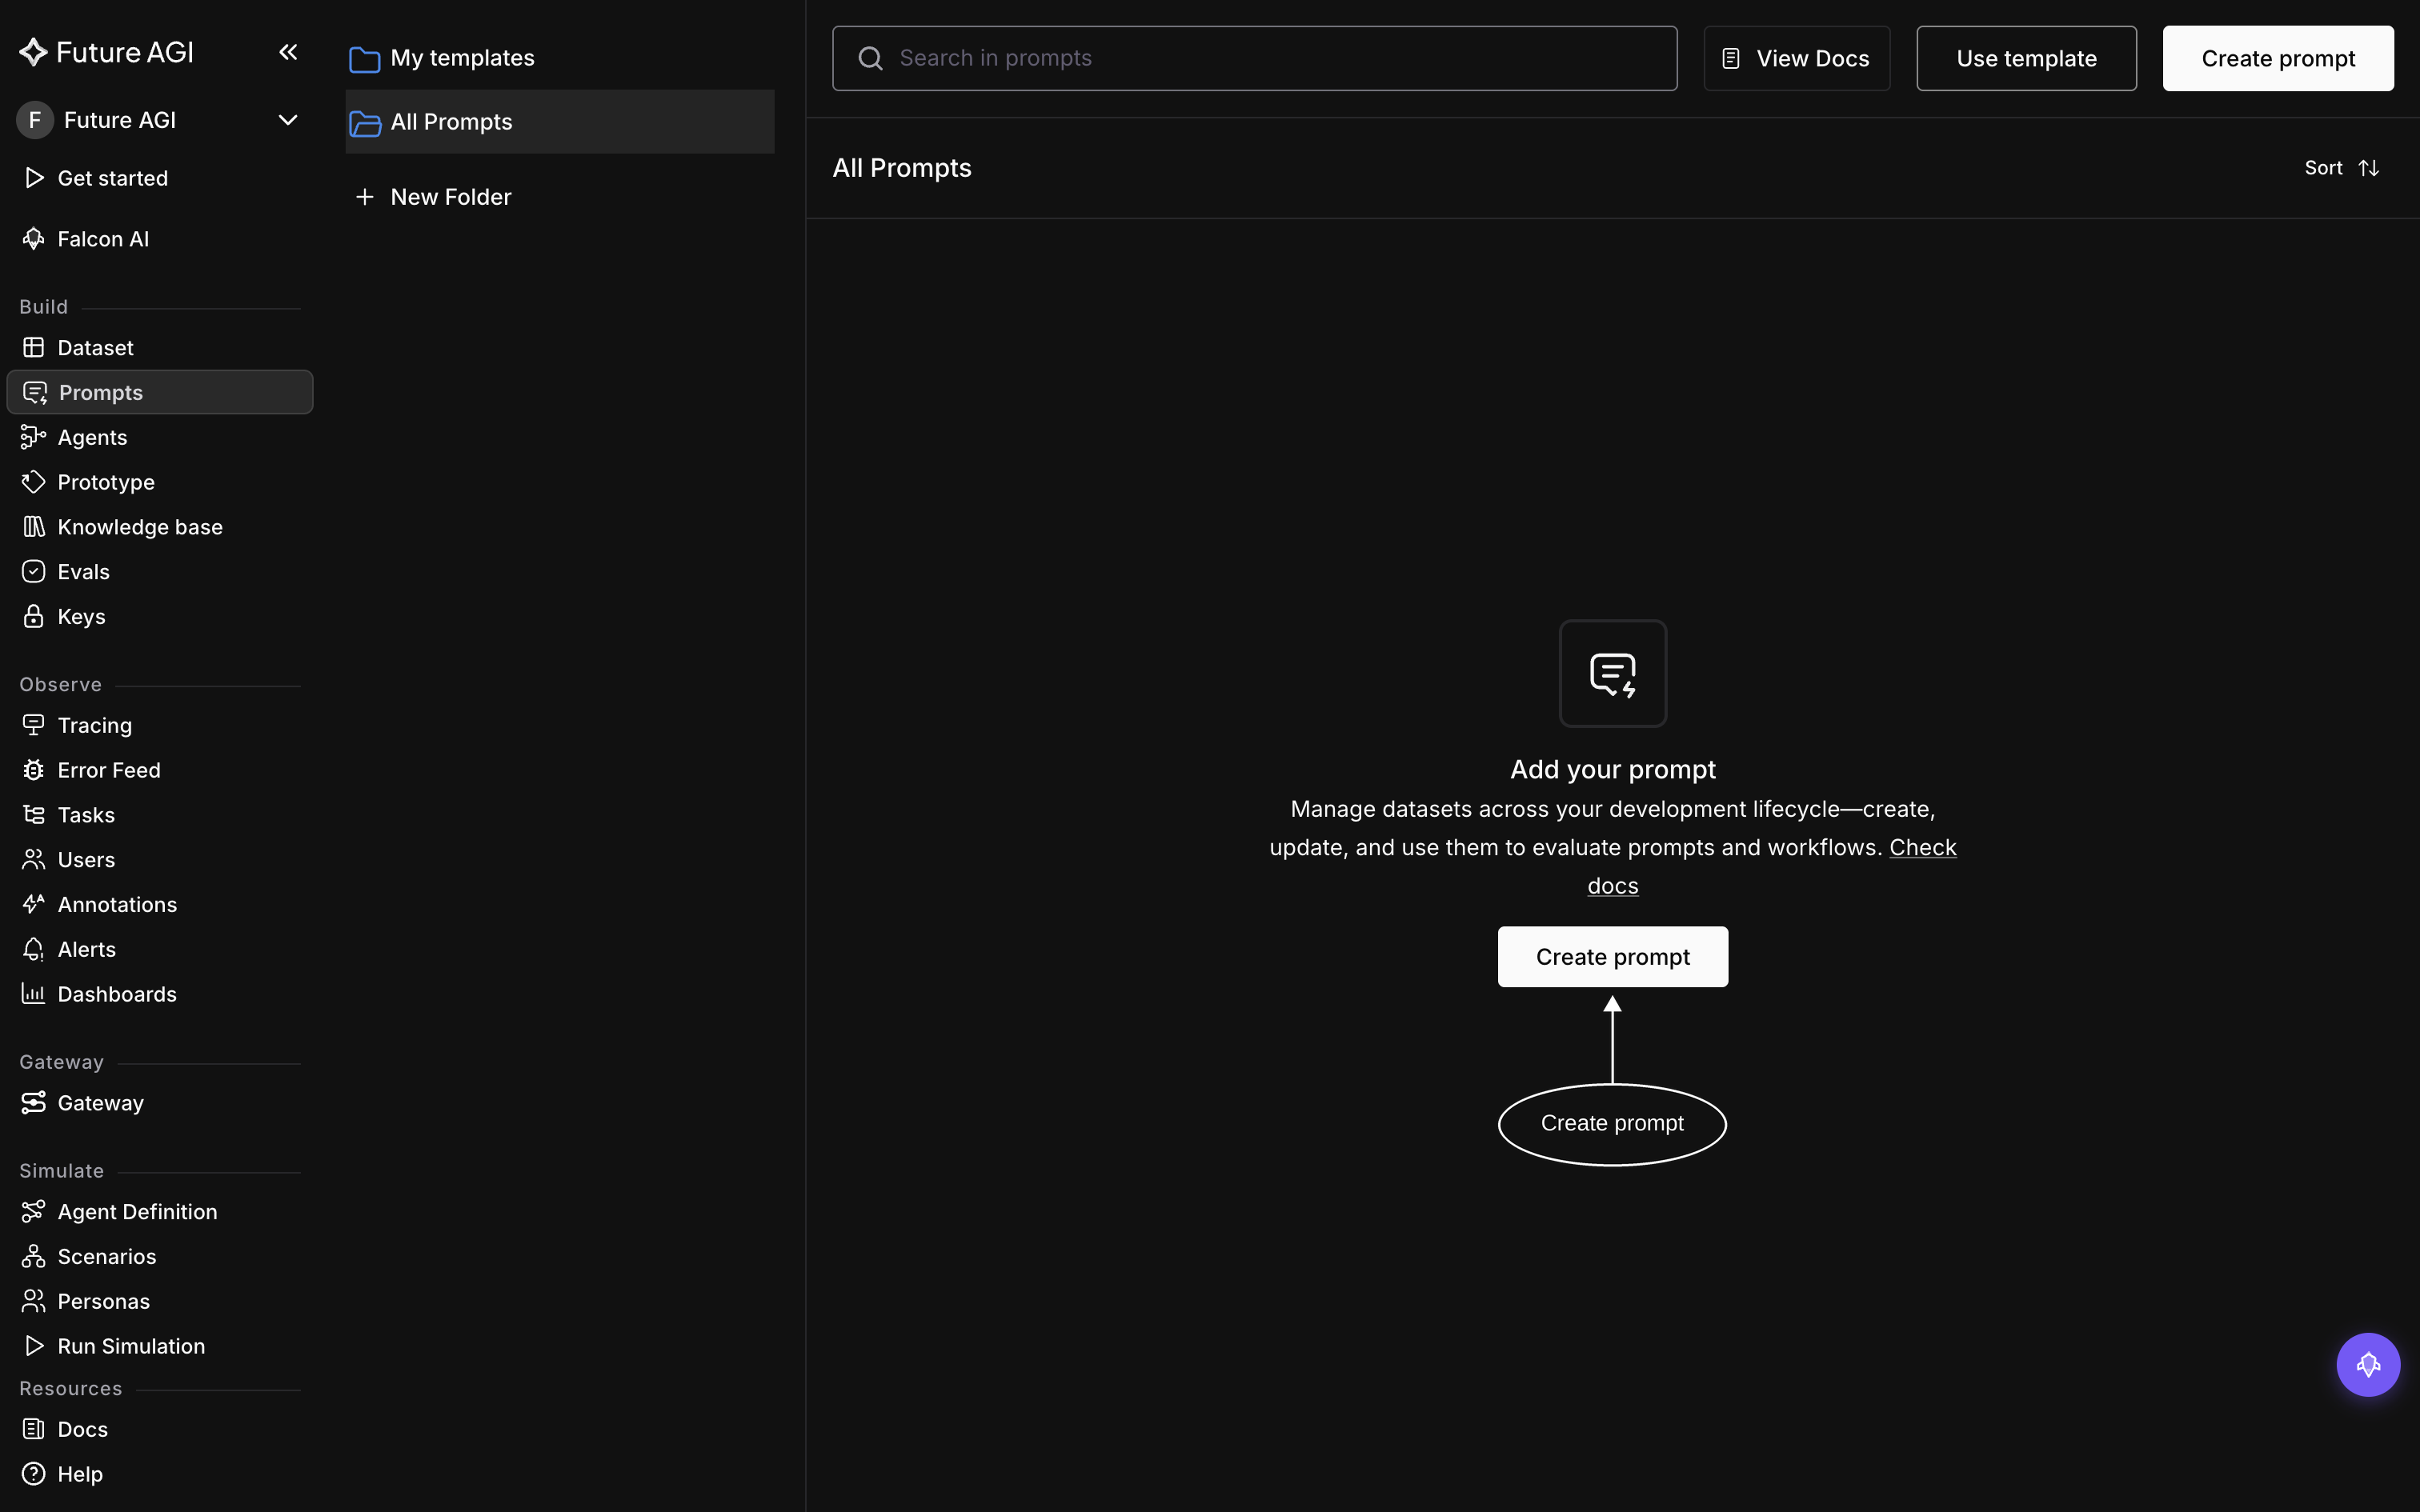
1. Open Prompts and create one
In the dashboard, under Build in the left nav, click Prompts, then Create prompt and choose Start from scratch (the other options are Generate with AI and Start with a template):
2. Name it and write the prompt
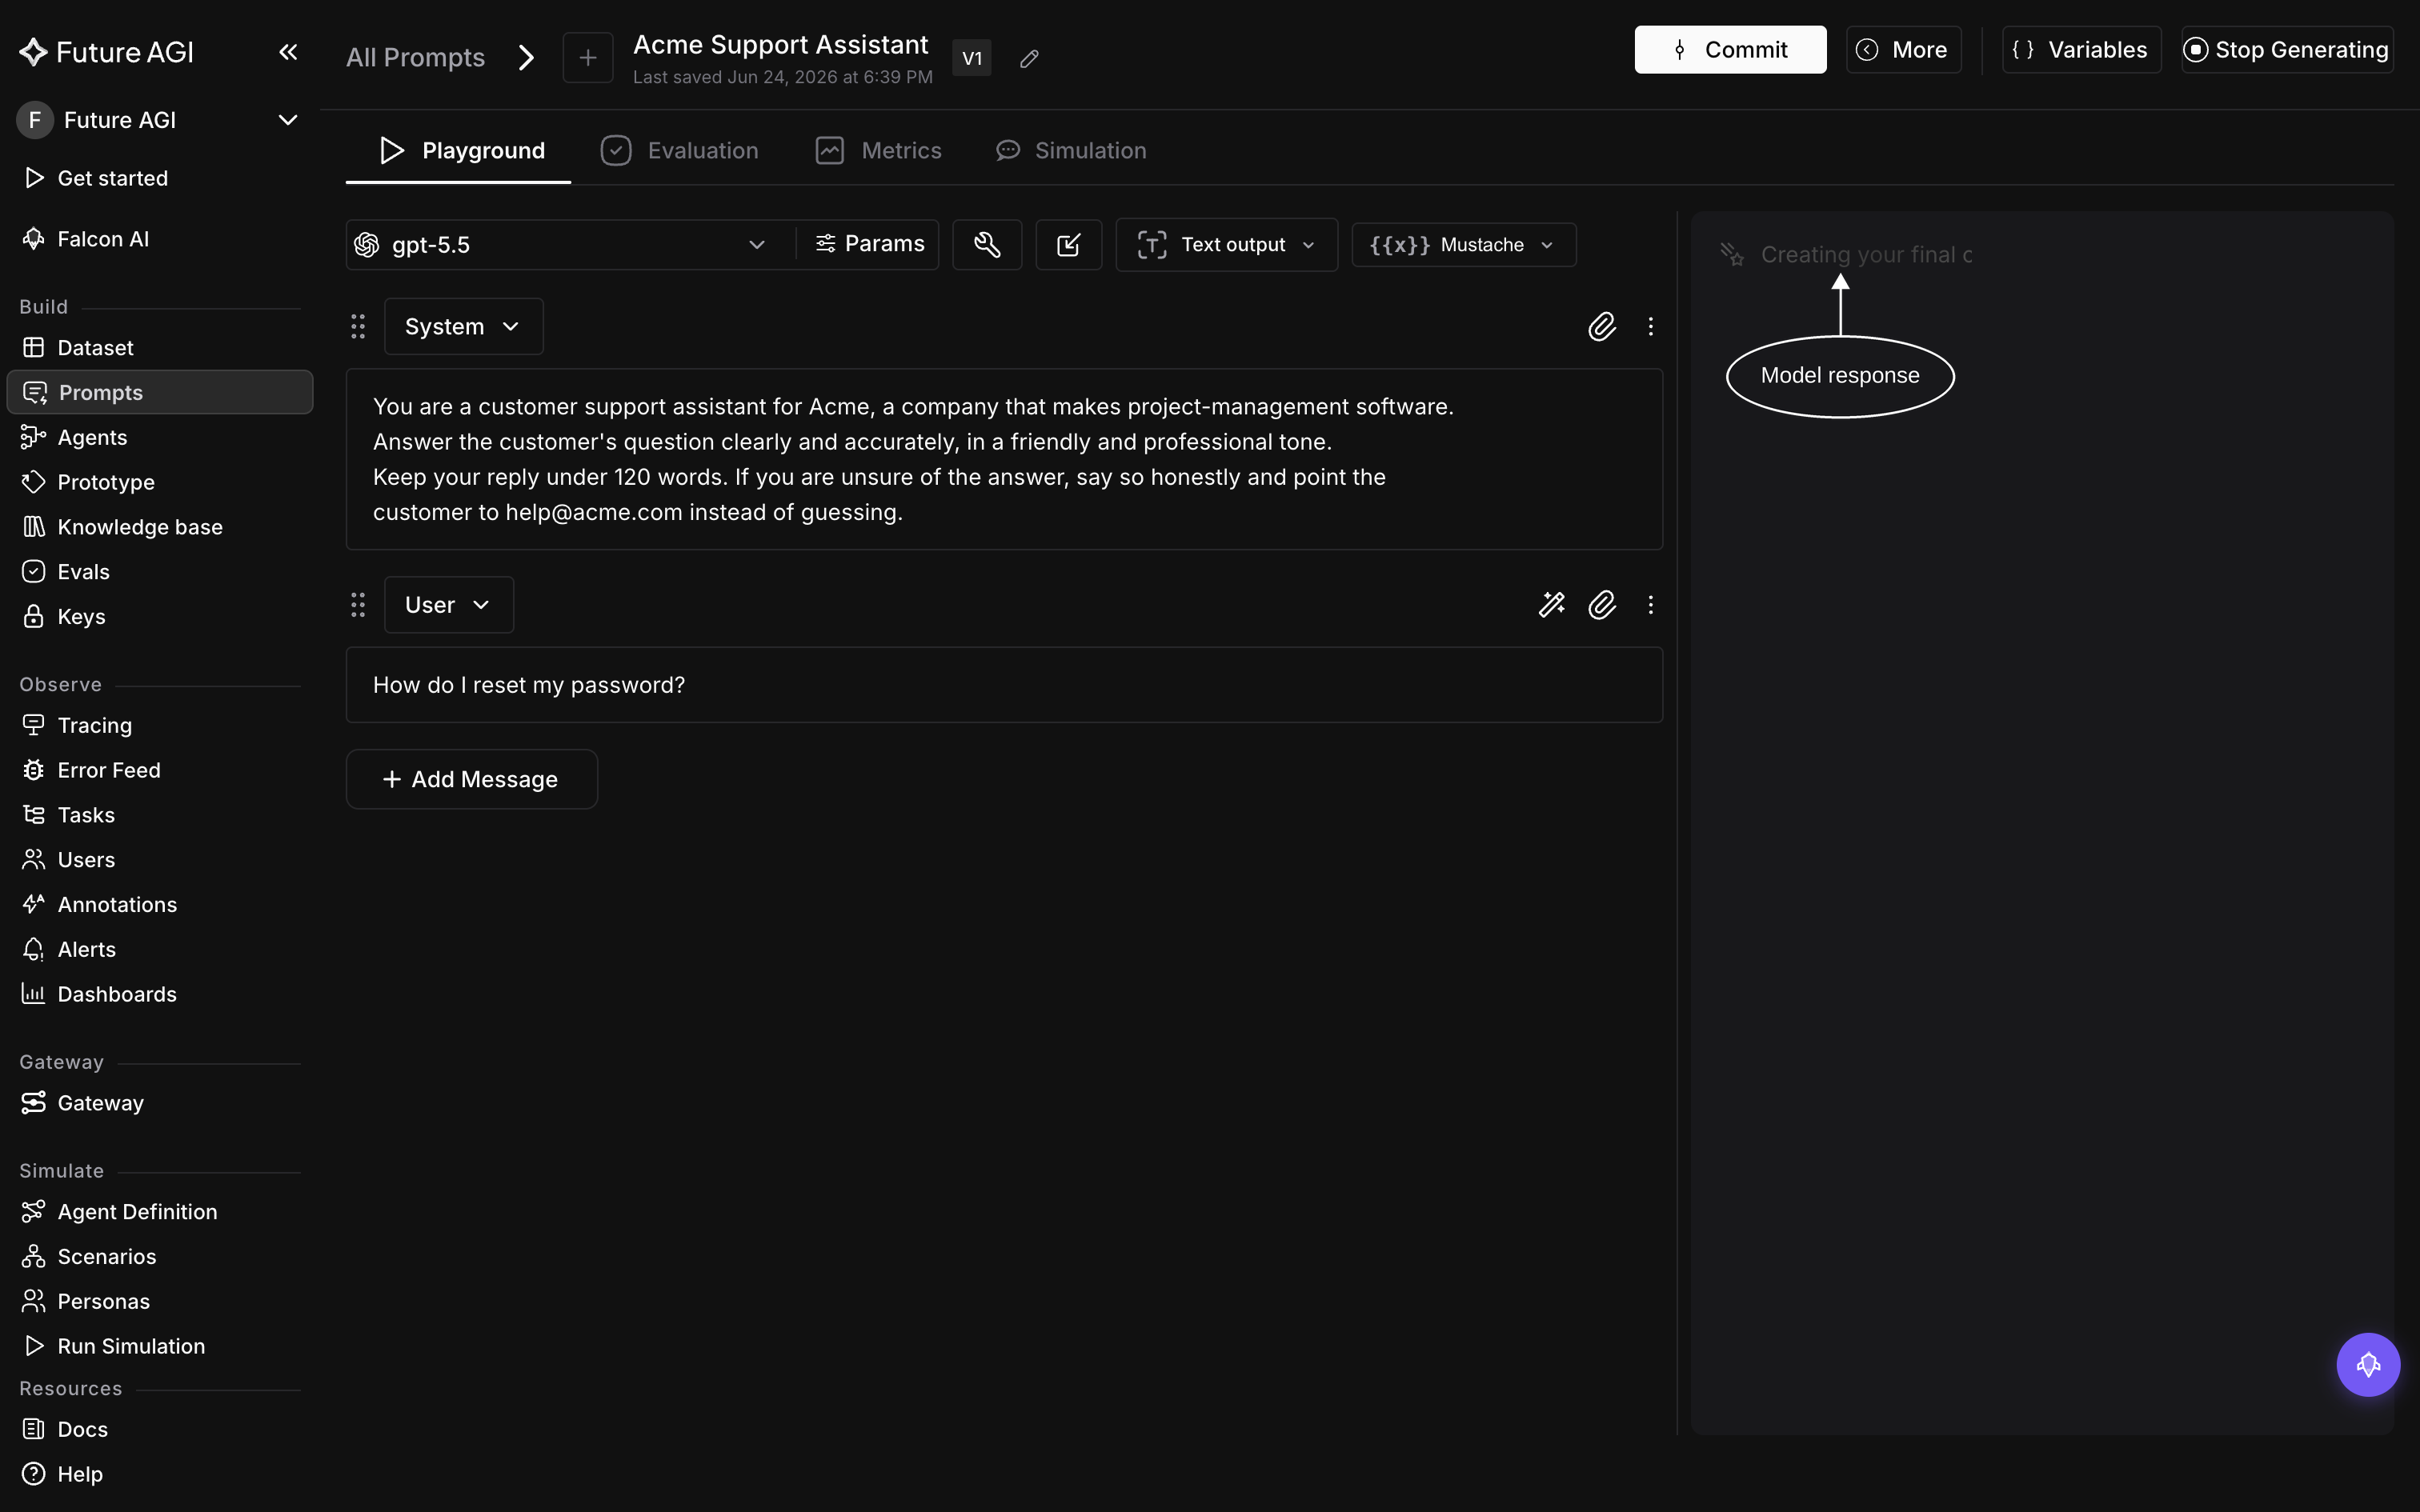
The prompt opens as Untitled-1: click the title to rename it (e.g. Acme Support Assistant). The editor then has two fields: System (optional) shapes the model’s overall behavior, and User is the message that drives the response. Here’s a ready-to-use example. Copy each block into the matching field:
System
You are a customer support assistant for Acme, a company that makes project-management software.
Answer the customer's question clearly and accurately, in a friendly and professional tone.
Keep your reply under 120 words. If you are unsure of the answer, say so honestly and point the
customer to help@acme.com instead of guessing.
User
How do I reset my password?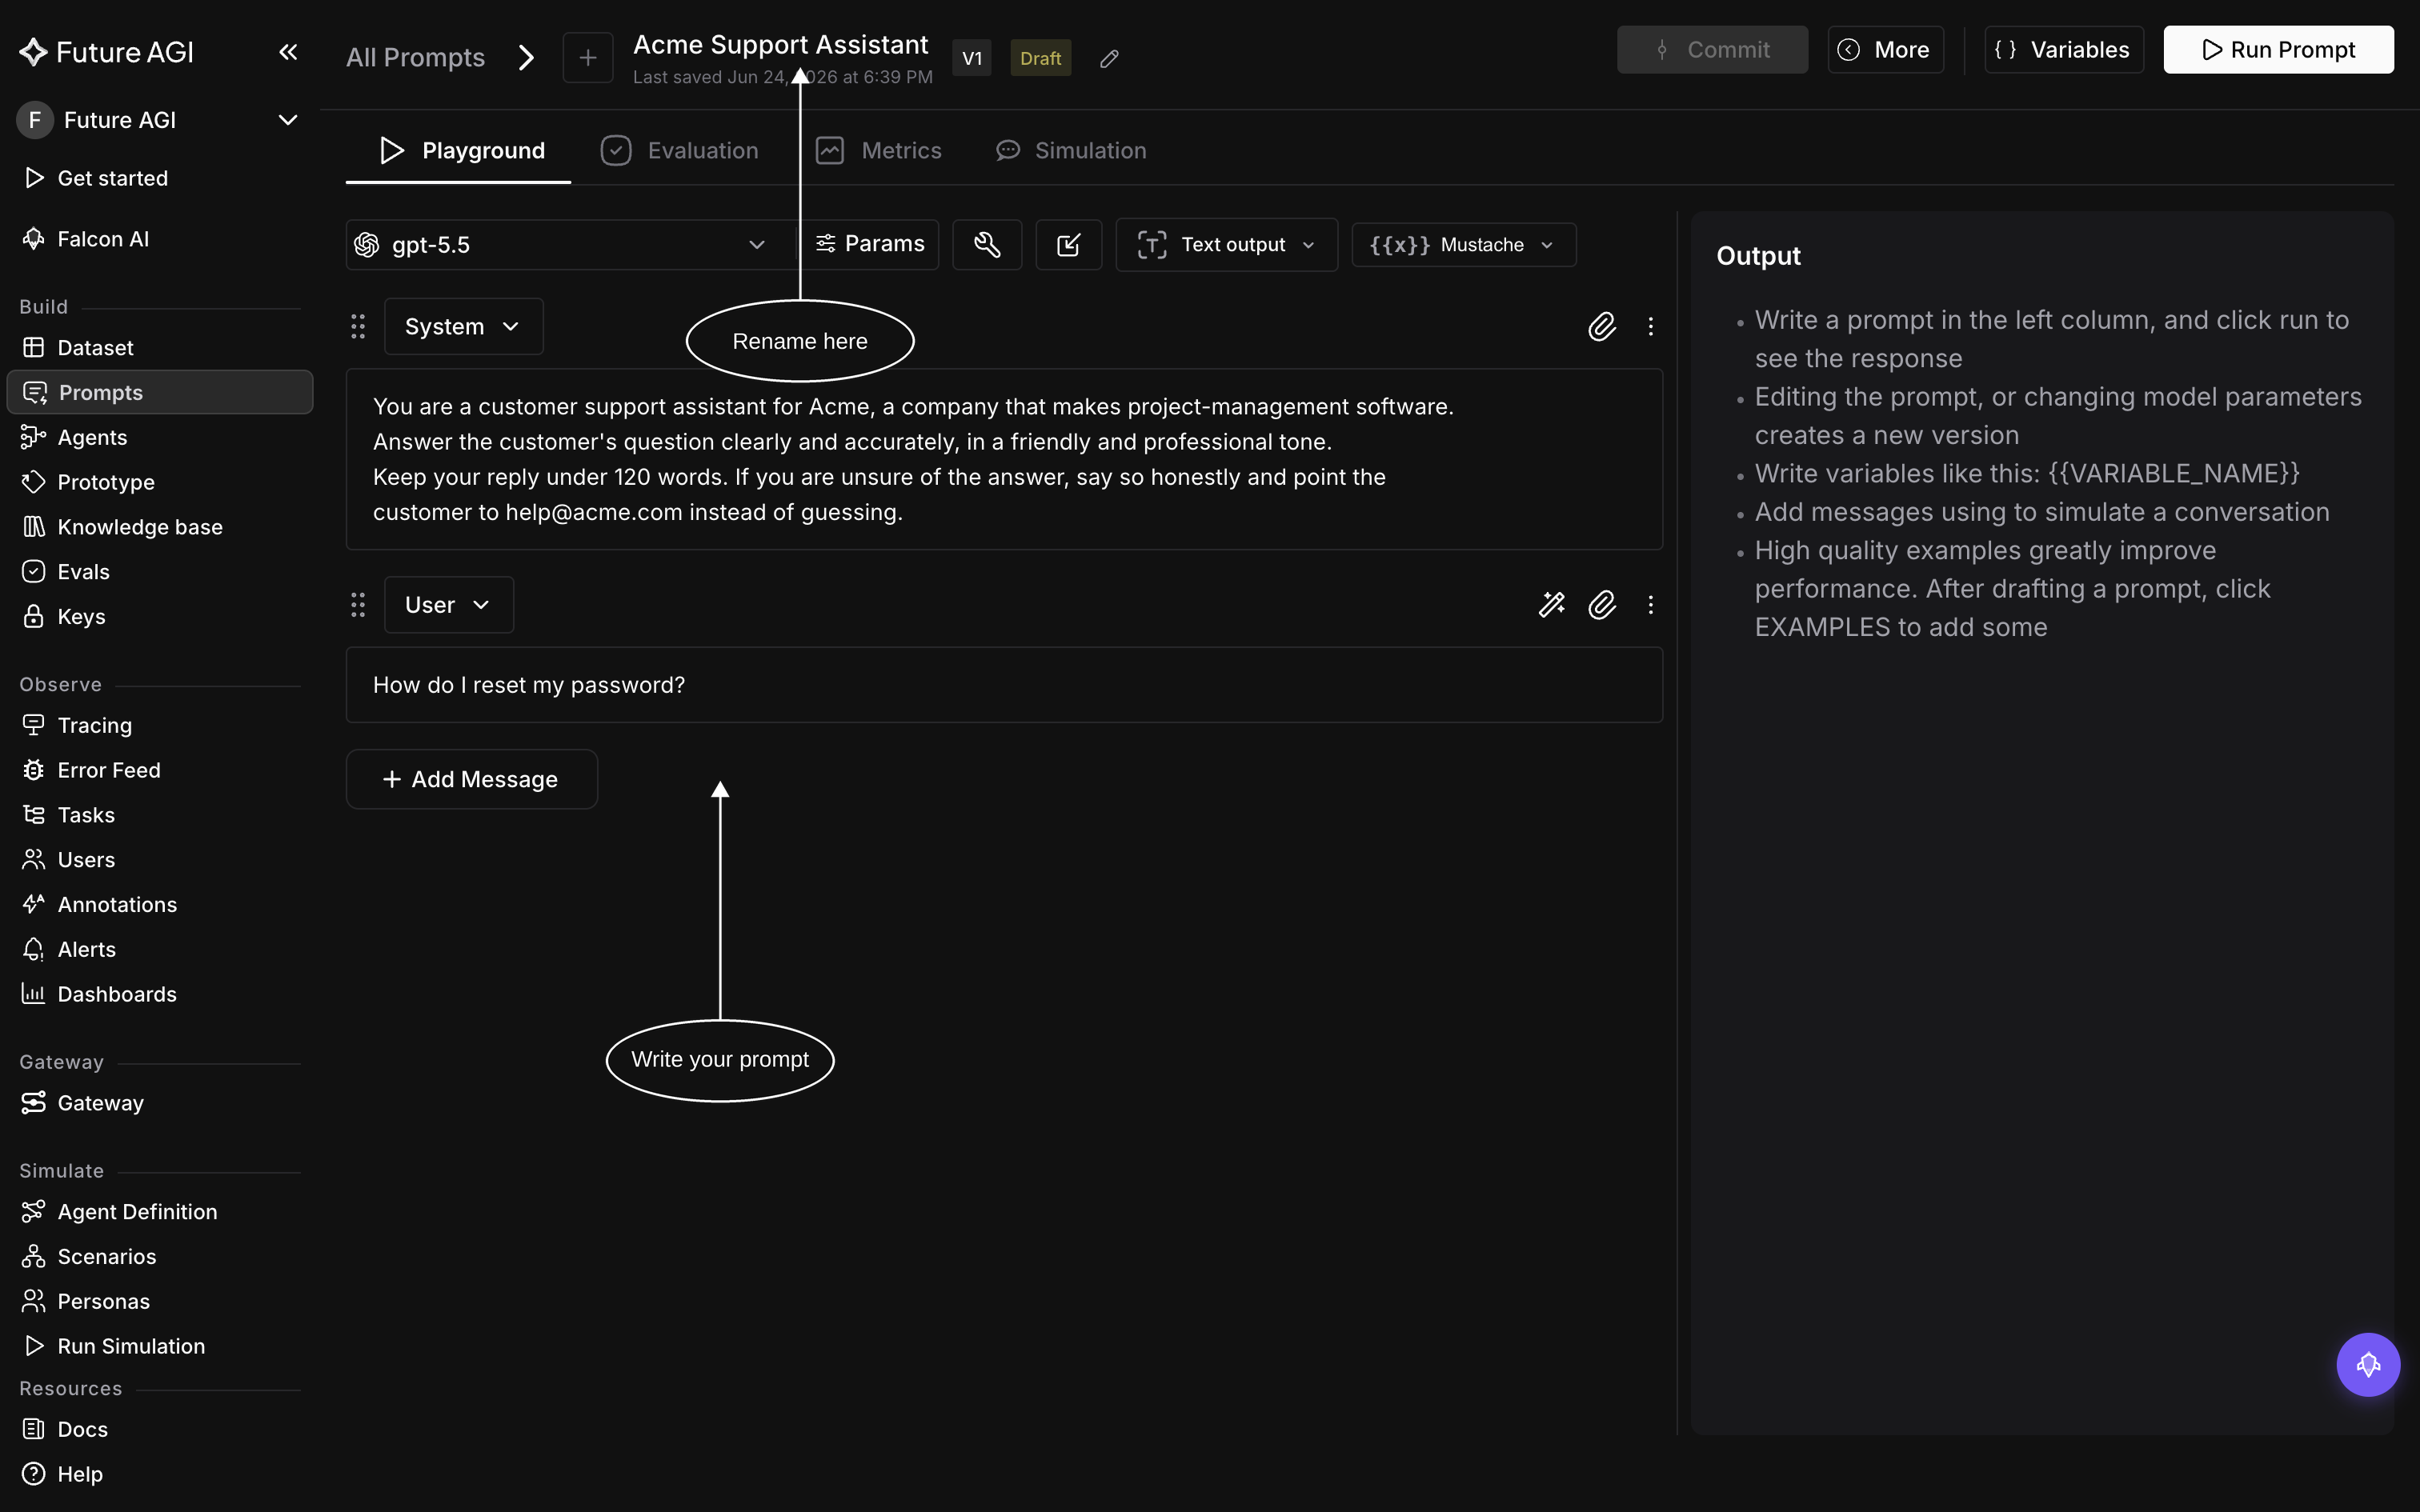
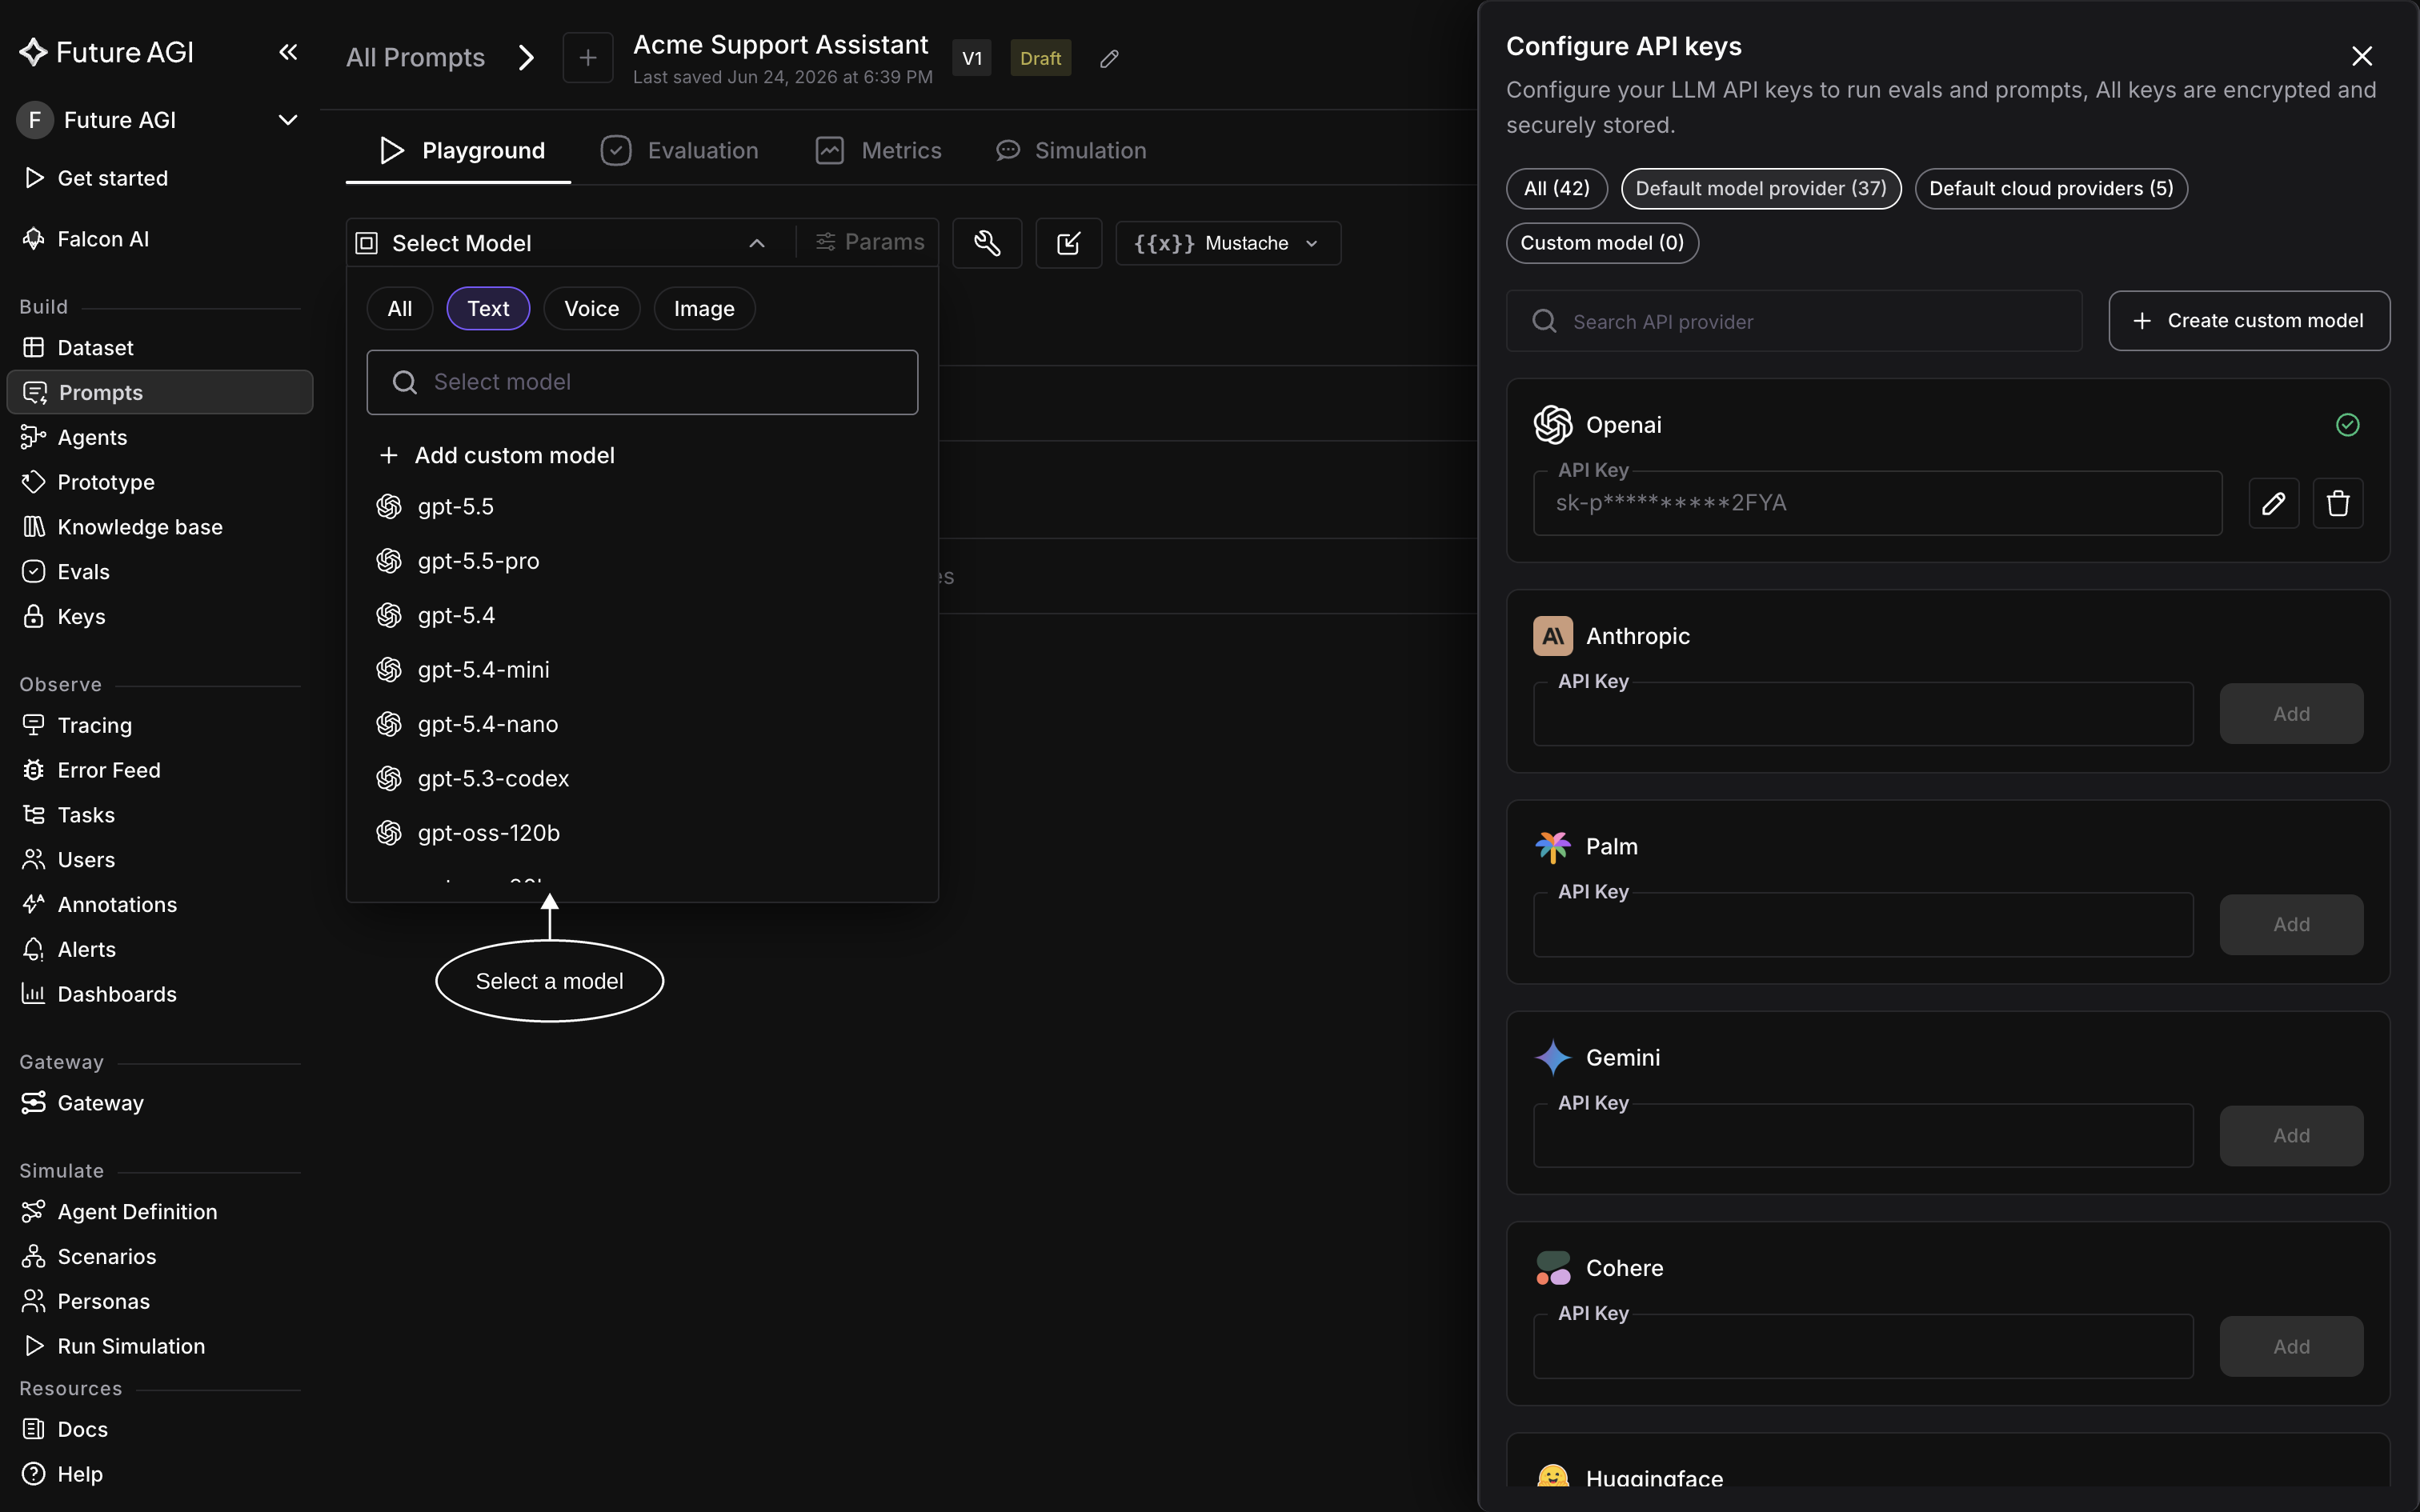
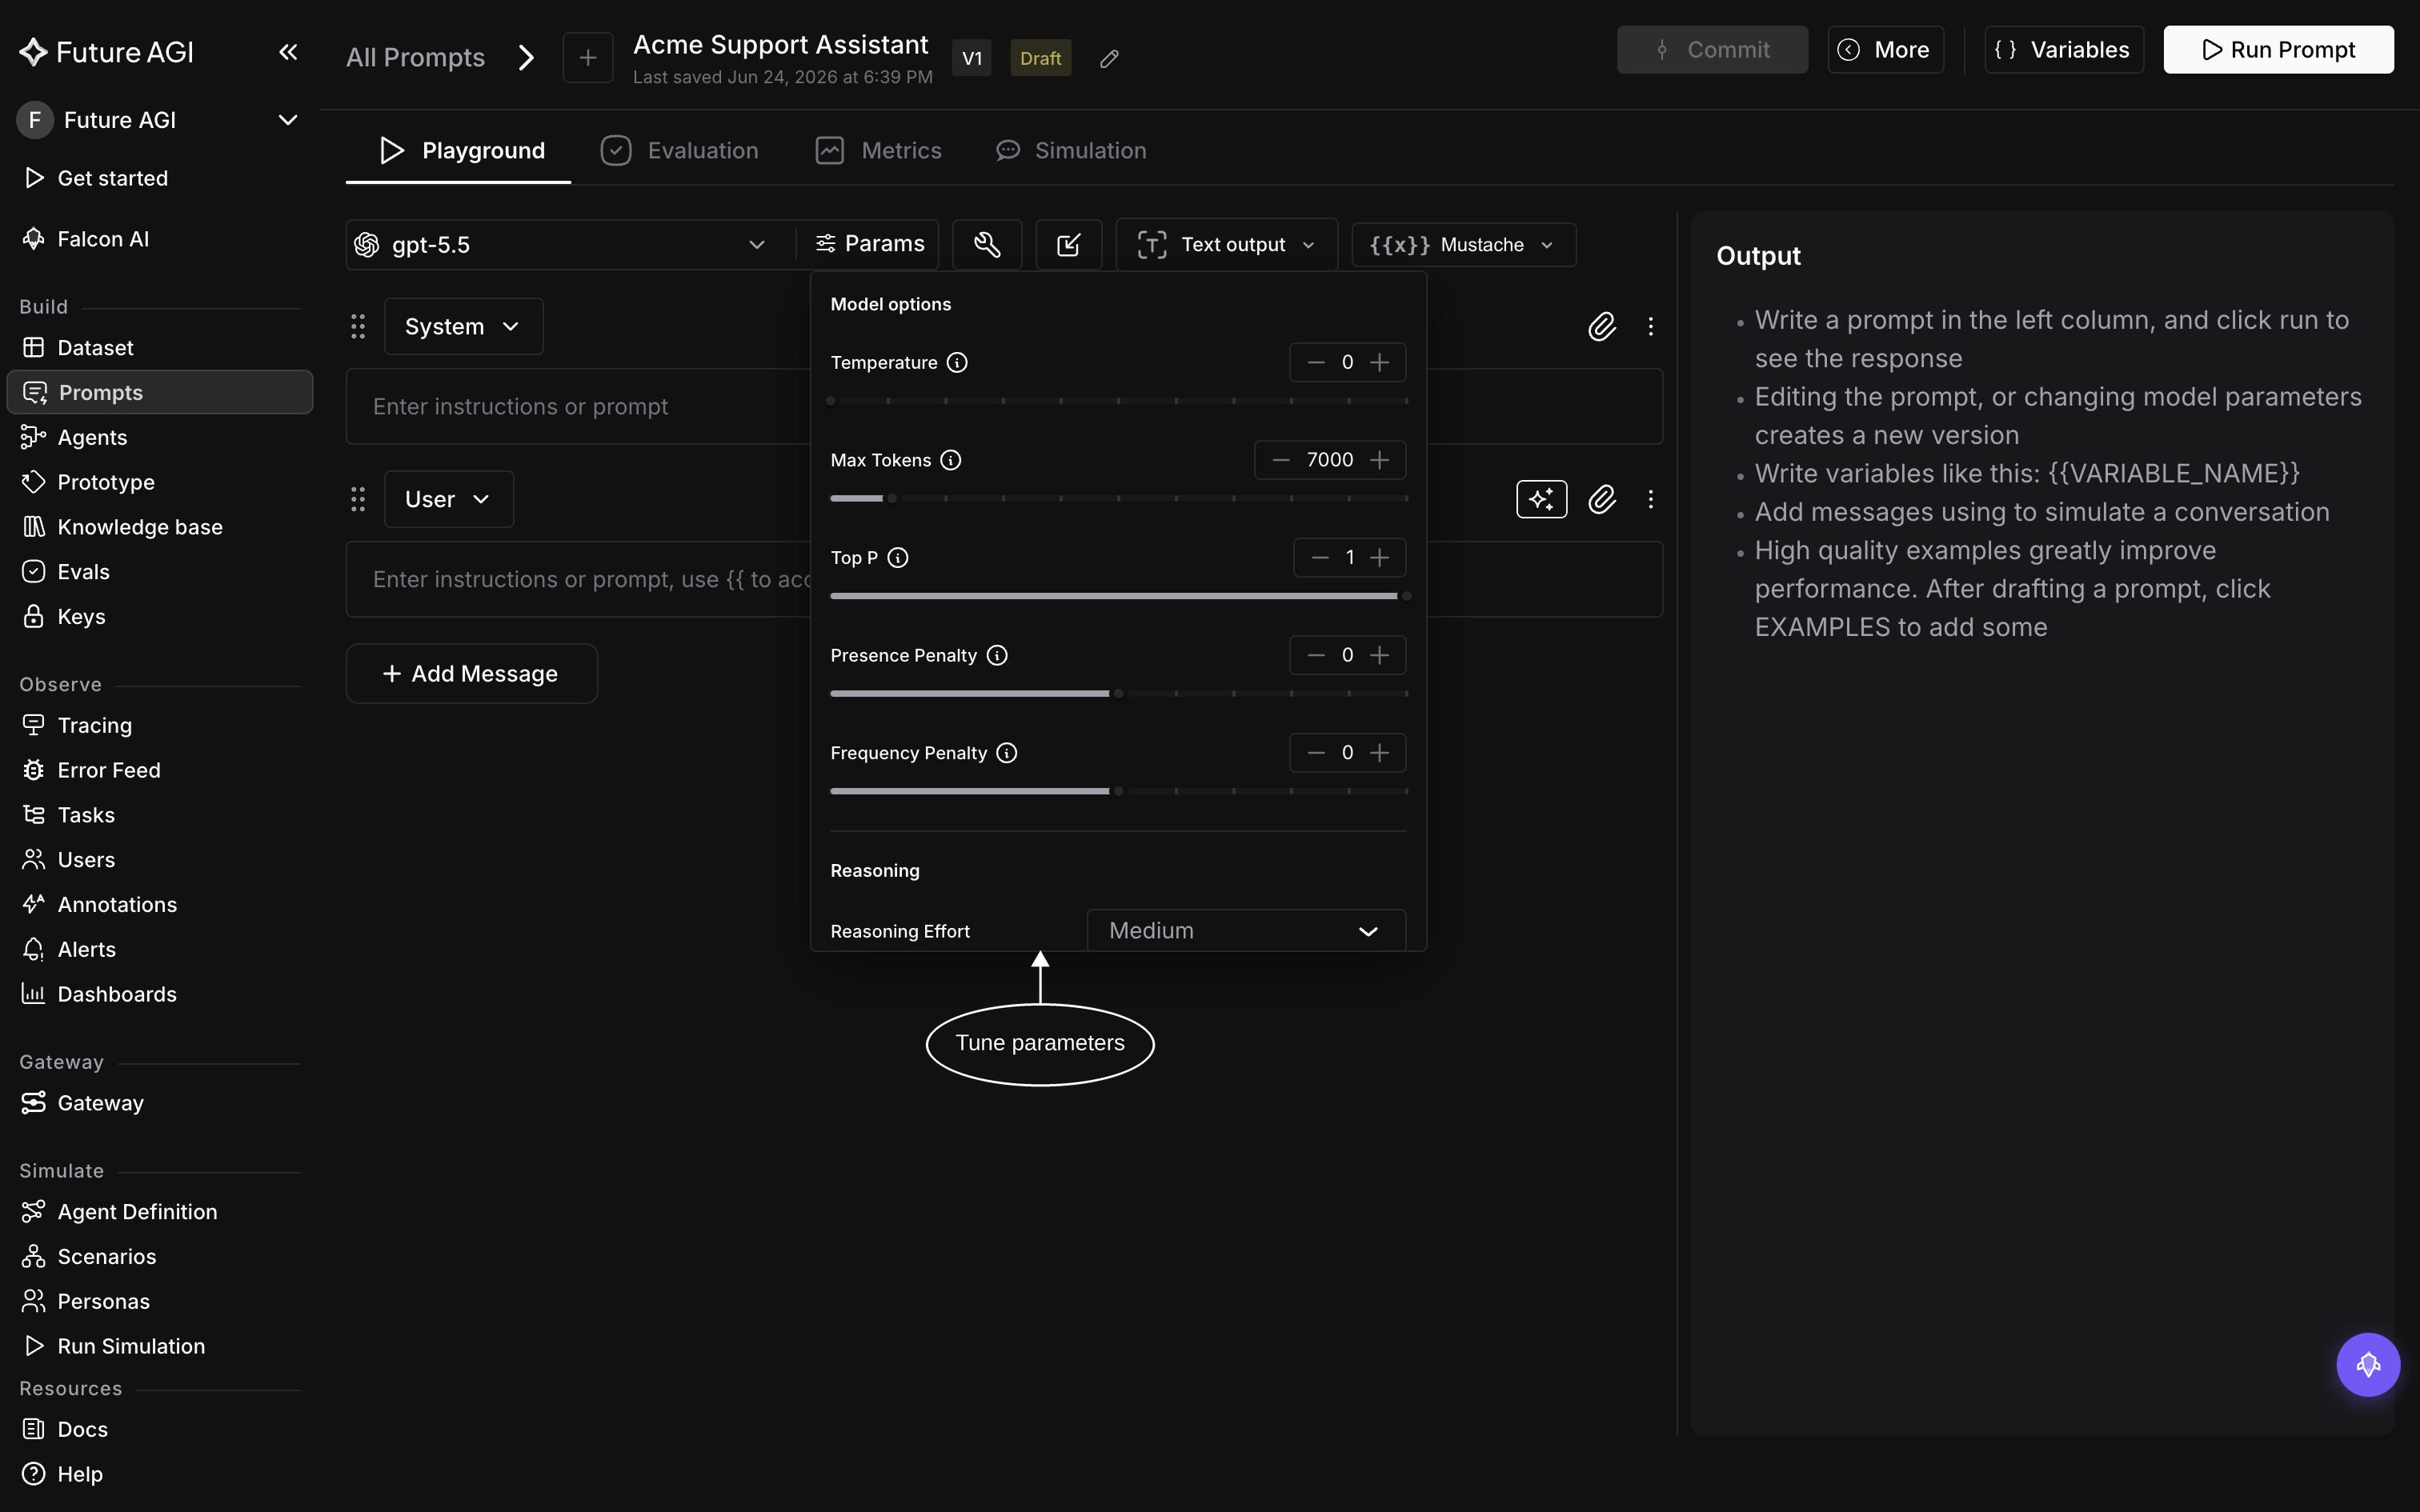
3. Pick a model and tune parameters
With the prompt open, click Select Model and choose the model it runs on:
Optionally, open Params to tune temperature, max tokens, top P, and more:
4. Run it and save a version
Click Run Prompt in the top-right corner, and the model’s response appears in the Output panel. Saving the prompt creates a new version every time, so you can compare versions, roll back, deploy a specific one via labels, and reuse the prompt across the rest of the platform:
Verify
Your prompt now appears in the Prompts list with its first version, and the Output panel shows the model’s latest response
Congratulations! You’ve created your first prompt!🎉
Troubleshooting
Not getting a response? Try checking these:
- “API key not configured”: add a model provider key under Settings → AI Providers, then run again
- Empty output: check that the User field isn’t blank before running
Dive deeper
Questions & Discussion