Send your first trace
Send your first LLM call into Future AGI with traceAI and see the trace in minutes
Sending traces to Future AGI is as simple as running a single python script. This page guides you on how to get started with the traceAI library to send your traces and start observing your agent
We recommend starting with Auto instrumentation for your agent as it’s the quickest way to get set up, gives you full coverage, and avoids manually adding custom events
You can add custom spans, too.
Prerequisites
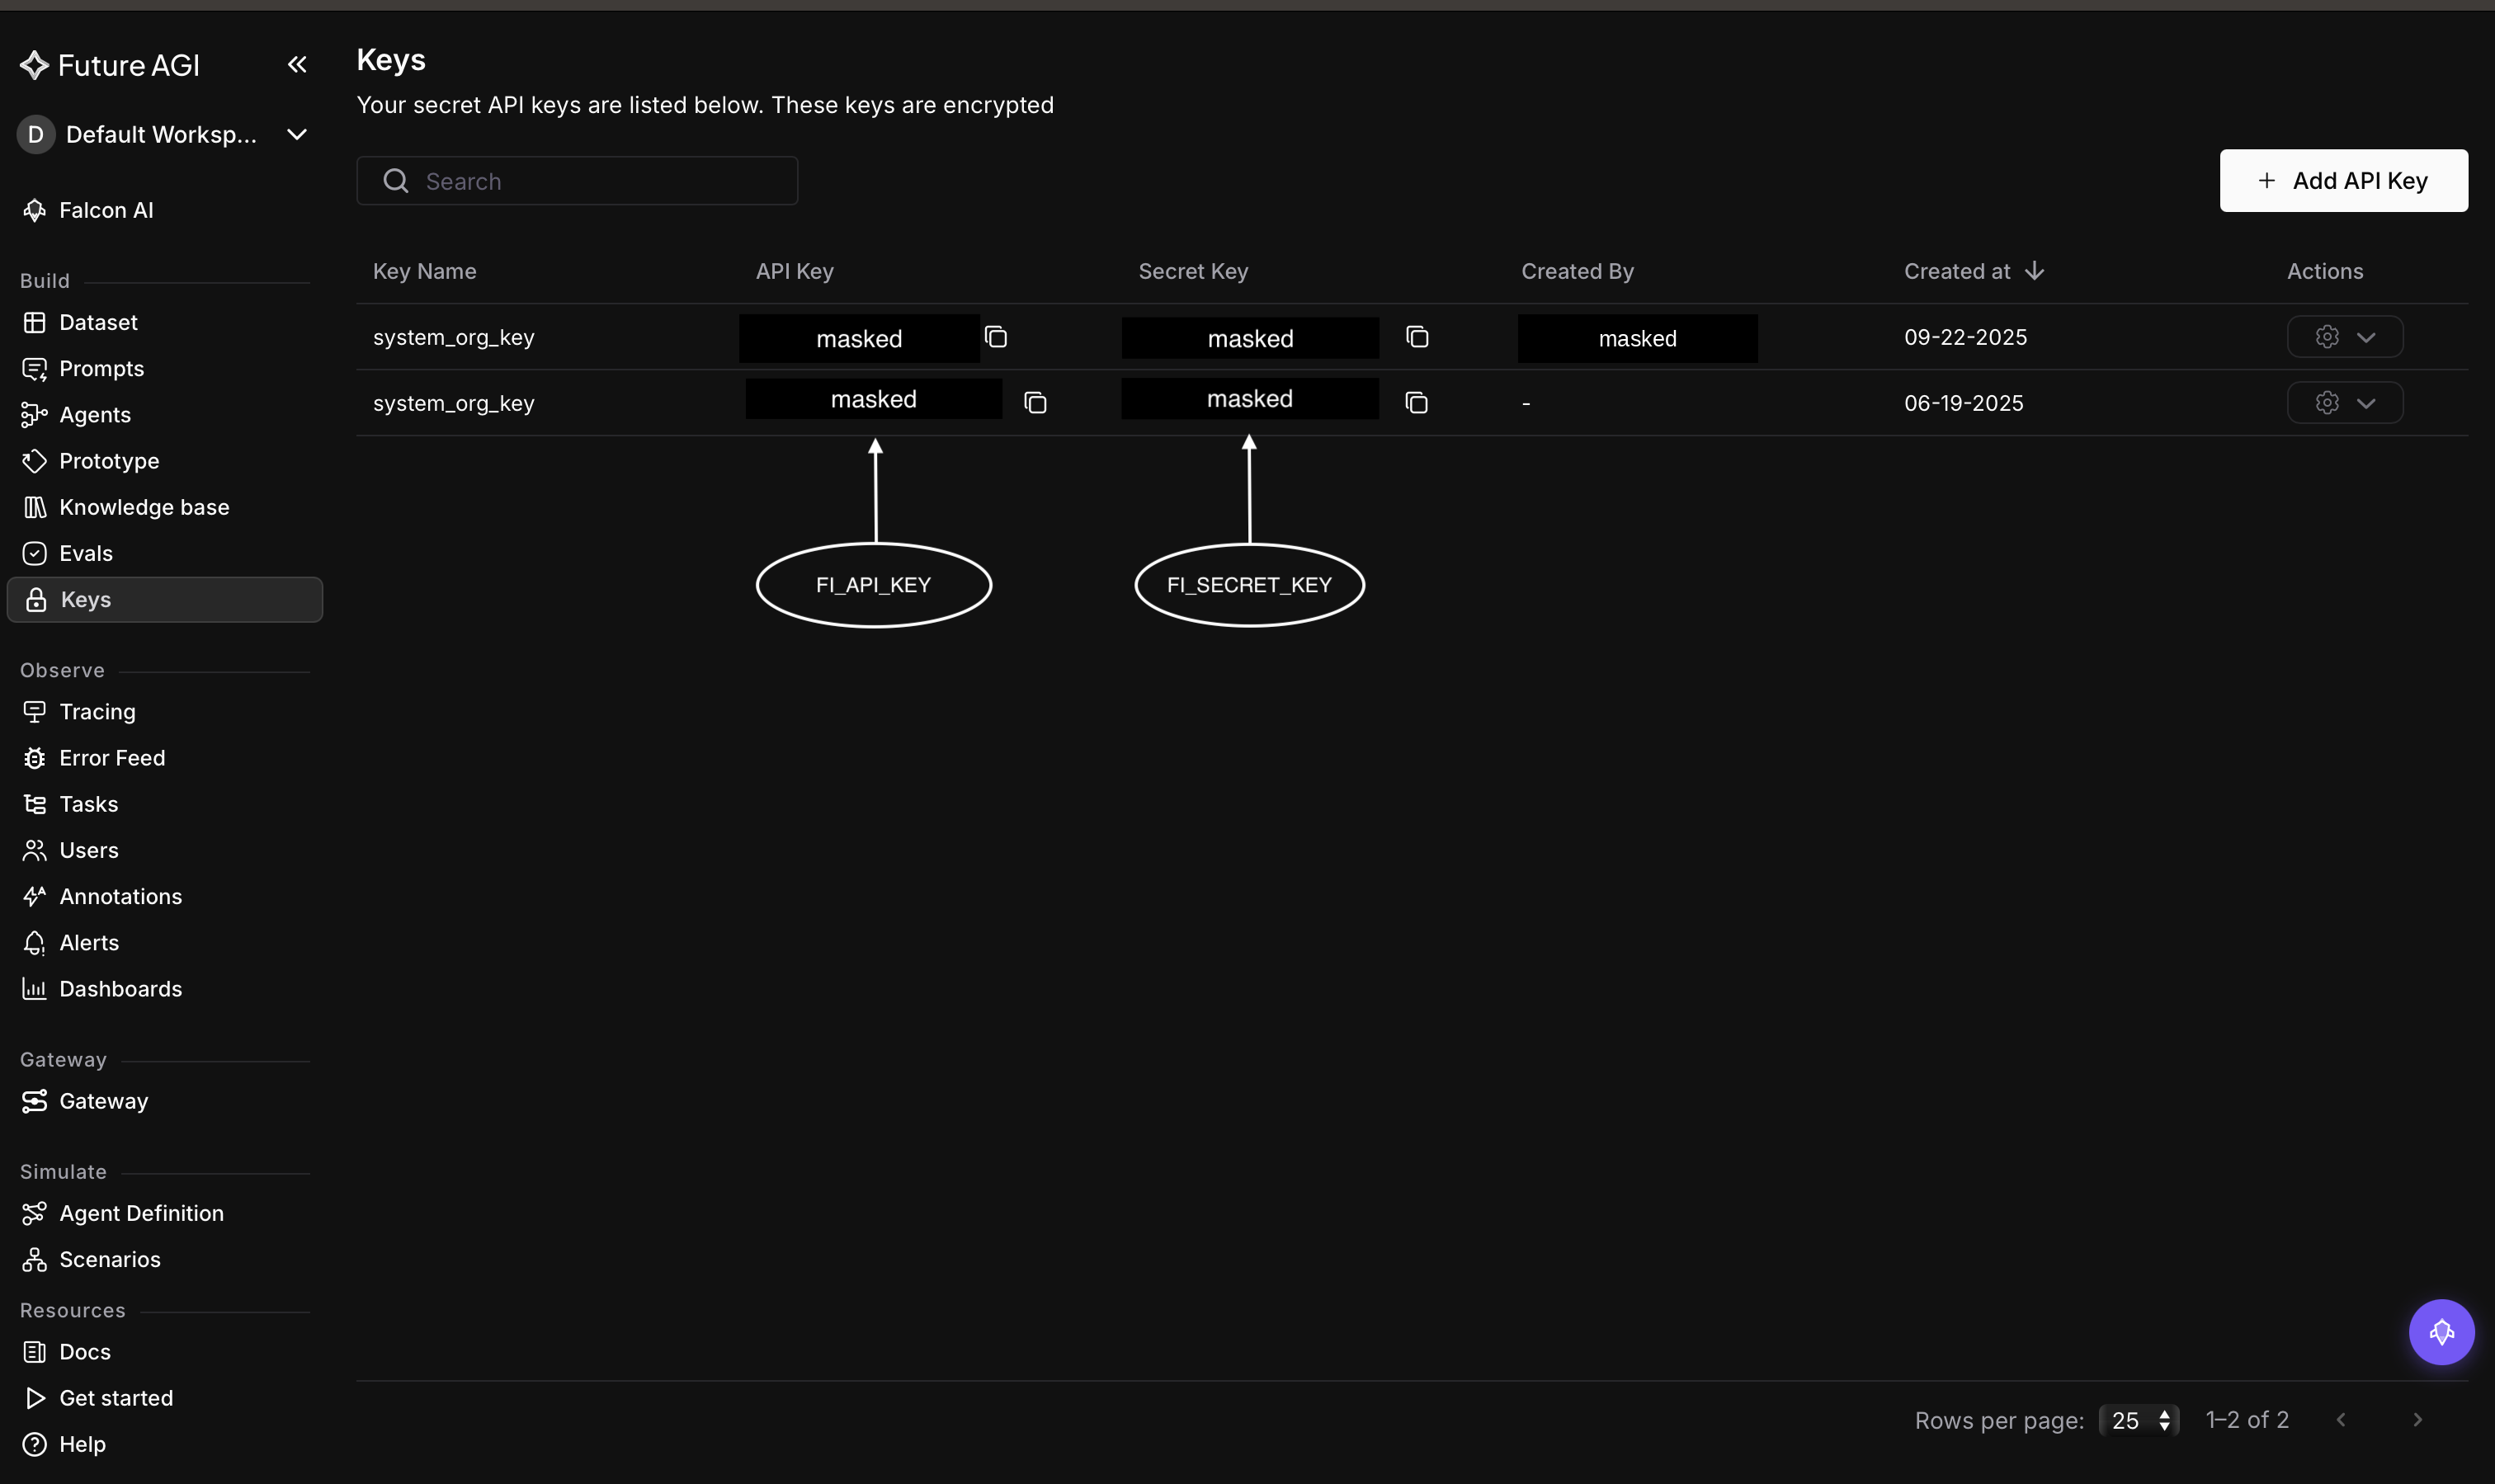
- A Future AGI account and your
FI_API_KEYandFI_SECRET_KEY(Dashboard → Build → Keys) - Python 3.11
- An OpenAI API key
Find both keys at Dashboard → Build → Keys. Copy the API Key (FI_API_KEY) and Secret Key (FI_SECRET_KEY):
1. Install traceAI
pip install traceAI-openai openainpm install @traceai/openai @traceai/fi-core openai2. Set your keys
Environment variables are the same regardless of language. Enter them in your terminal:
export FI_API_KEY="your-futureagi-api-key"
export FI_SECRET_KEY="your-futureagi-secret-key"
export OPENAI_API_KEY="your-openai-api-key"
3. Add tracing and make one call
from fi_instrumentation import register
from fi_instrumentation.fi_types import ProjectType
from traceai_openai import OpenAIInstrumentor
from openai import OpenAI

# Connect to Future AGI and create (or reuse) a project
trace_provider = register(
    project_type=ProjectType.OBSERVE,
    project_name="my-llm-app",
)

# Auto-instrument OpenAI: every call is now traced
OpenAIInstrumentor().instrument(tracer_provider=trace_provider)

# Use OpenAI exactly as you normally would
client = OpenAI()
response = client.chat.completions.create(
    model="gpt-4o-mini",
    messages=[{"role": "user", "content": "Say hello to Future AGI in one sentence."}],
)
print(response.choices[0].message.content)
import { register, ProjectType } from "@traceai/fi-core";
import { OpenAIInstrumentation } from "@traceai/openai";
import { registerInstrumentations } from "@opentelemetry/instrumentation";
import OpenAI from "openai";
// Connect to Future AGI and create (or reuse) a project
const tracerProvider = register({
project_type: ProjectType.OBSERVE,
project_name: "my-llm-app",
});
// Auto-instrument OpenAI: every call is now traced
registerInstrumentations({
instrumentations: [new OpenAIInstrumentation({})],
tracerProvider,
});
// Use OpenAI exactly as you normally would
const client = new OpenAI();
const response = await client.chat.completions.create({
model: "gpt-4o-mini",
messages: [{ role: "user", content: "Say hello to Future AGI in one sentence." }],
});
console.log(response.choices[0].message.content);4. Run it
python quickstart.pyYou will see the model’s reply in your terminal, and traceAI sends the trace to Future AGI in the background
Inspect your trace
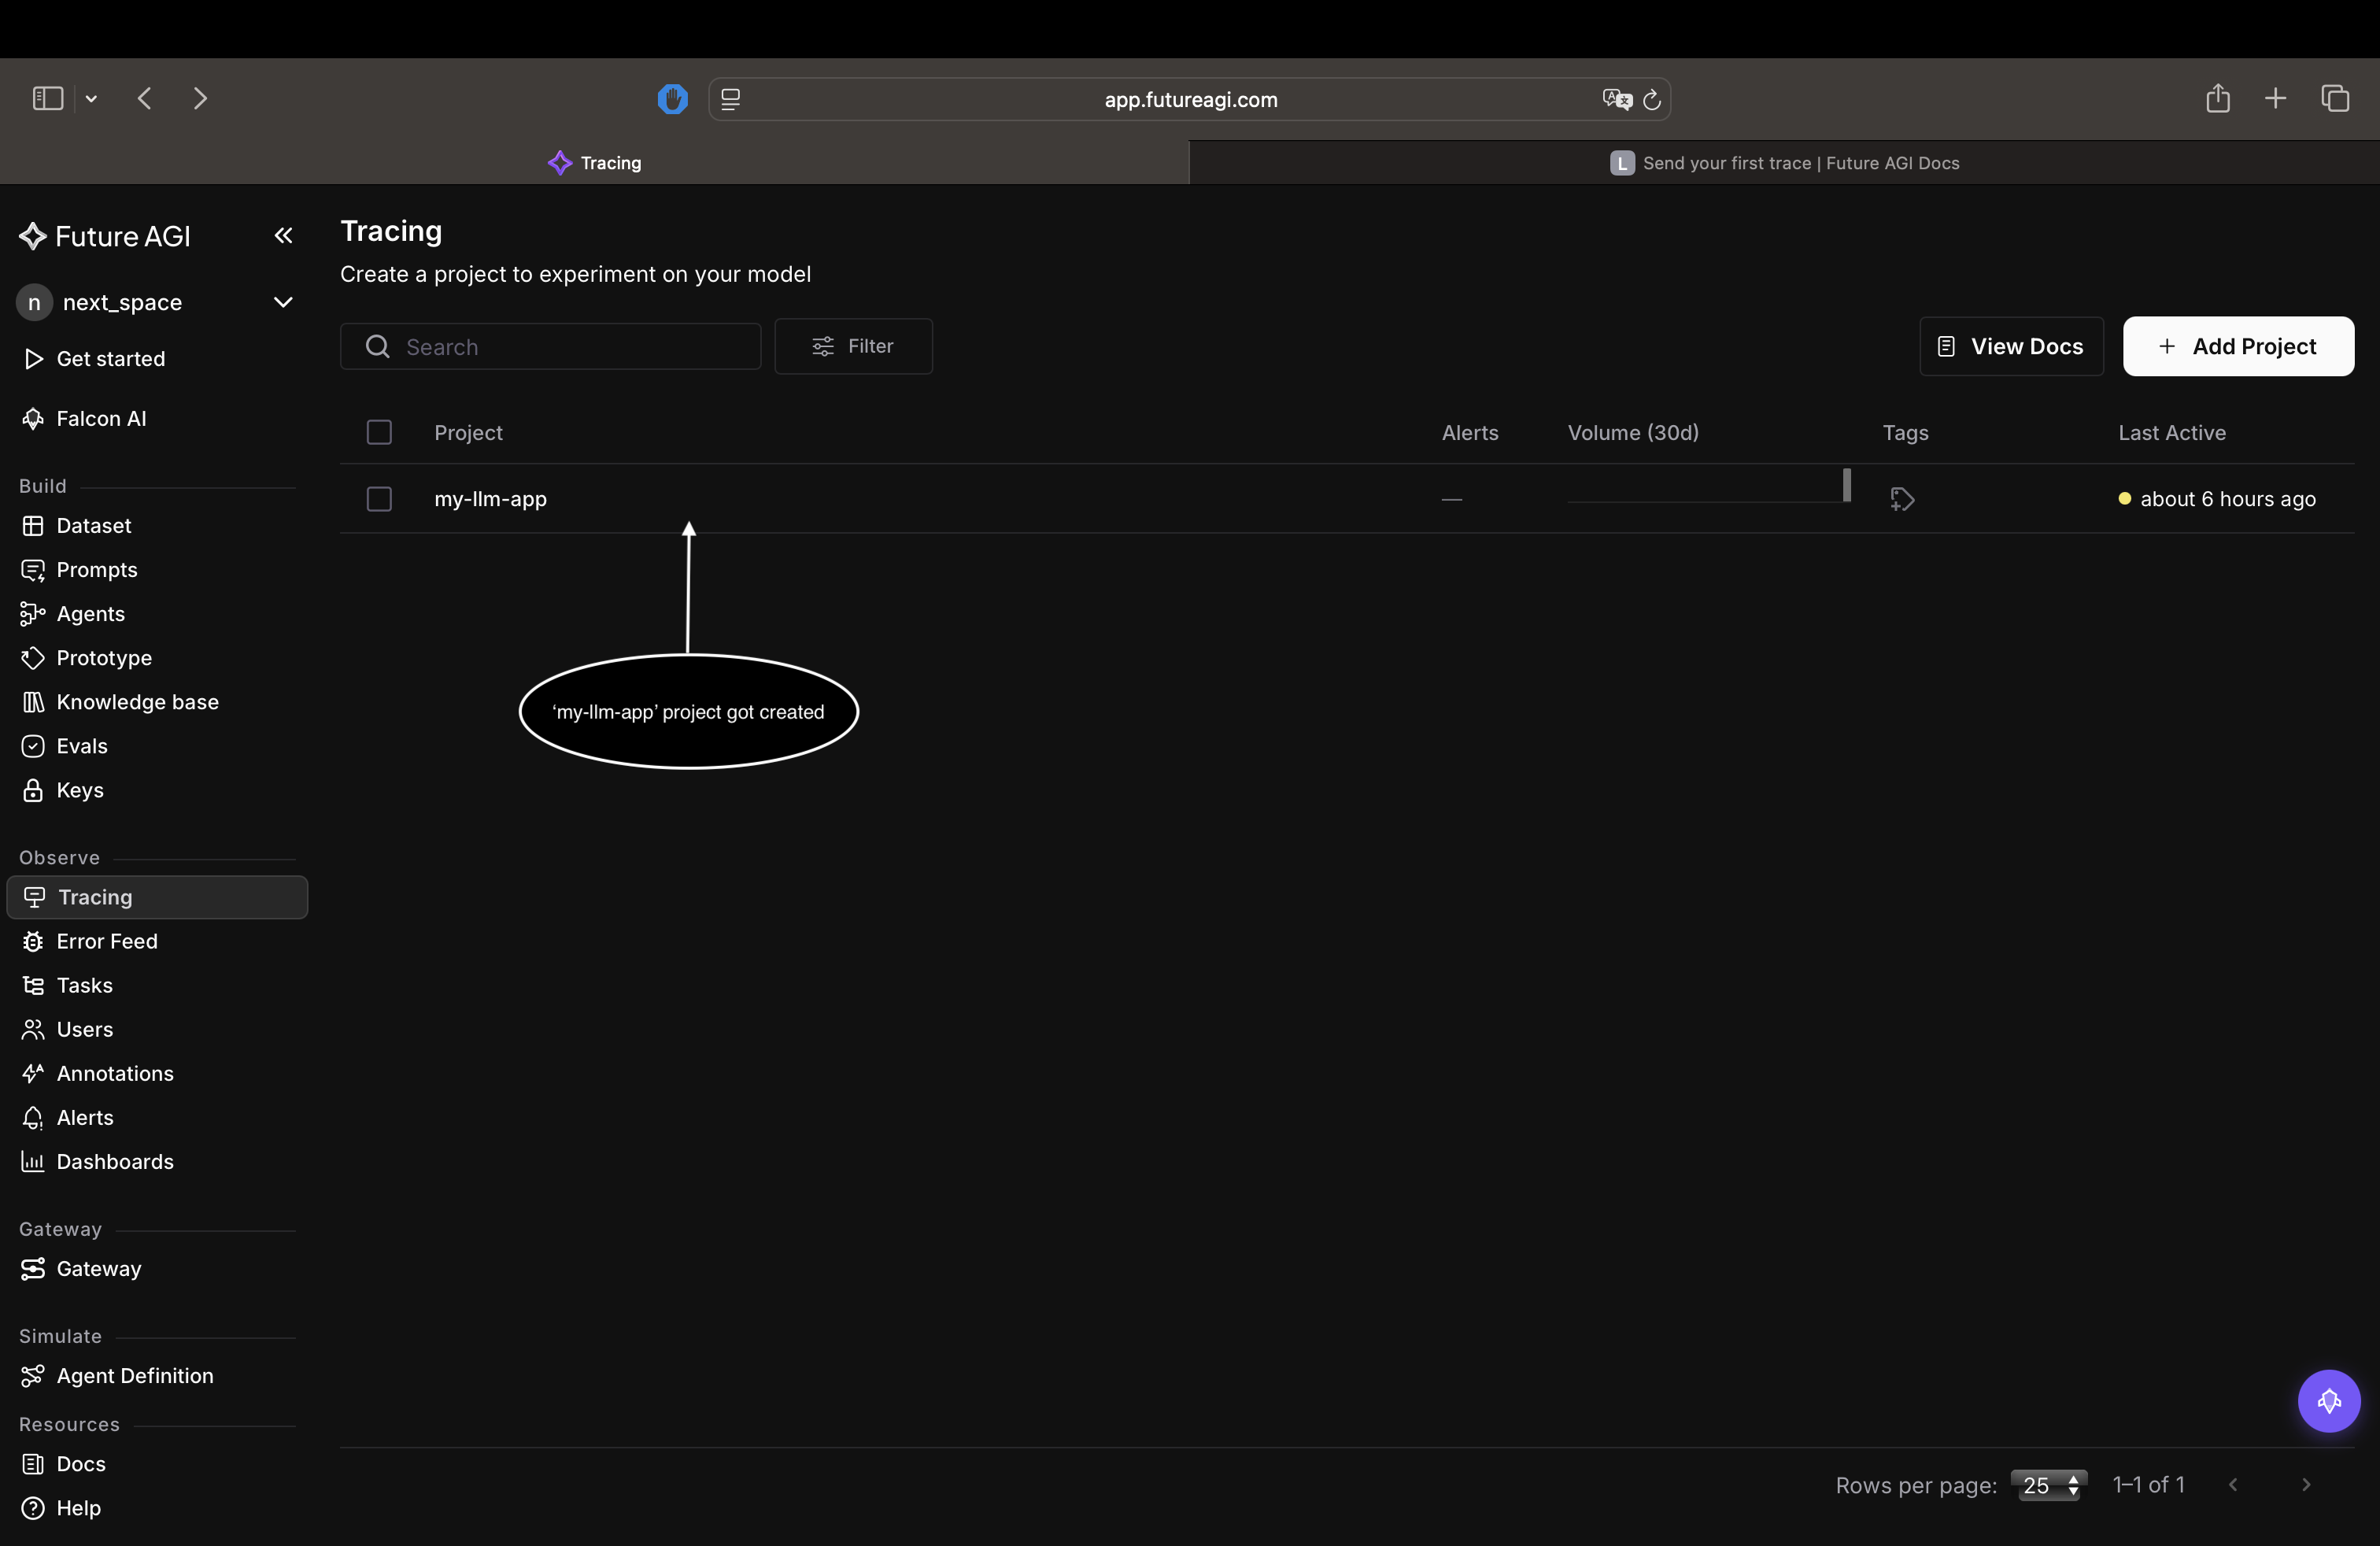
Open the Future AGI dashboard, select the Tracing tab.
your my-llm-app project, should be visible as shown below open it.
Open the latest trace and confirm you can see:
- The model and the prompt you sent
- The model’s response
- Token count, latency, and cost
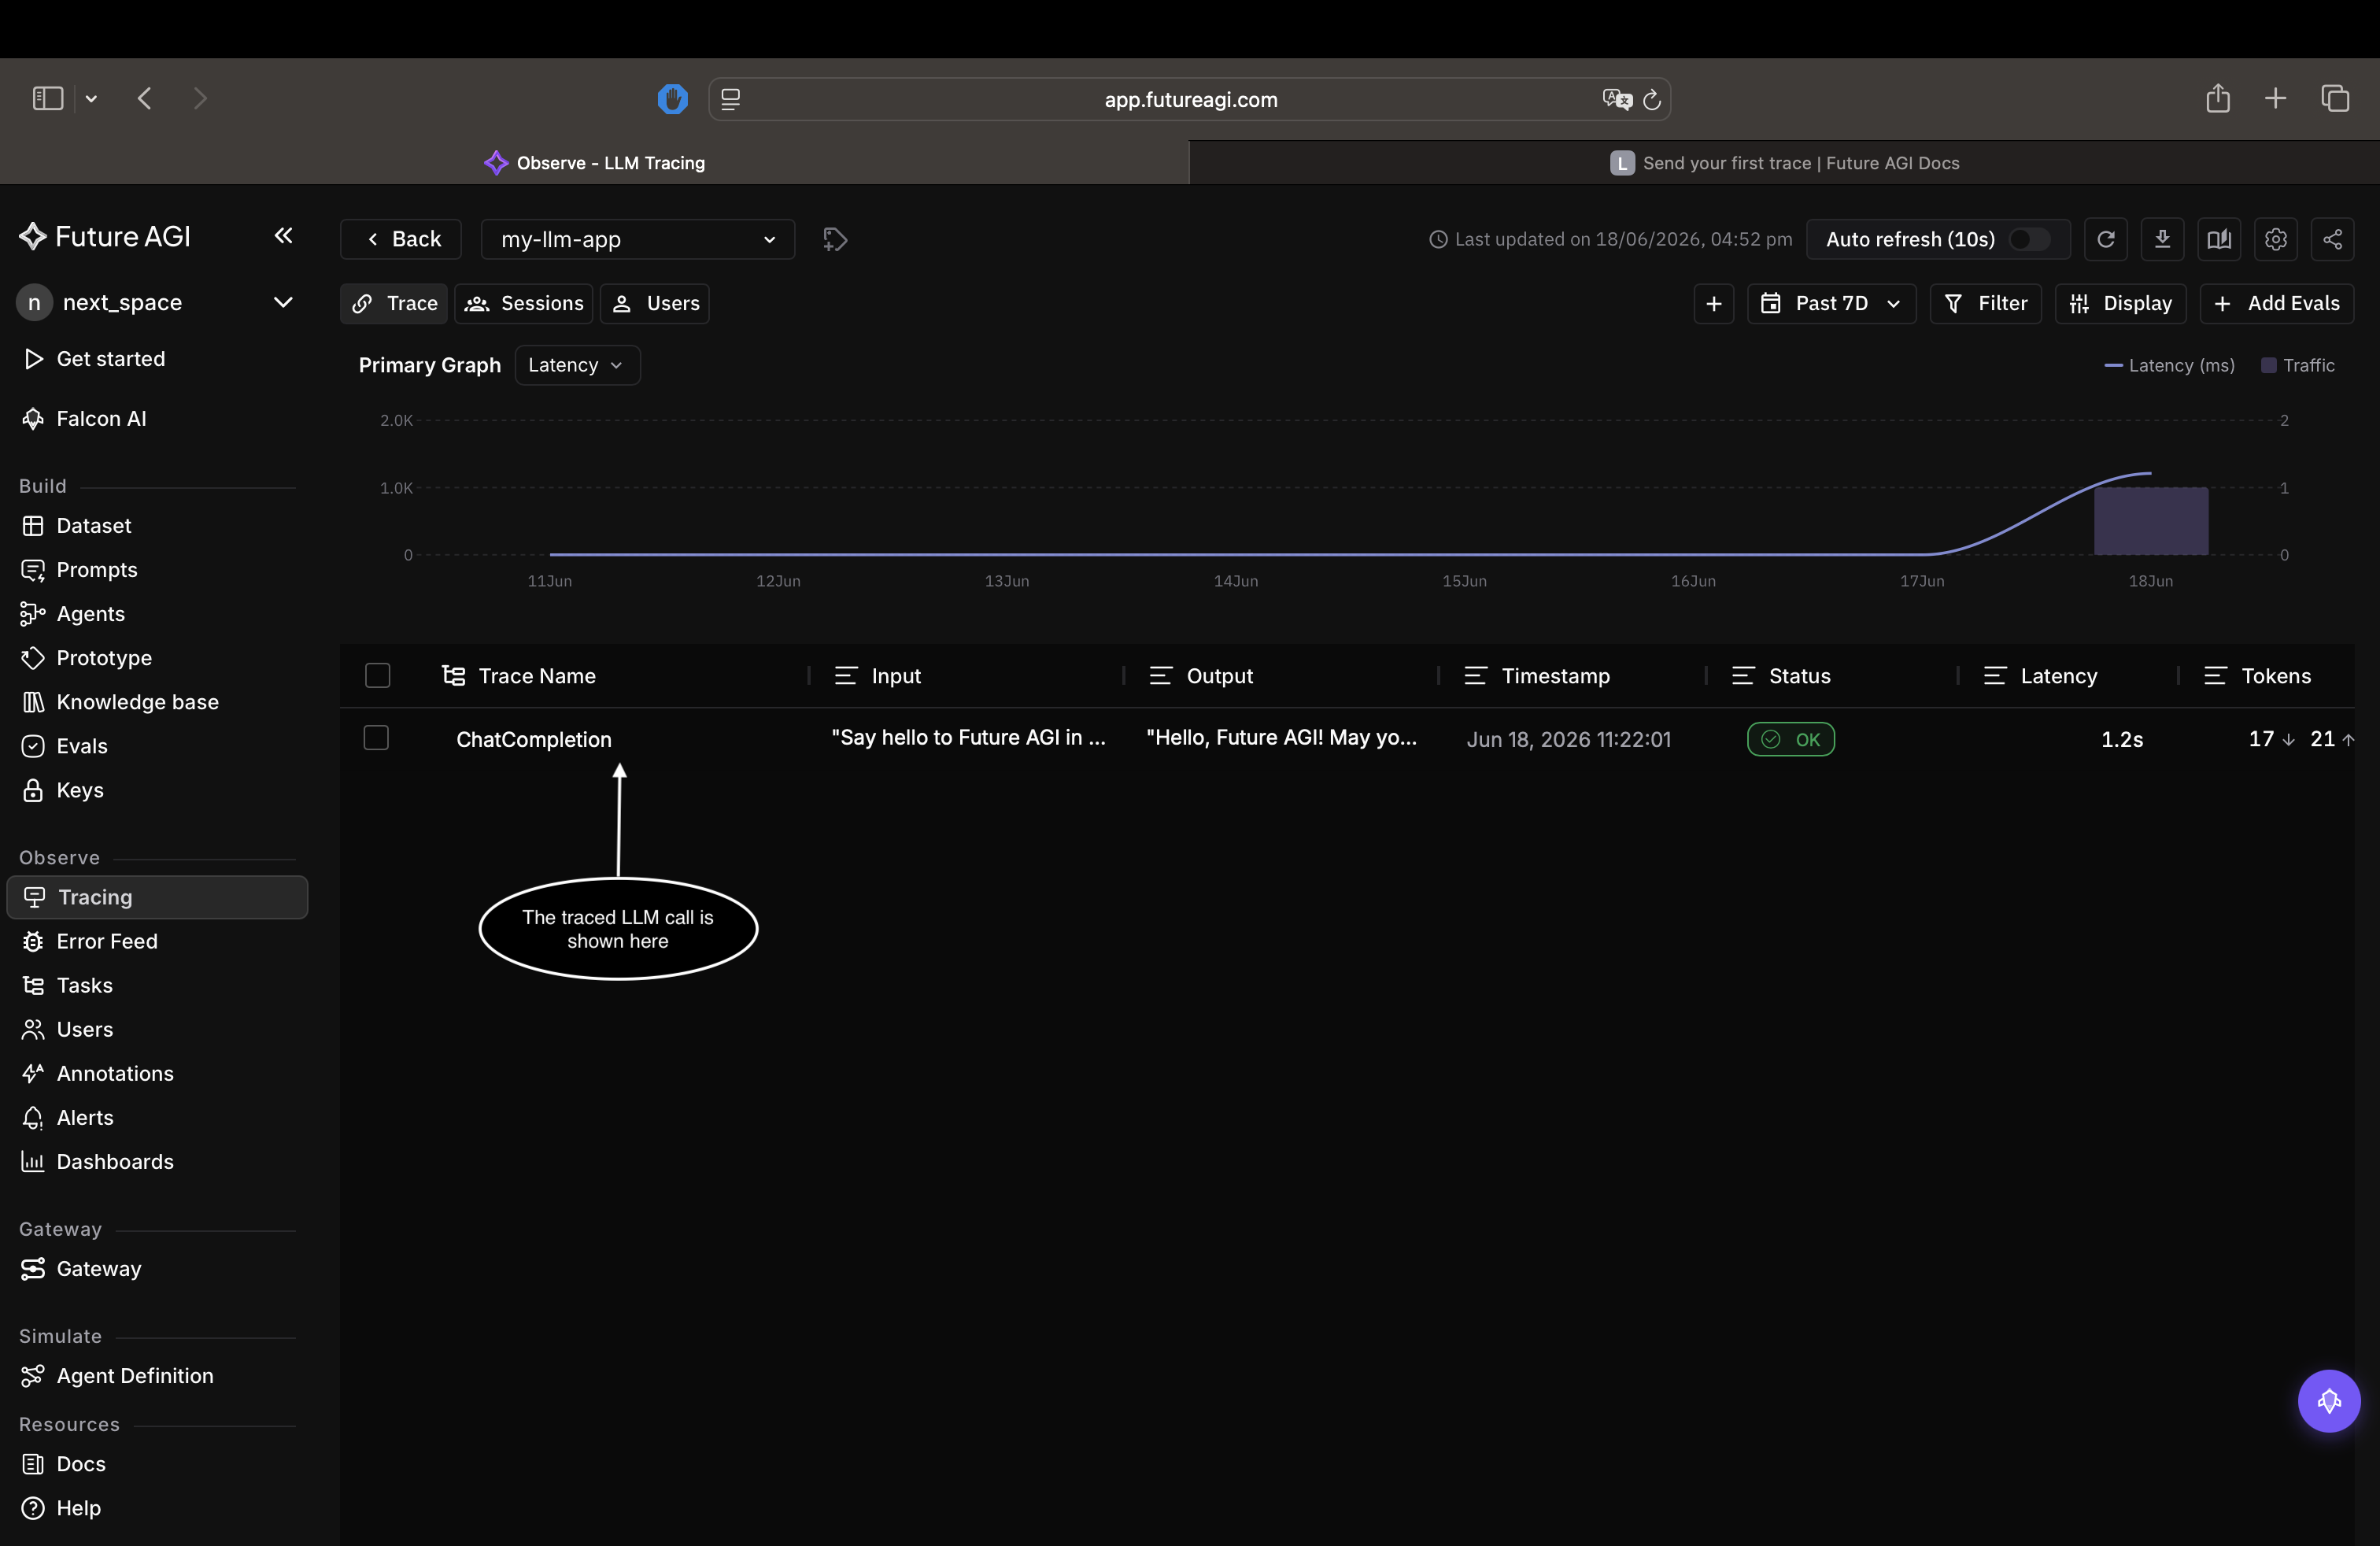

Congratulations! You’ve successfully sent your first trace!🎉
Troubleshooting
Not seeing your traces? Try checking these:
- Authentication error: re-check
FI_API_KEYandFI_SECRET_KEYagainst Dashboard → Build → Keys - No trace in Tracing: let the script finish. Traces flush as the program exits, so don’t stop it early
- Wrong place: confirm you’re on the Tracing tab of platform and in the
my-llm-appproject
Dive deeper
Questions & Discussion