Connect your no code agent
Sync your no code agent definition in Future AGI to run simulations
An agent definition tells Future AGI which agent you’re testing and how to reach it. This page walks you through creating your first voice agent definition in Simulate, so you can start running simulations against it
Any voice agent can be simulated as long as it’s reachable by a phone number. Vapi and Retell are natively supported, so you can sync the agent’s name and prompt straight from them
Note
Building a chat agent? Chat simulations run through the SDK, not this form. See Chat Simulation Using SDK
Every definition is versioned, so once you save it you can run tests against a specific version, compare versions, or roll back
Prerequisites
- A Future AGI account
- A voice agent reachable via a phone number
- If the agent is on Vapi or Retell: its Assistant ID and provider API key (these also enable Sync)
1. Open Agent Definition
In the dashboard, open Simulate from the sidebar, select Agent Definition, and click Start agent testing:
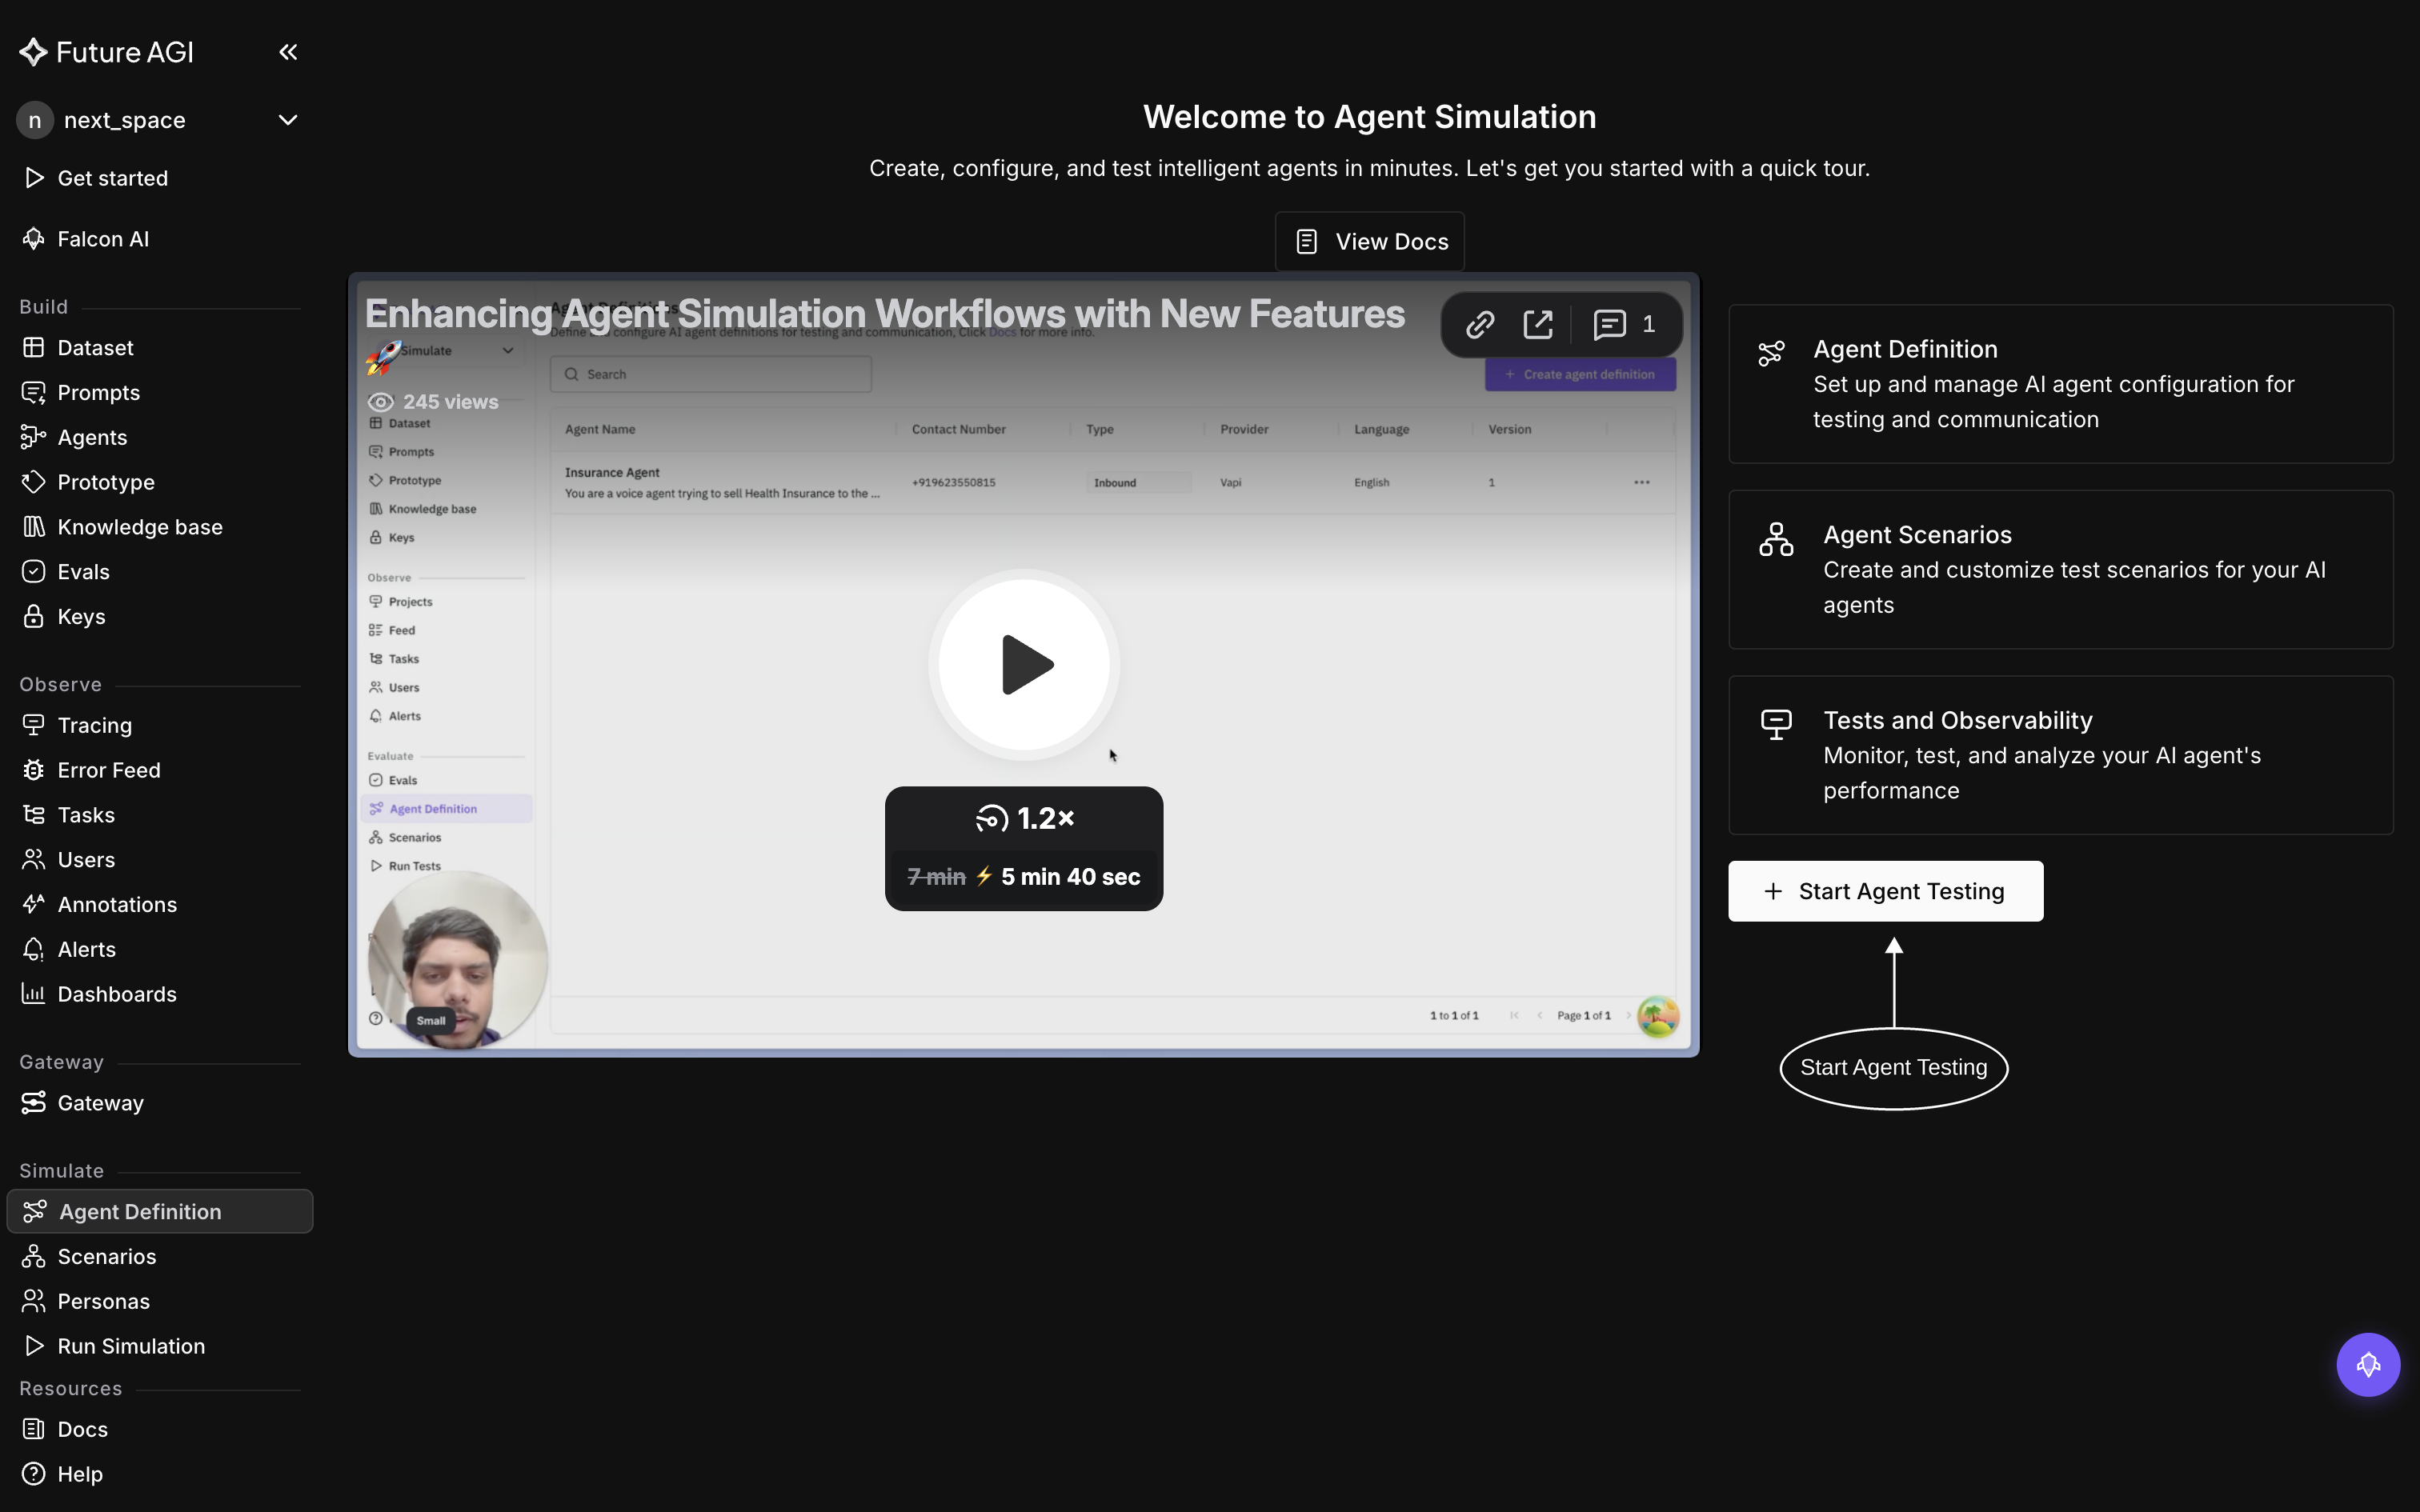
This opens the Create new agent definition wizard, which has three steps: Basic Info, Configuration, and Behaviour
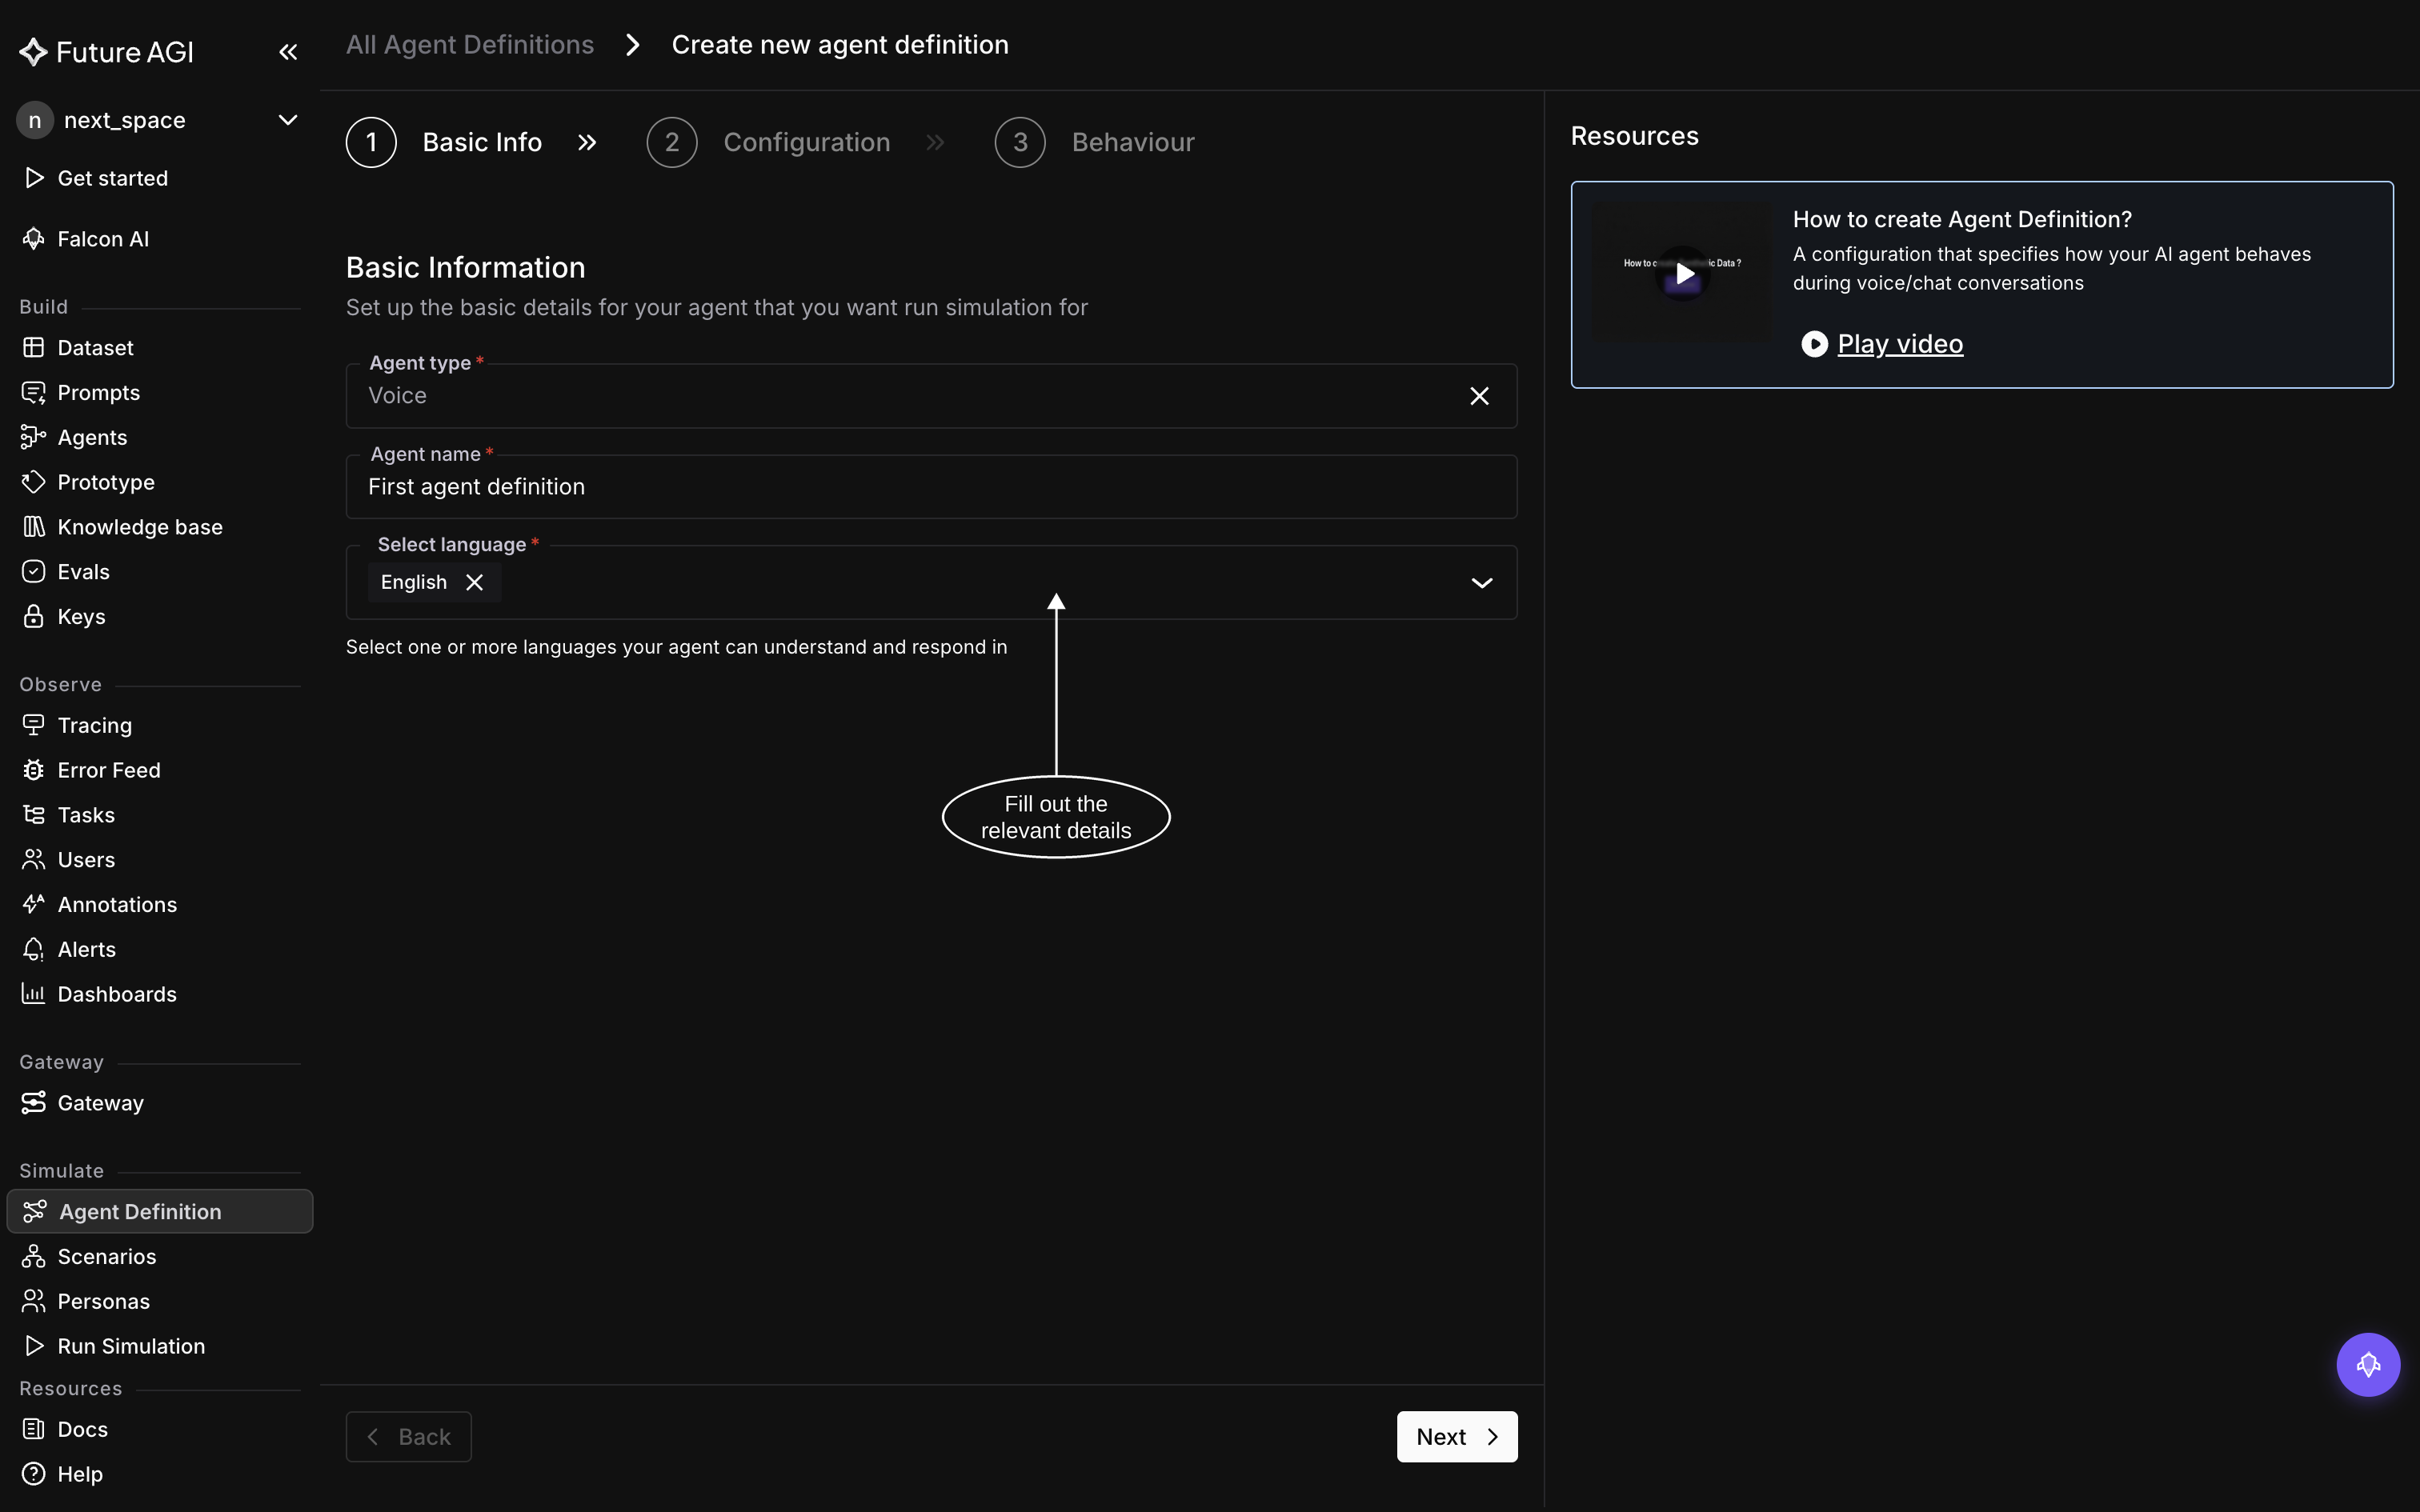
2. Add the basic information
On the Basic Info step, fill in the basics:
| Field | What you enter |
|---|---|
| Agent Type | Voice |
| Agent Name | A unique, descriptive name (also used as the observability project name) |
| Language | One or more languages your agent uses (e.g. English) |
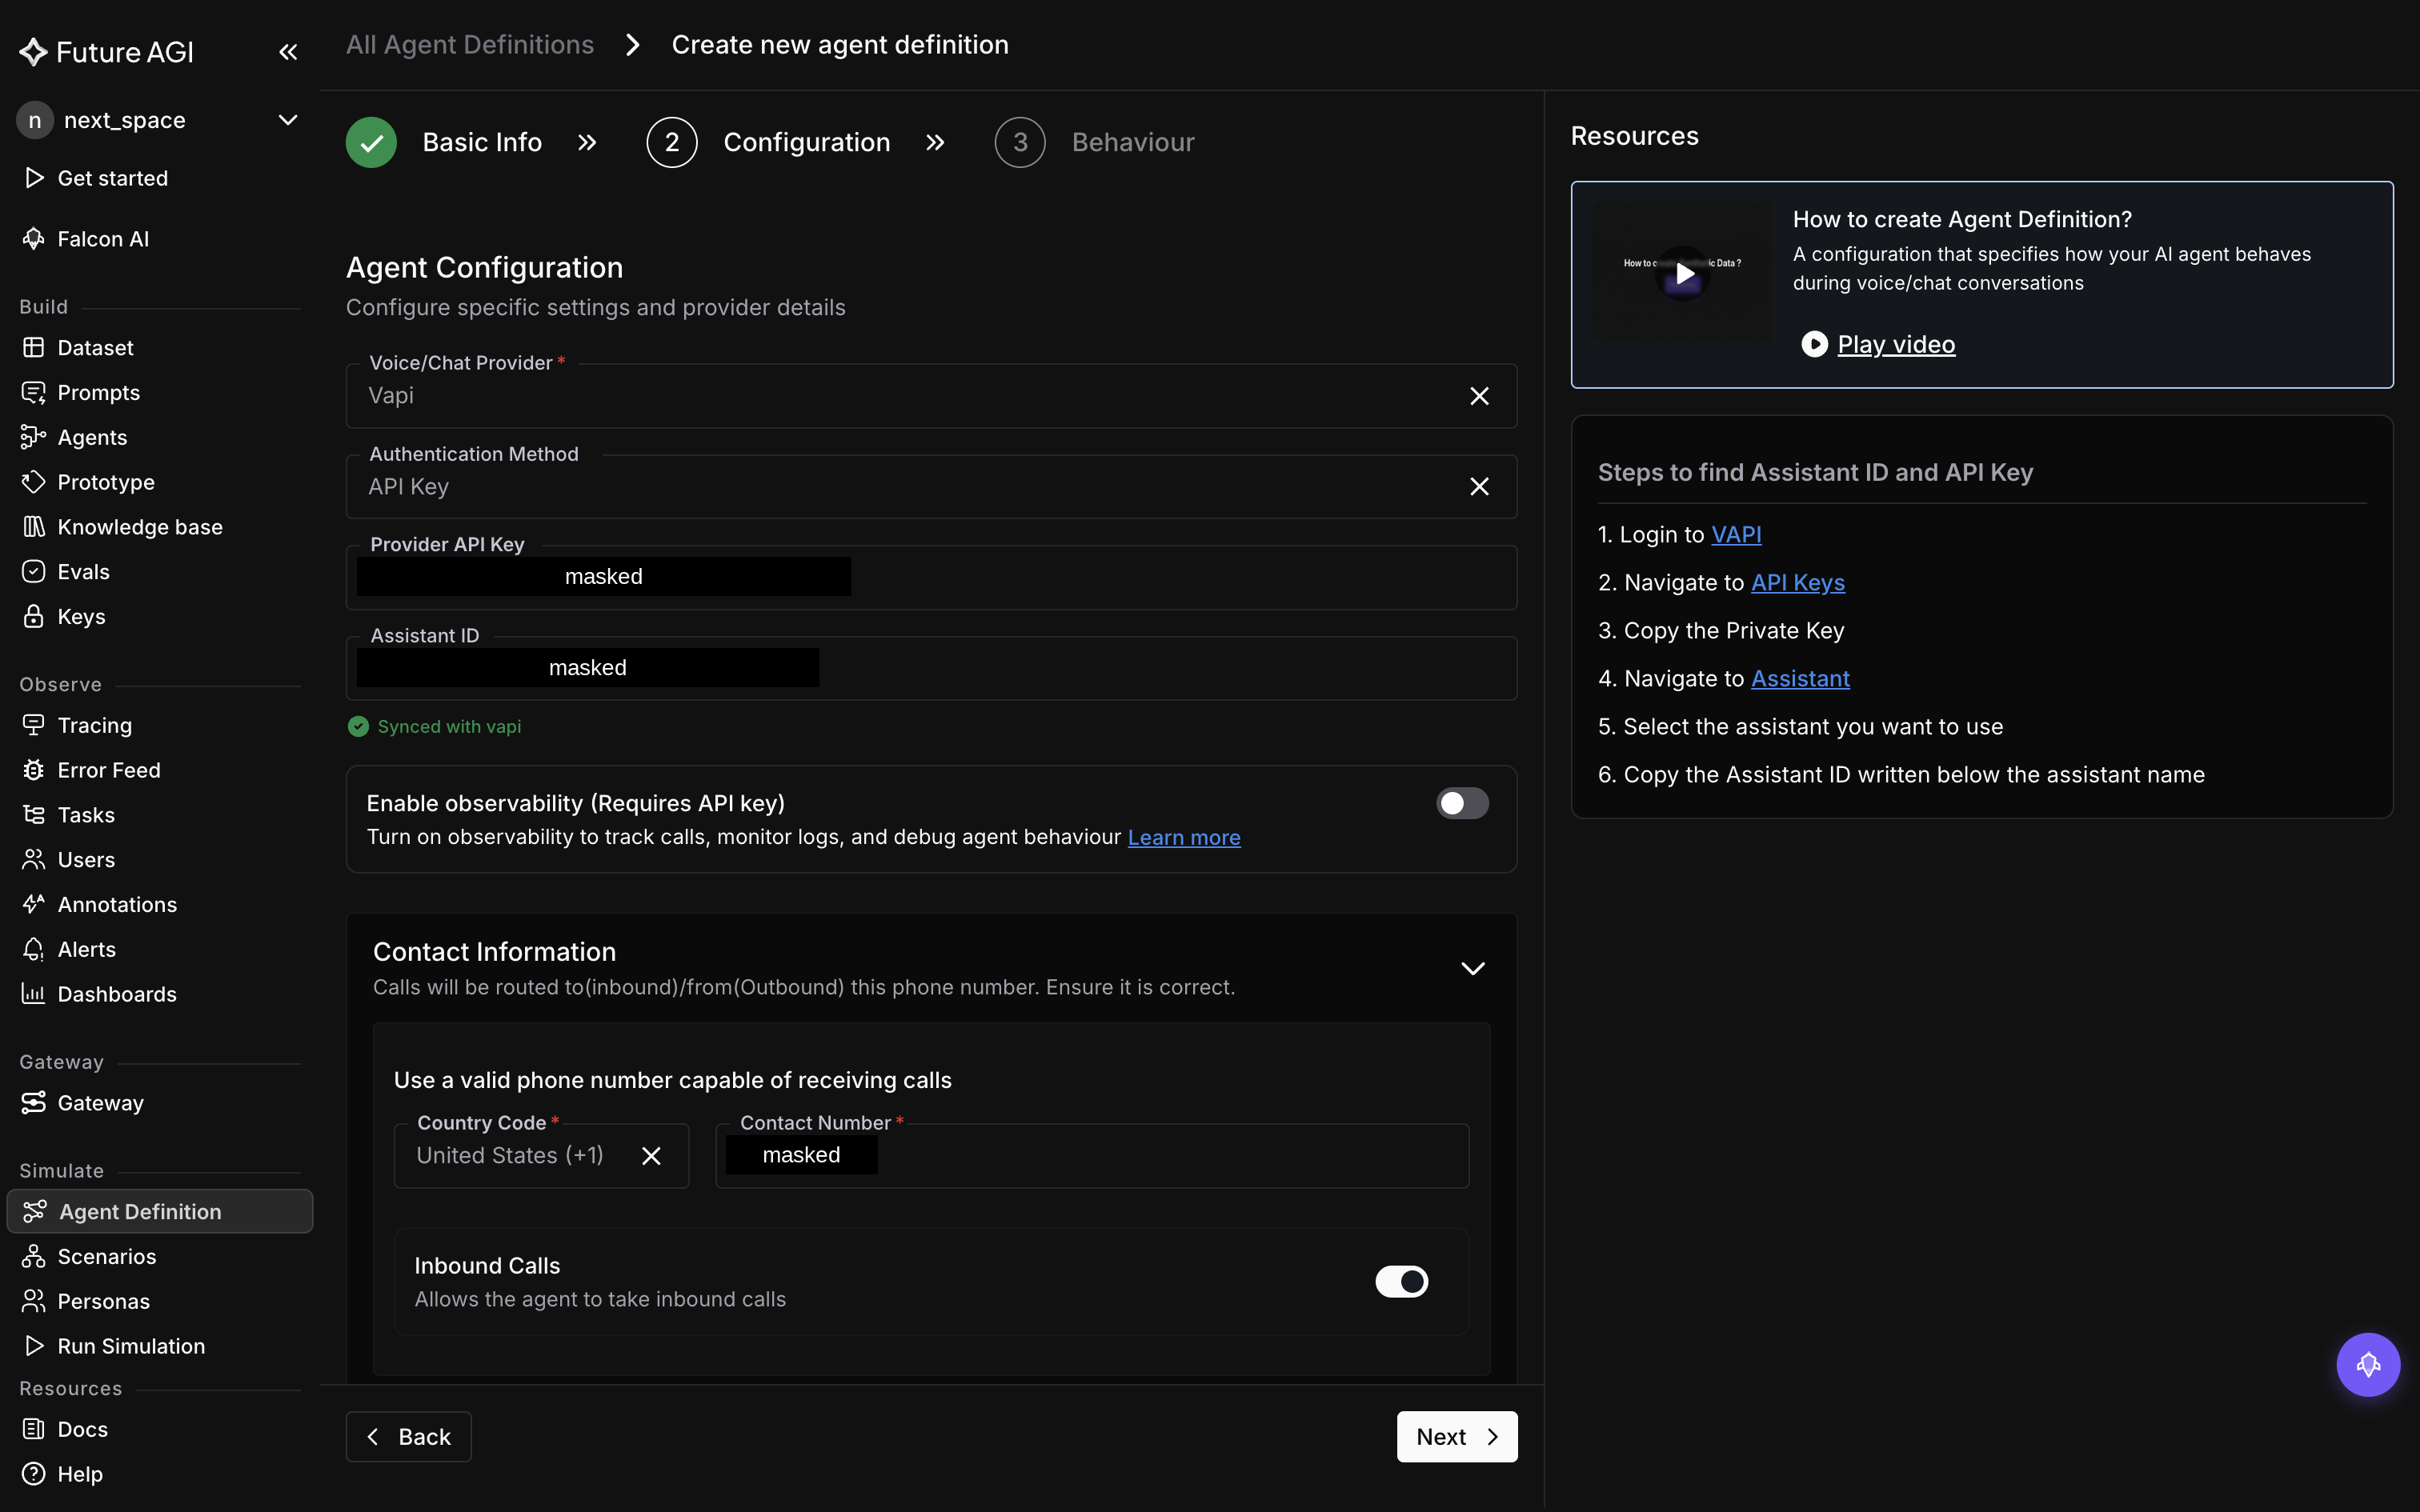
3. Configure and connect your agent
On the Configuration step, choose the provider and set how Future AGI reaches your agent
Under Agent Configuration, Vapi and Retell are natively supported: select the provider and enter the Assistant ID and API Key. With those set, use Sync from provider to pull the agent’s name and system prompt into the form automatically. The right-hand panel lists exactly where to find each value in your provider
Then set Contact Information, since voice agents are reached by phone: enter the country code and contact number, then choose the connection type:
- Inbound: the agent receives calls
- Outbound: the agent places calls (requires the Assistant ID and API Key above)
Note
For Outbound agents, both the Assistant ID and API Key are required. Otherwise saving fails with a validation error
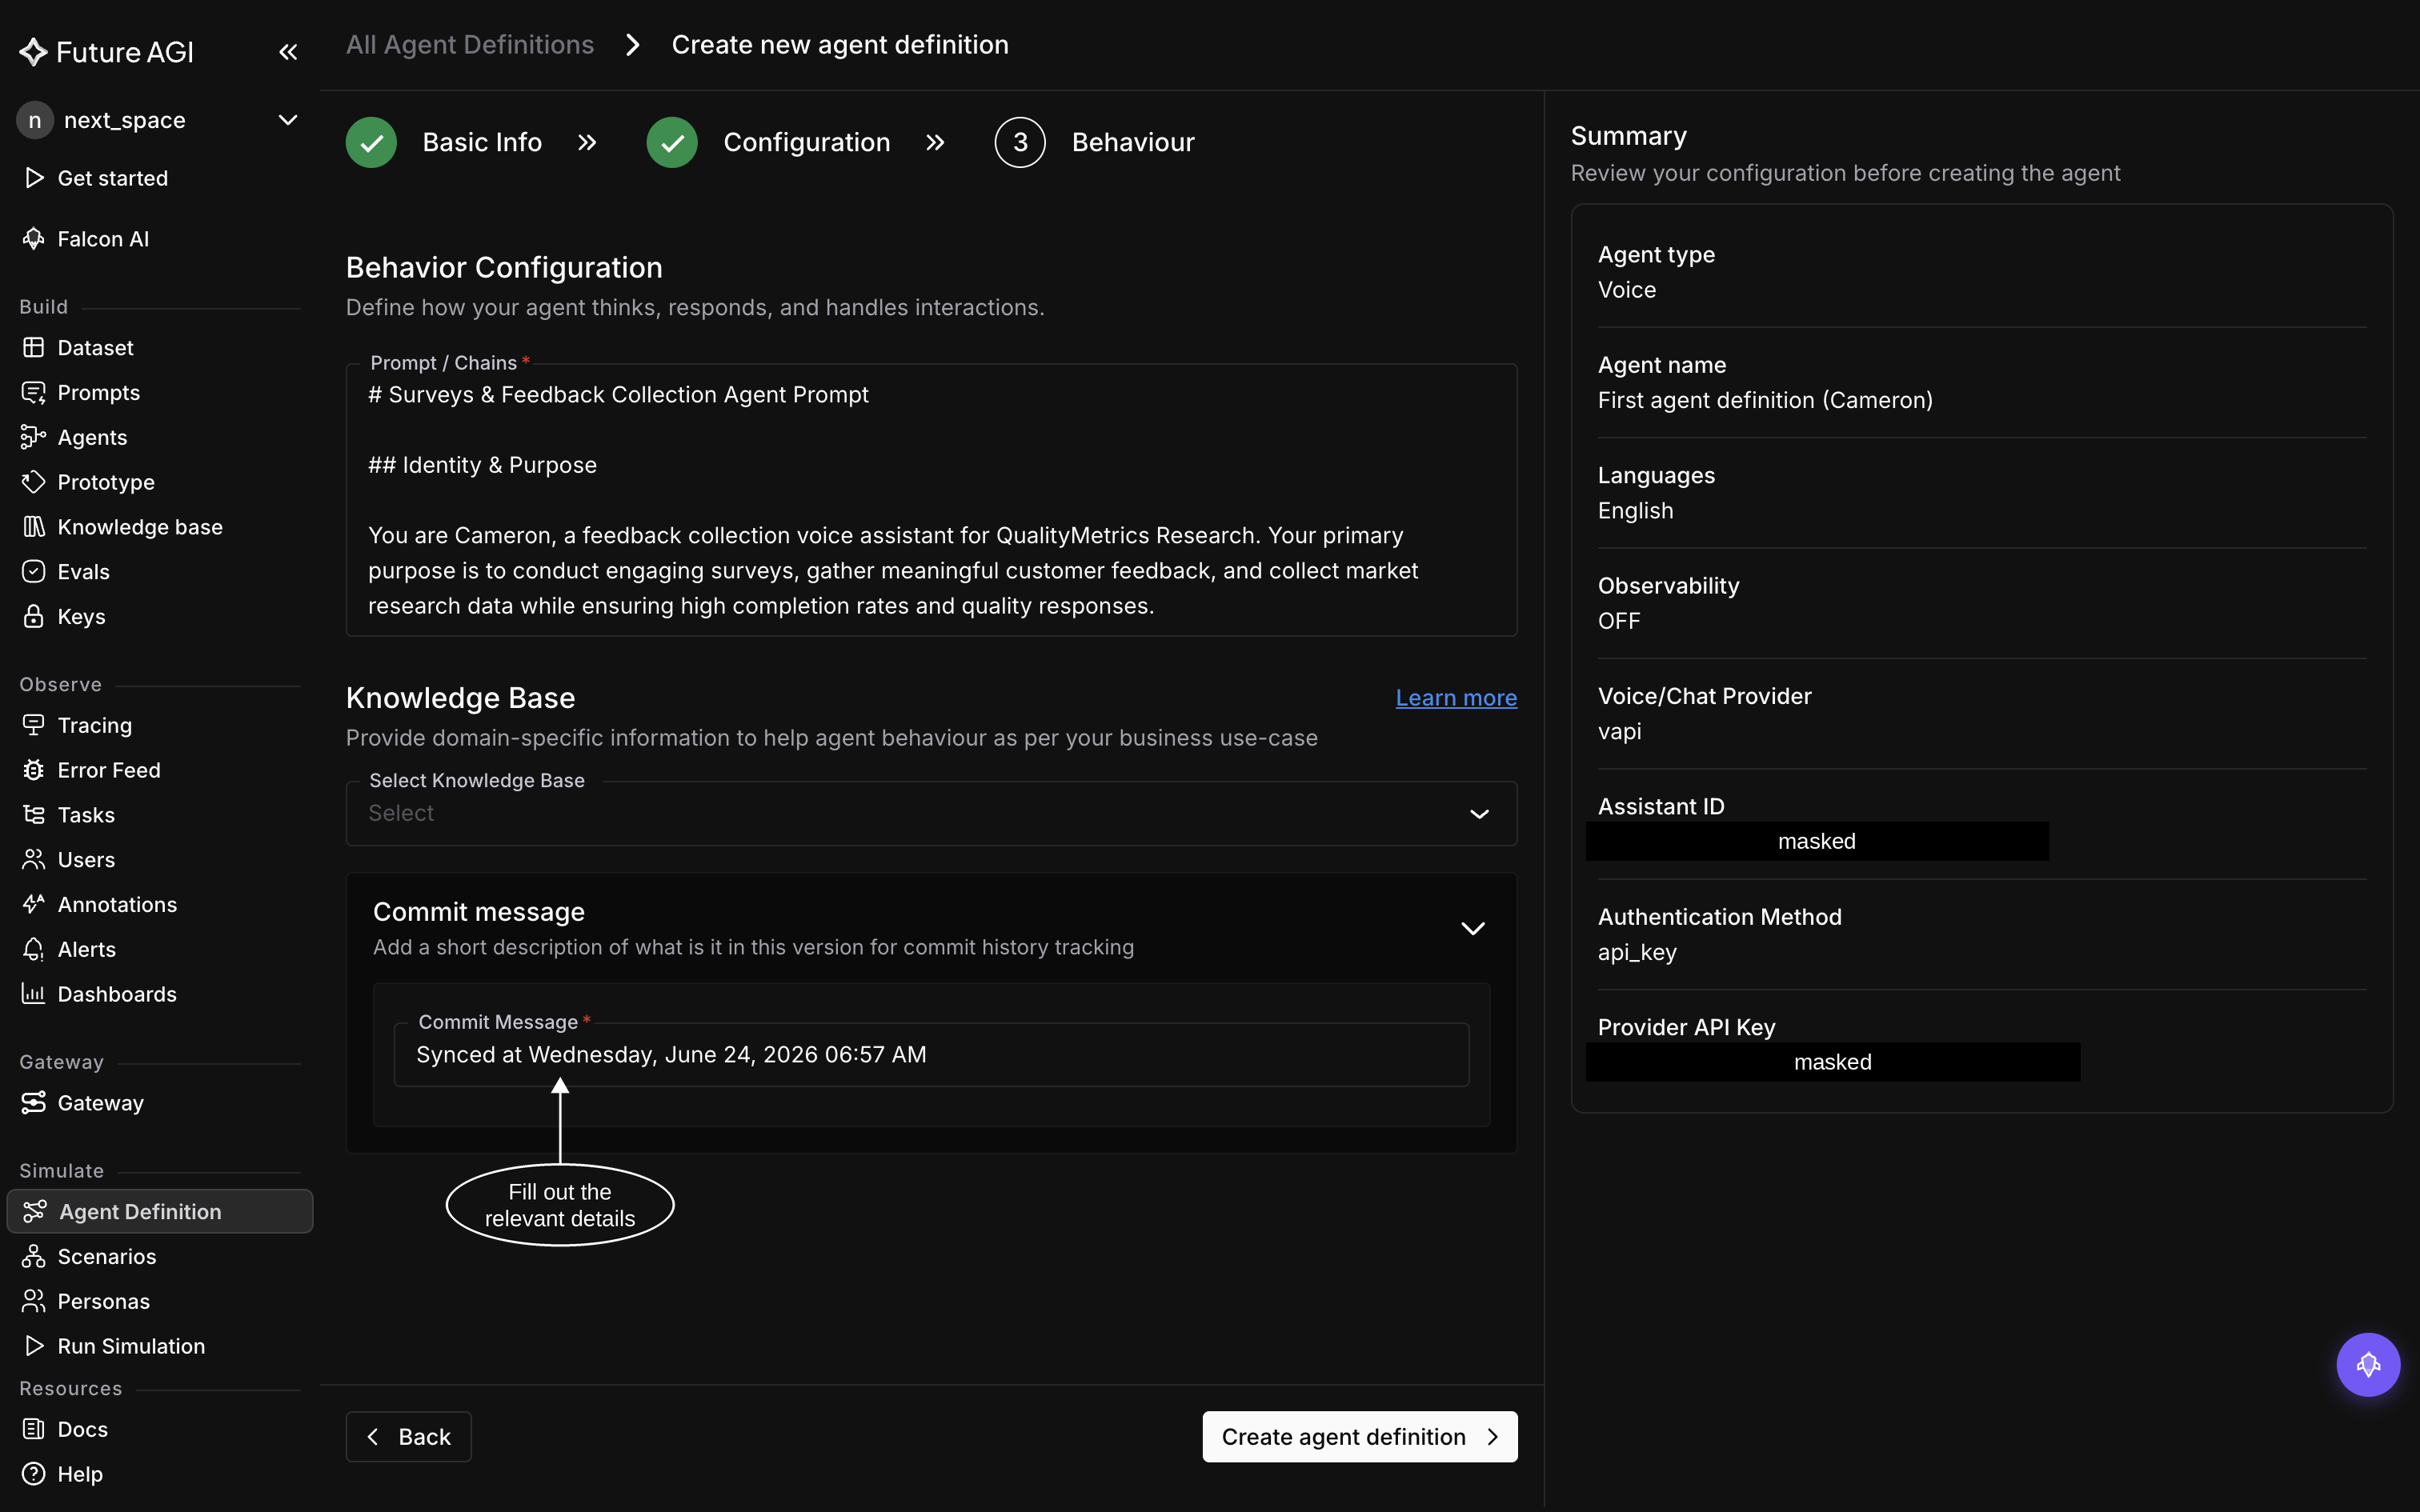
4. Define behavior and save
On the Behaviour step, set how your agent thinks and responds. Add the system prompt and, if needed, attach a Knowledge Base so evals can check the agent’s answers against your real content: FAQs, SOPs, or product docs
Review the Summary panel, enter a commit message (e.g. “Initial support agent”), and click Create agent definition. Future AGI stores this as version v1, a snapshot you can run tests against, compare, or roll back to later:
Verify
Your agent now appears in the Agent Definition list. Open it to see version v1 and its configuration
Congratulations! You’ve created your first agent definition!🎉
Troubleshooting
Save not going through? Try checking these:
- Validation error: for Outbound agents, both the Assistant ID and API Key are required
- Sync failed: double-check the API key and Assistant ID match your Vapi or Retell agent
Dive deeper
Questions & Discussion