Create scenarios
Build the test cases a simulation runs, from a graph, a dataset, a script, or an SOP
A scenario holds the situation a conversation starts from, the flow it should follow, and a table of rows that each play out as their own conversation. You don’t write those rows by hand. You point Future AGI at a source, say how many cases you want, and it generates them for you to edit.
Note
Scenarios are built against an agent definition, so create that first if you haven’t. Connect your agent walks through it. Personas need no setup: the 18 built-in personas ship with every workspace, so there is always a set to attach.
Name the scenario and pick the agent
Under Simulate in the sidebar, open Scenarios and click Add Scenario. The list holds every scenario in the workspace, with the agent type it targets, how many datapoints it carries, and whether generation has finished.
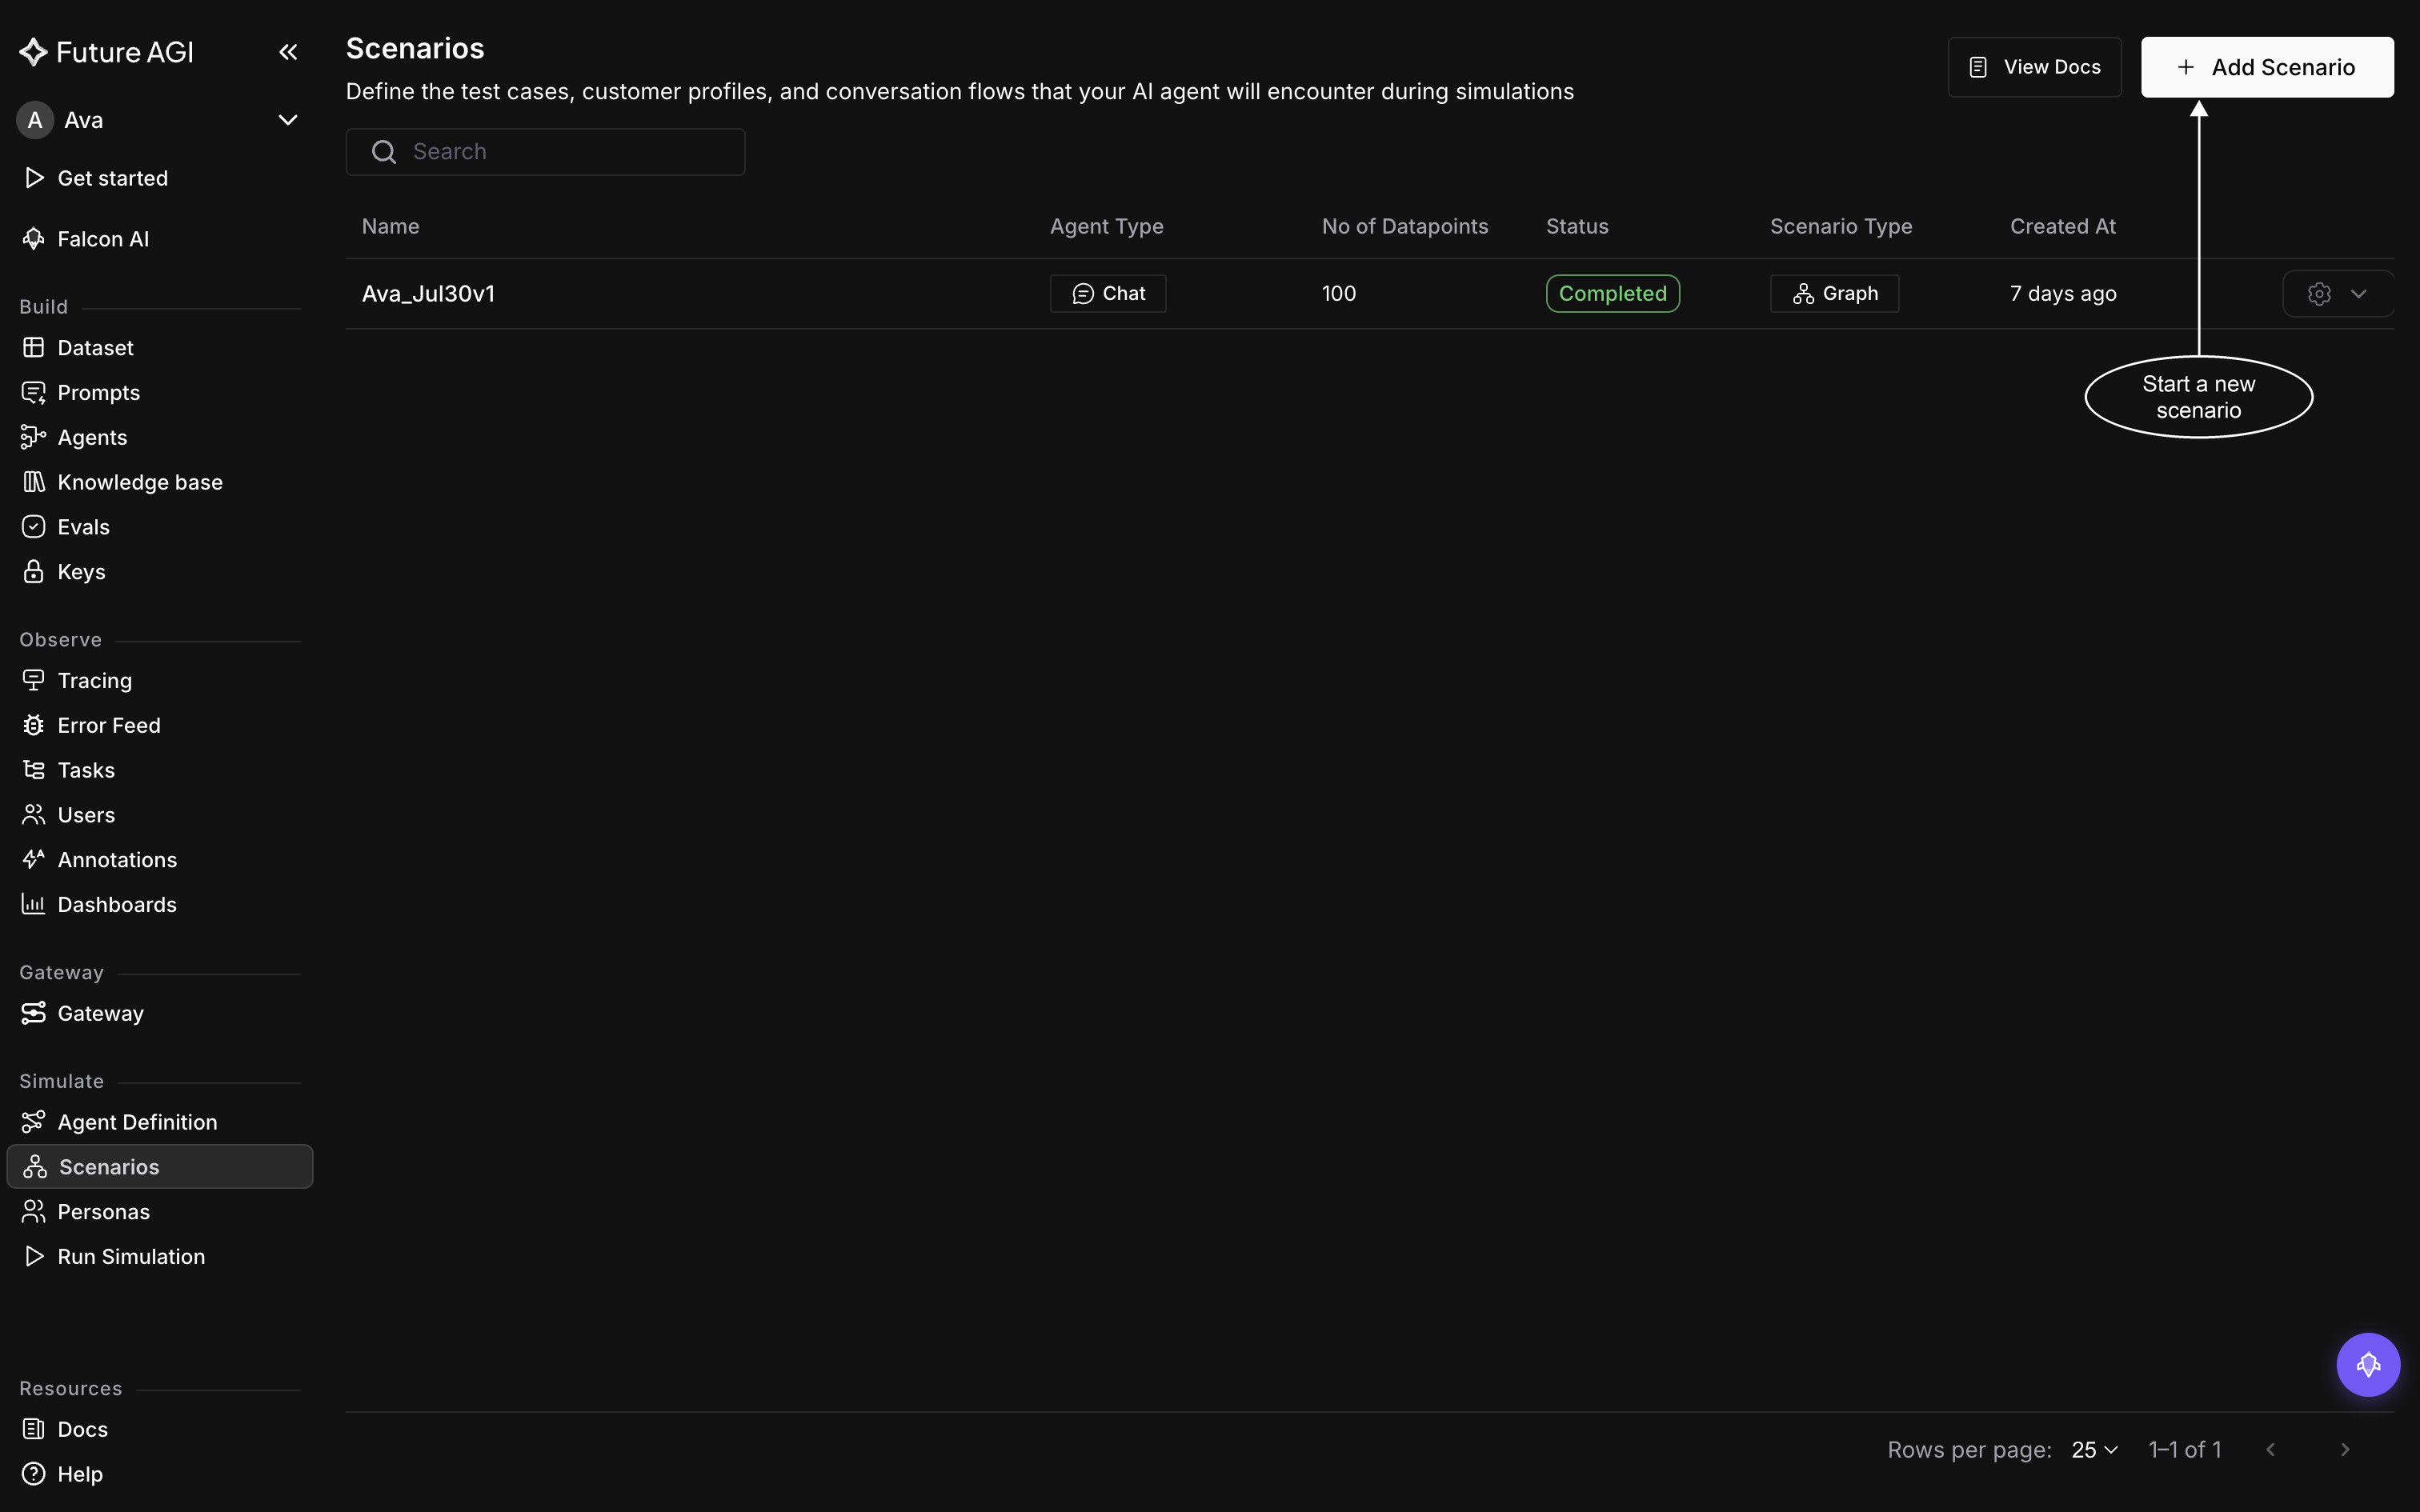
Every scenario in the workspace lives here
- Choose source and Choose version: The agent definition to build against, and the version to read. Pick these first
- Scenario Name: Fills itself in from the two above, so
support-agent-chatatv1becomessupport-agent-chat_v1. Overwrite it if you’d rather name it yourself - No. of scenarios: This doesn’t create 20 scenarios, it creates one scenario holding 20 rows. Each row is one conversation the simulator will run, and the Scenarios list reports the total as that scenario’s datapoint count. The field accepts 10 to 20,000, so 10 rows is the smallest scenario you can generate
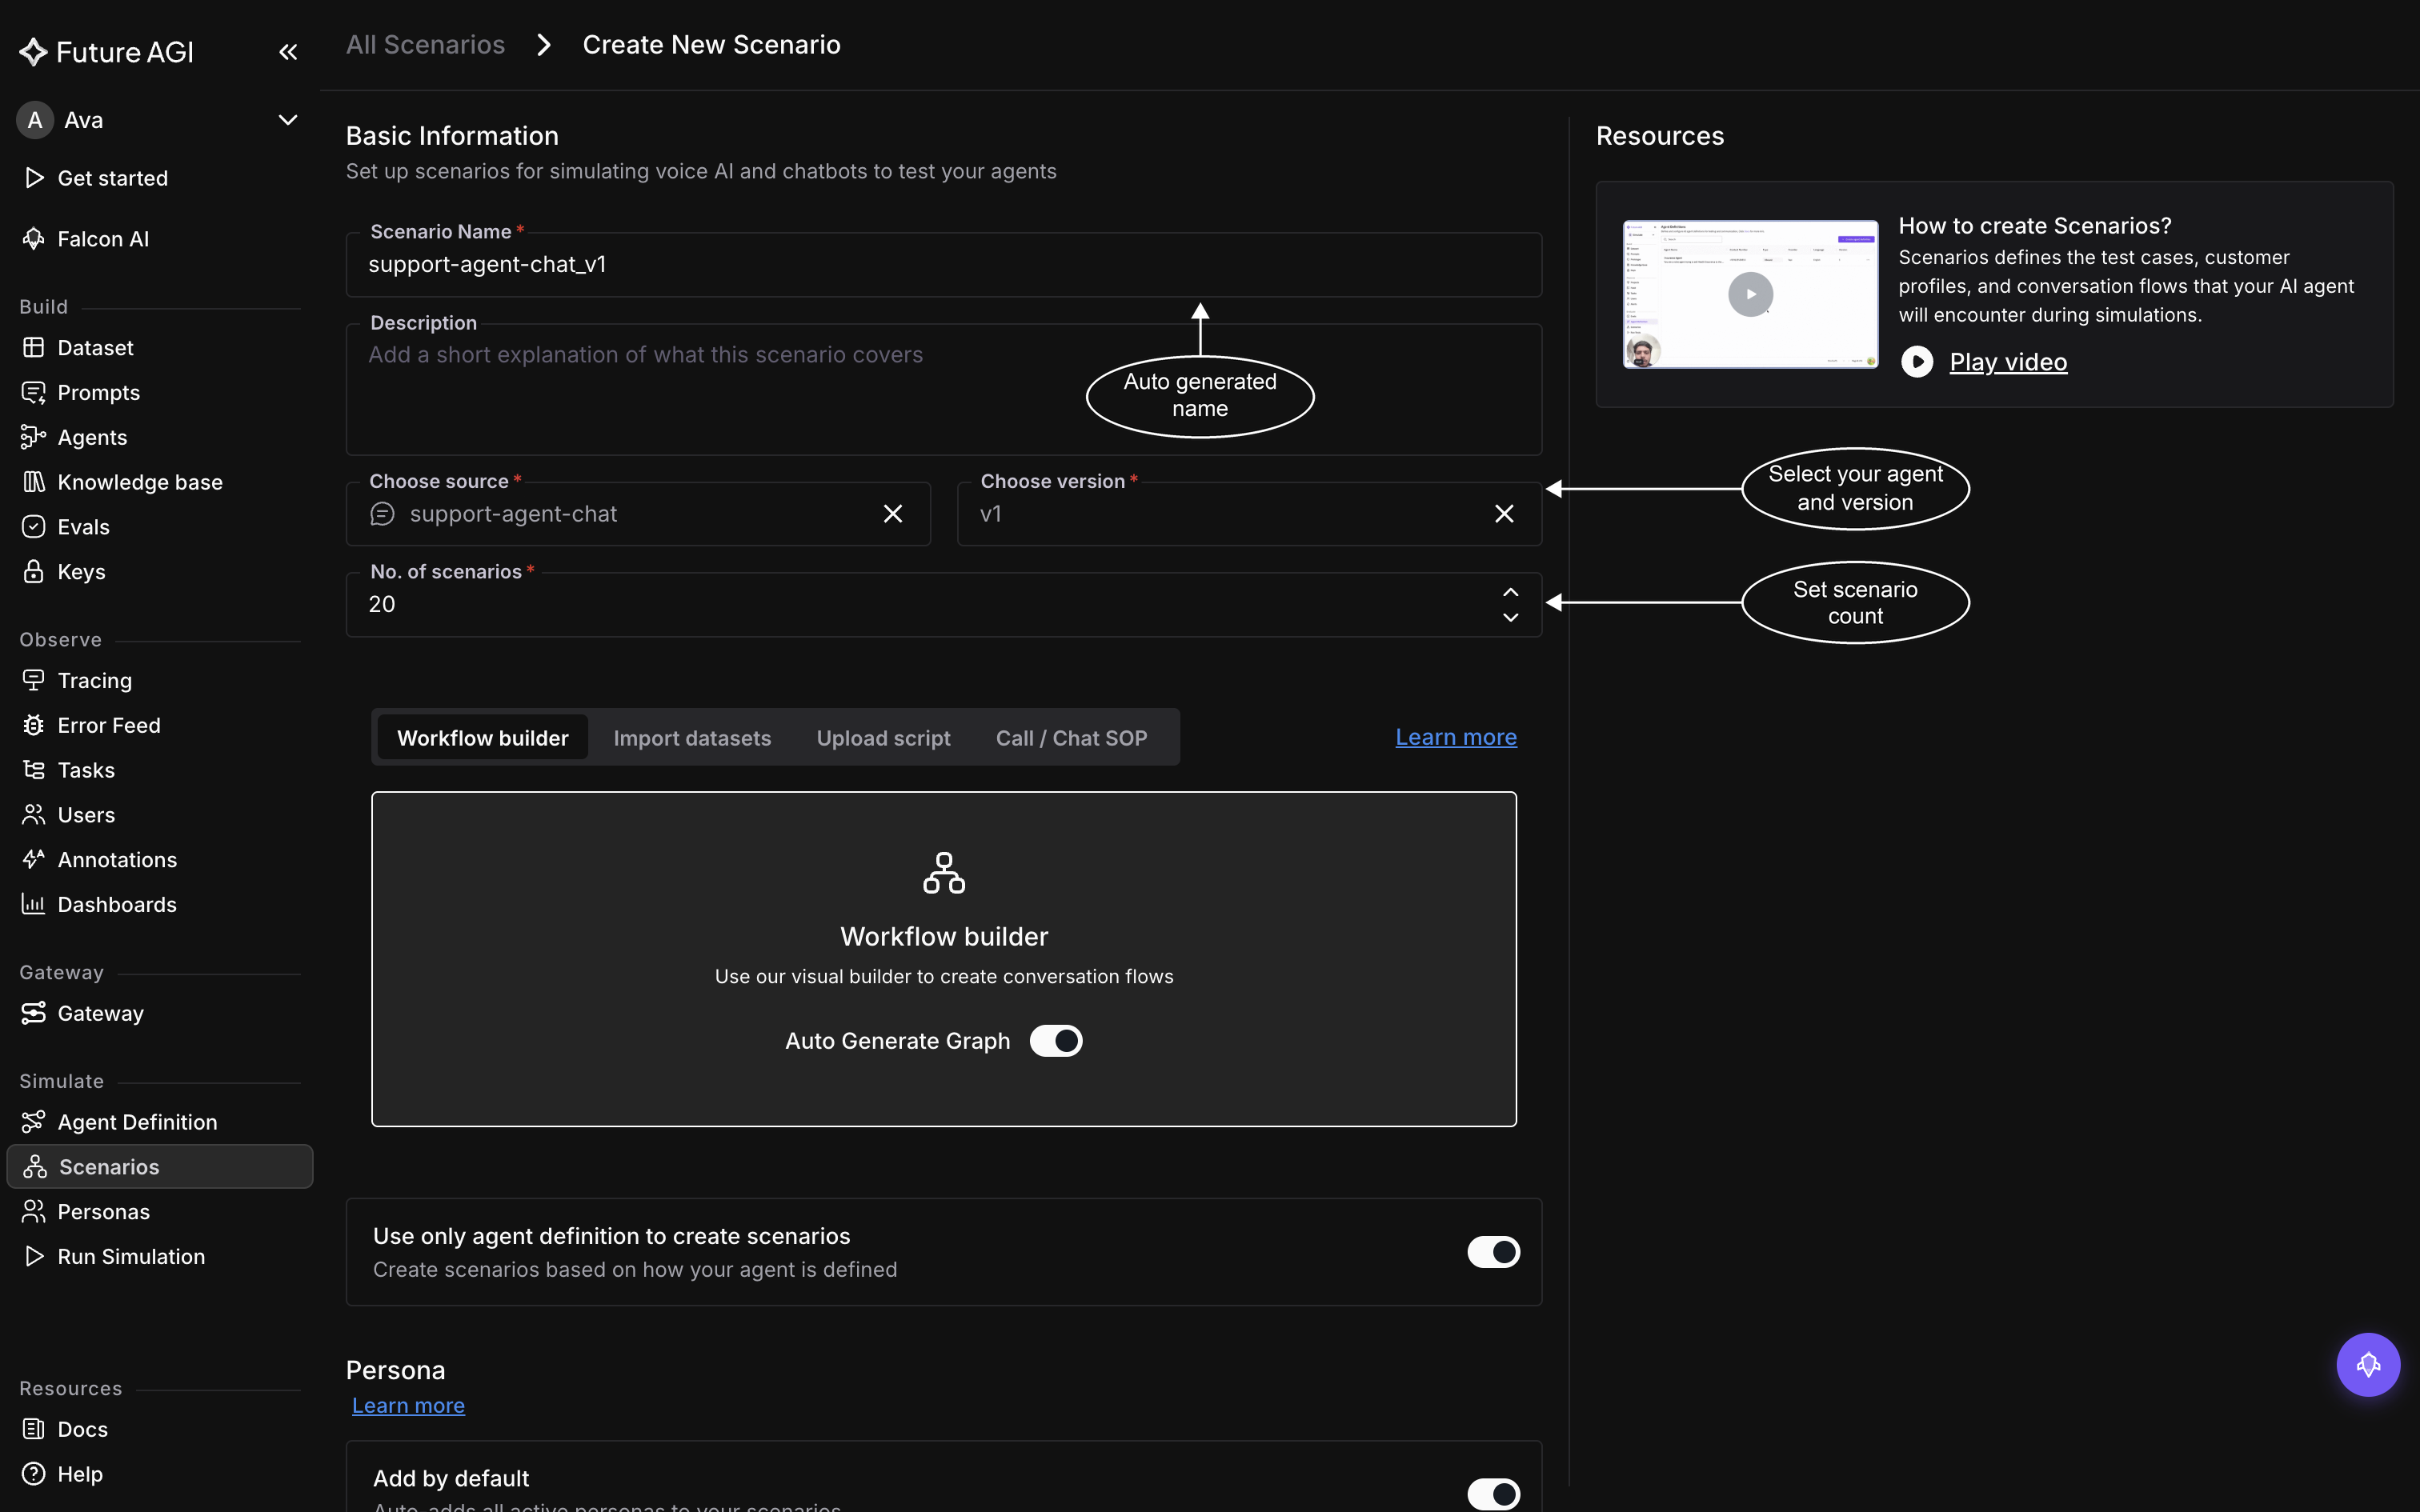
The name is derived from the agent and version you pick
Below these fields sits a row of four tabs, Workflow builder, Import datasets, Upload script, and Call / Chat SOP. Everything under the tabs belongs to the same form: pick a source there, then keep scrolling to the settings that follow.
Pick where the rows come from
Each tab is a different source Future AGI can generate from. Pick the one that matches the material you already have.
Workflow builder
The default, and the one to take when you have nothing to import. Auto Generate Graph is on, which means Future AGI drafts the conversation flow itself from your agent definition and its description, then writes the rows against that flow. For a first scenario this is usually all you need.
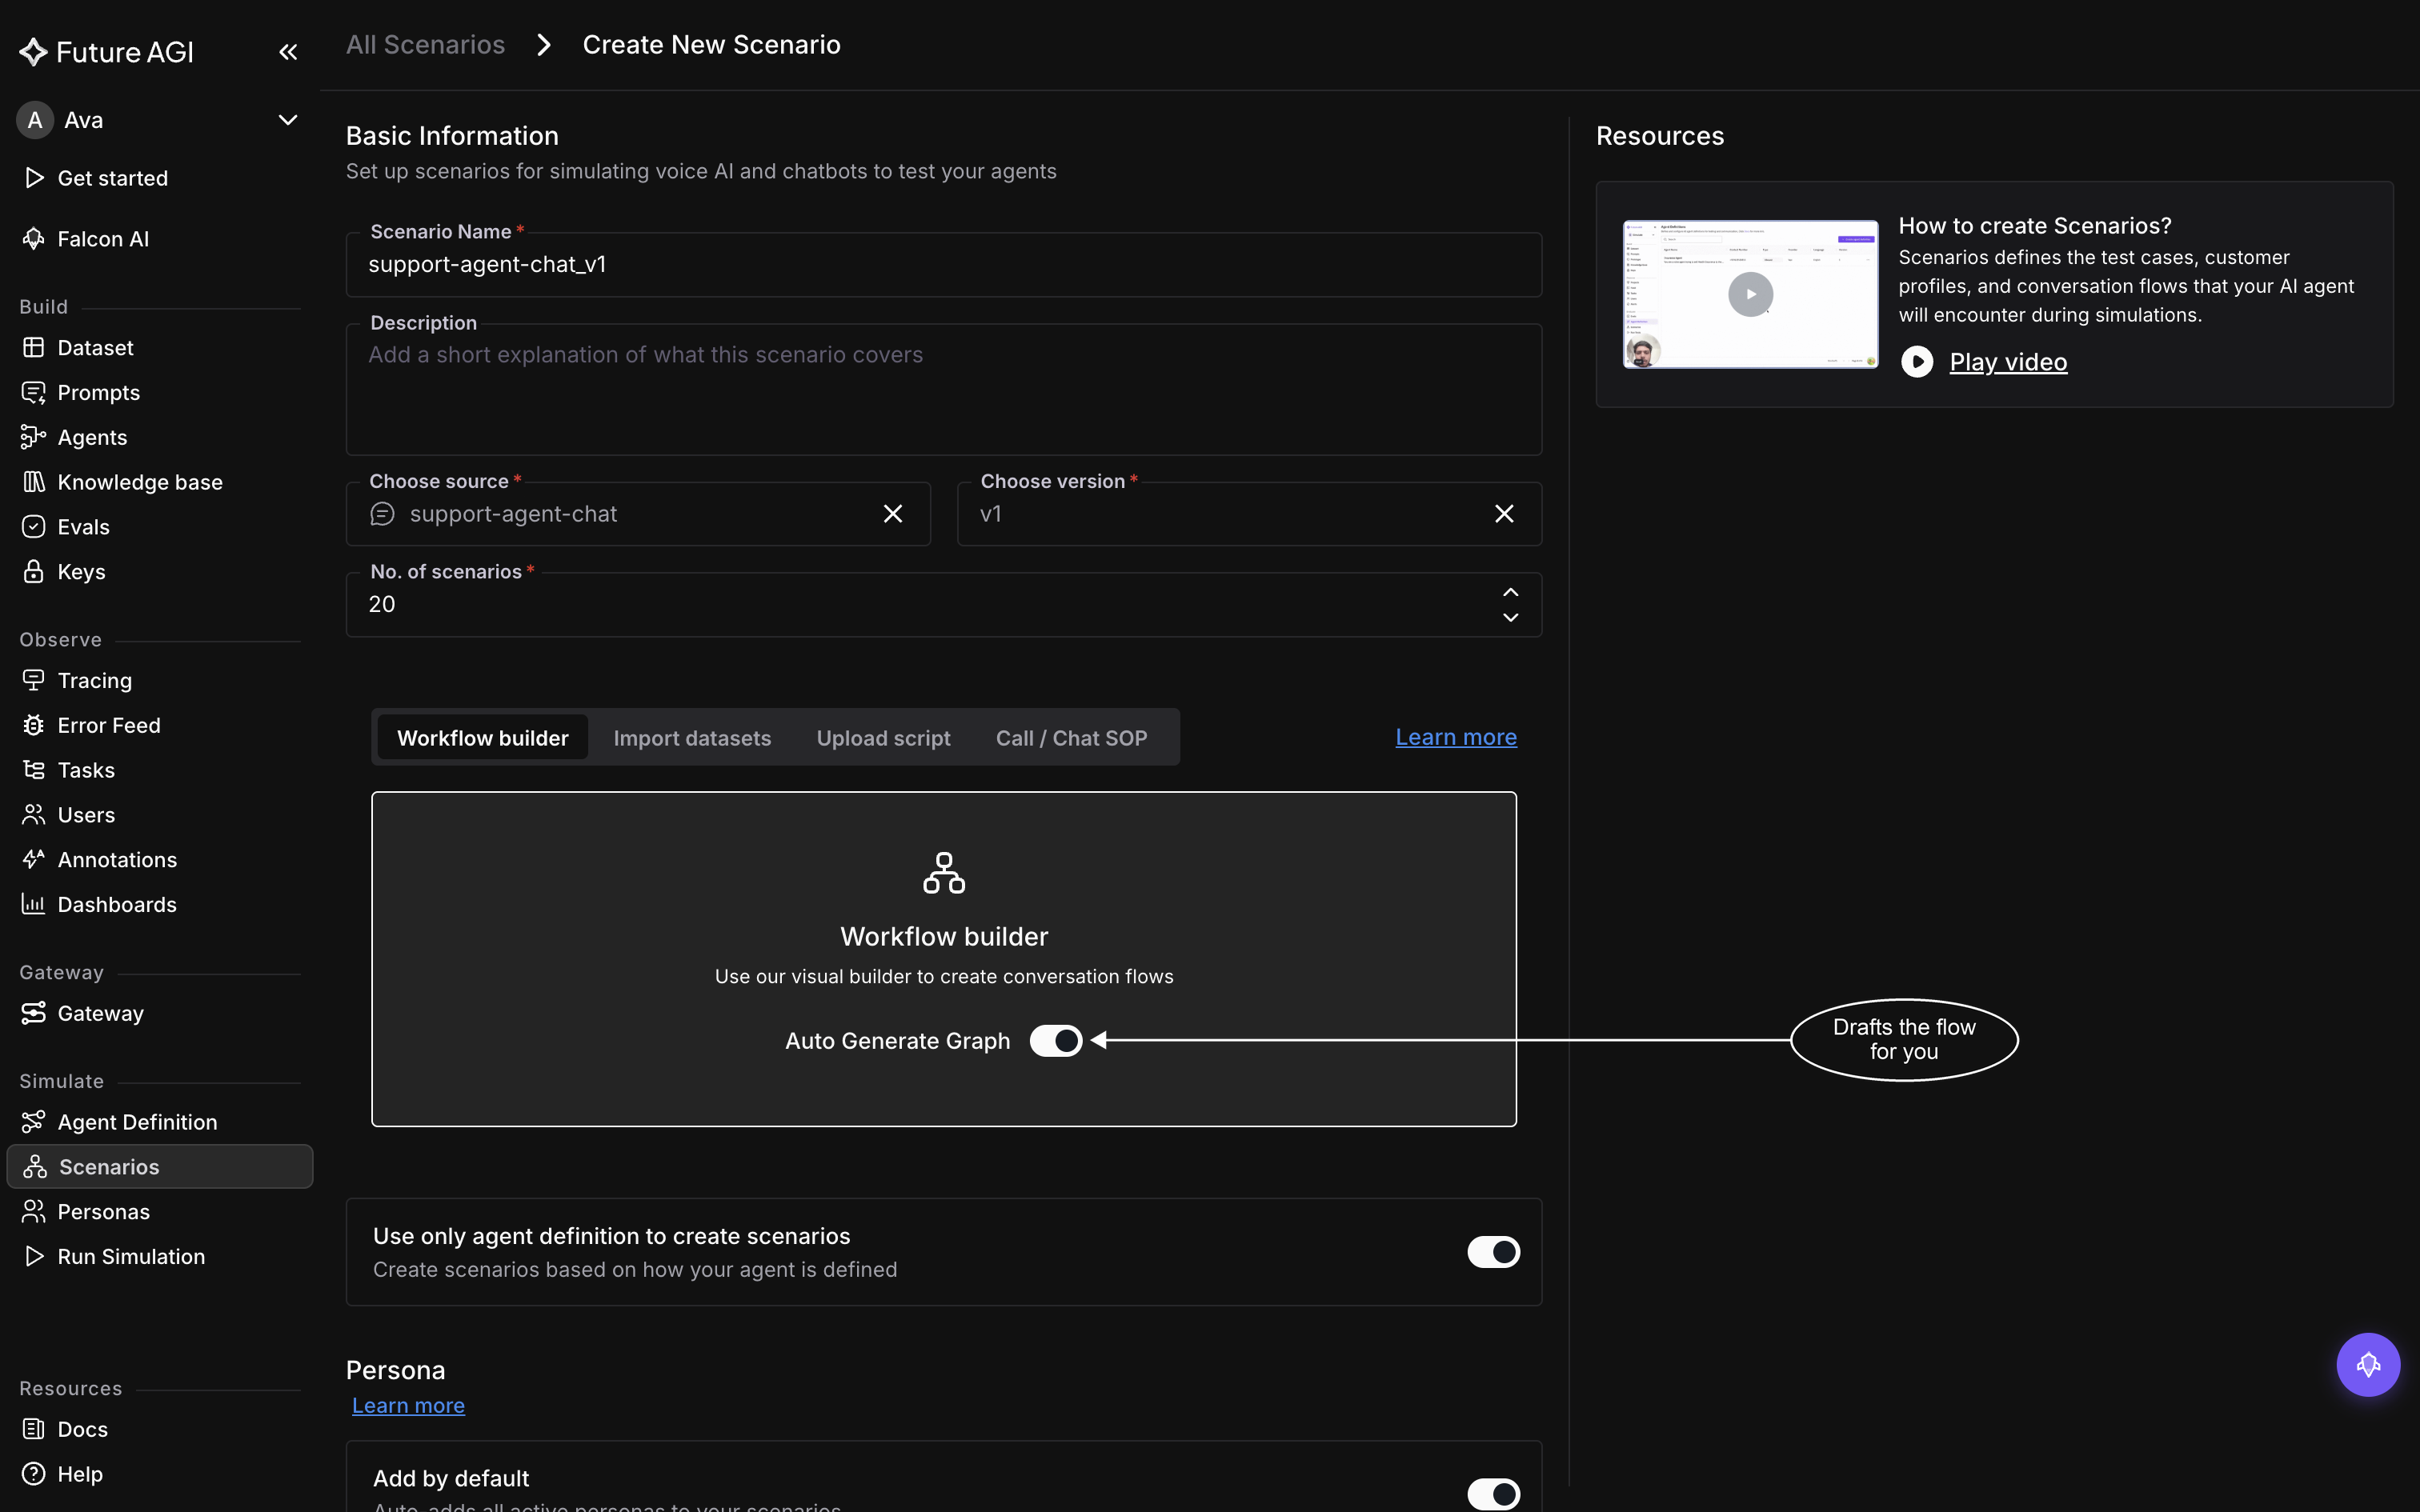
With Auto Generate Graph on, the flow is drafted for you
Turn Auto Generate Graph off and a Manually Create Workflow button appears, opening the visual graph builder so you can draw the flow yourself before generating. It stays disabled until you’ve chosen an agent definition, since the builder needs to know what it’s building against. The builder is the same canvas you get on a finished scenario, and Explore scenario graph documents how to work in it.
Import datasets
Builds the rows from data you already hold in a dataset, so reach for it when your cases come from real material, like a spreadsheet of past tickets. Select the dataset and its rows become the cases.
The dataset has to meet three conditions, and creation is rejected with the reason if it doesn’t:
- At least 10 rows. The error names the count it found, so a 6-row dataset fails before anything is generated
- No duplicate column names
- A
personacolumn, if present, must be typed as Persona. A column literally namedpersonaholding plain text is rejected; change its type in the dataset first
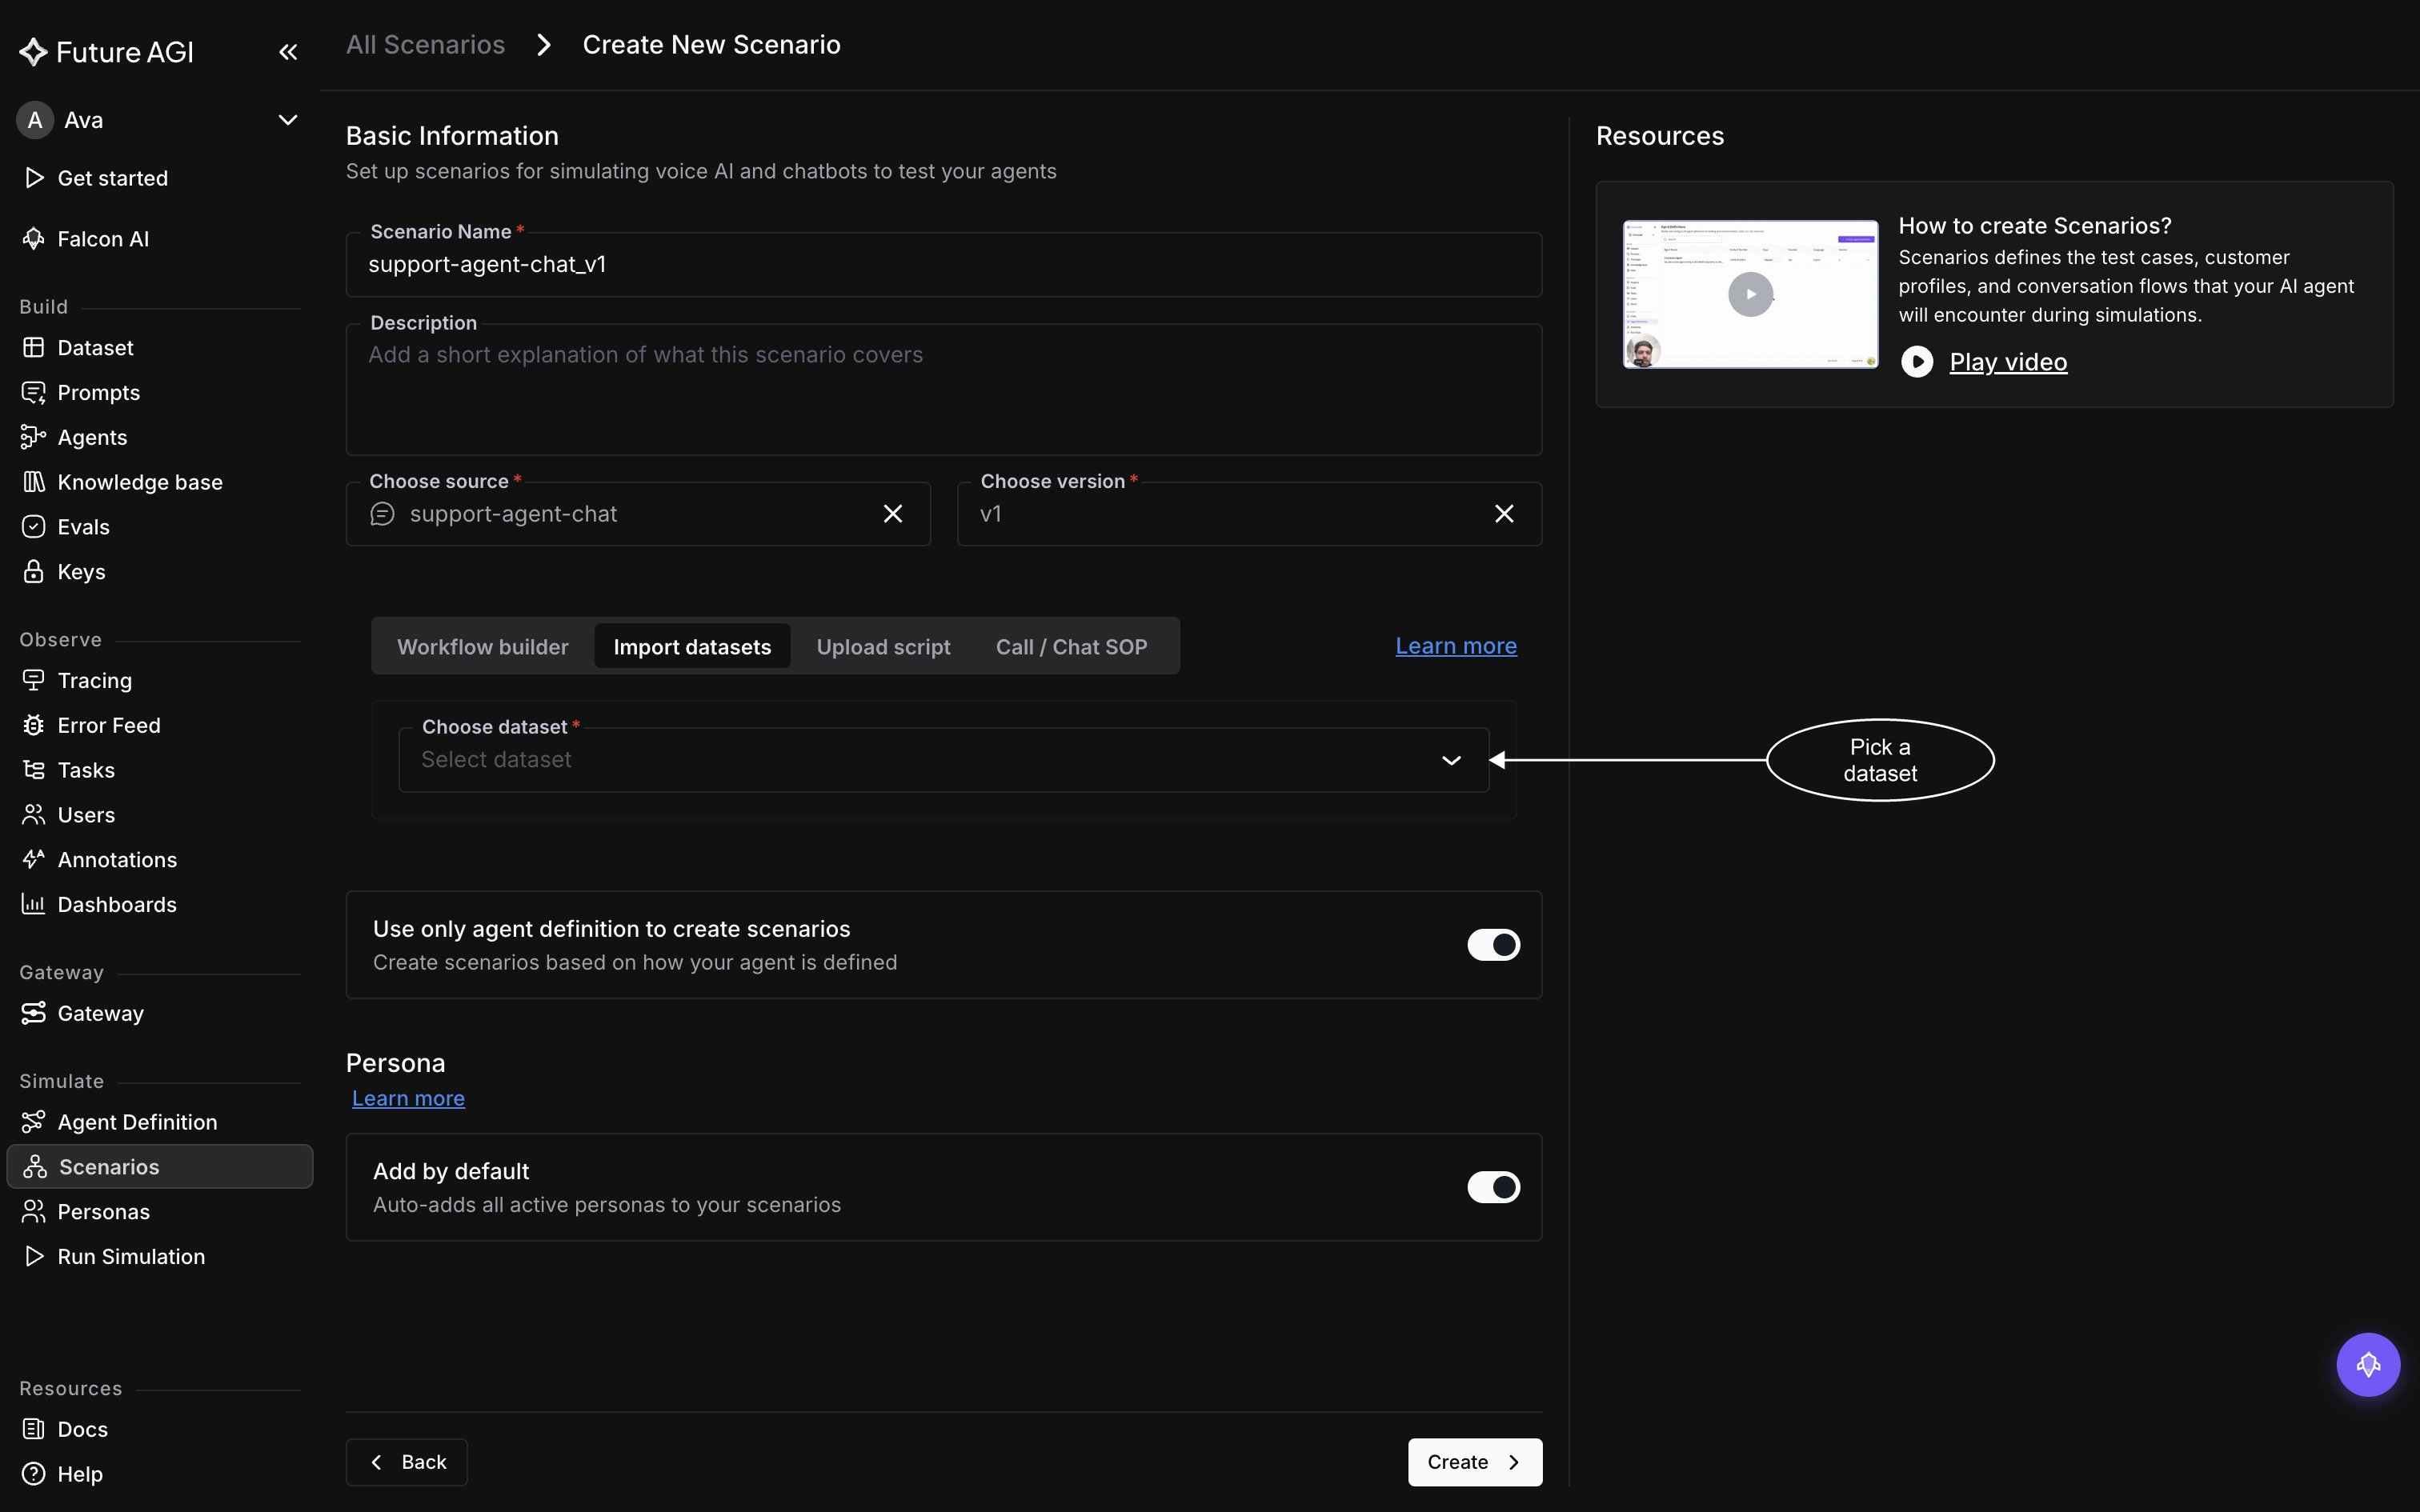
Only datasets in this workspace appear in the dropdown
Upload script
For when the conversation is already written down: a call script, a worked example dialogue, the wording your team is expected to follow turn by turn. Future AGI reads the document and builds the flow to match what it describes.
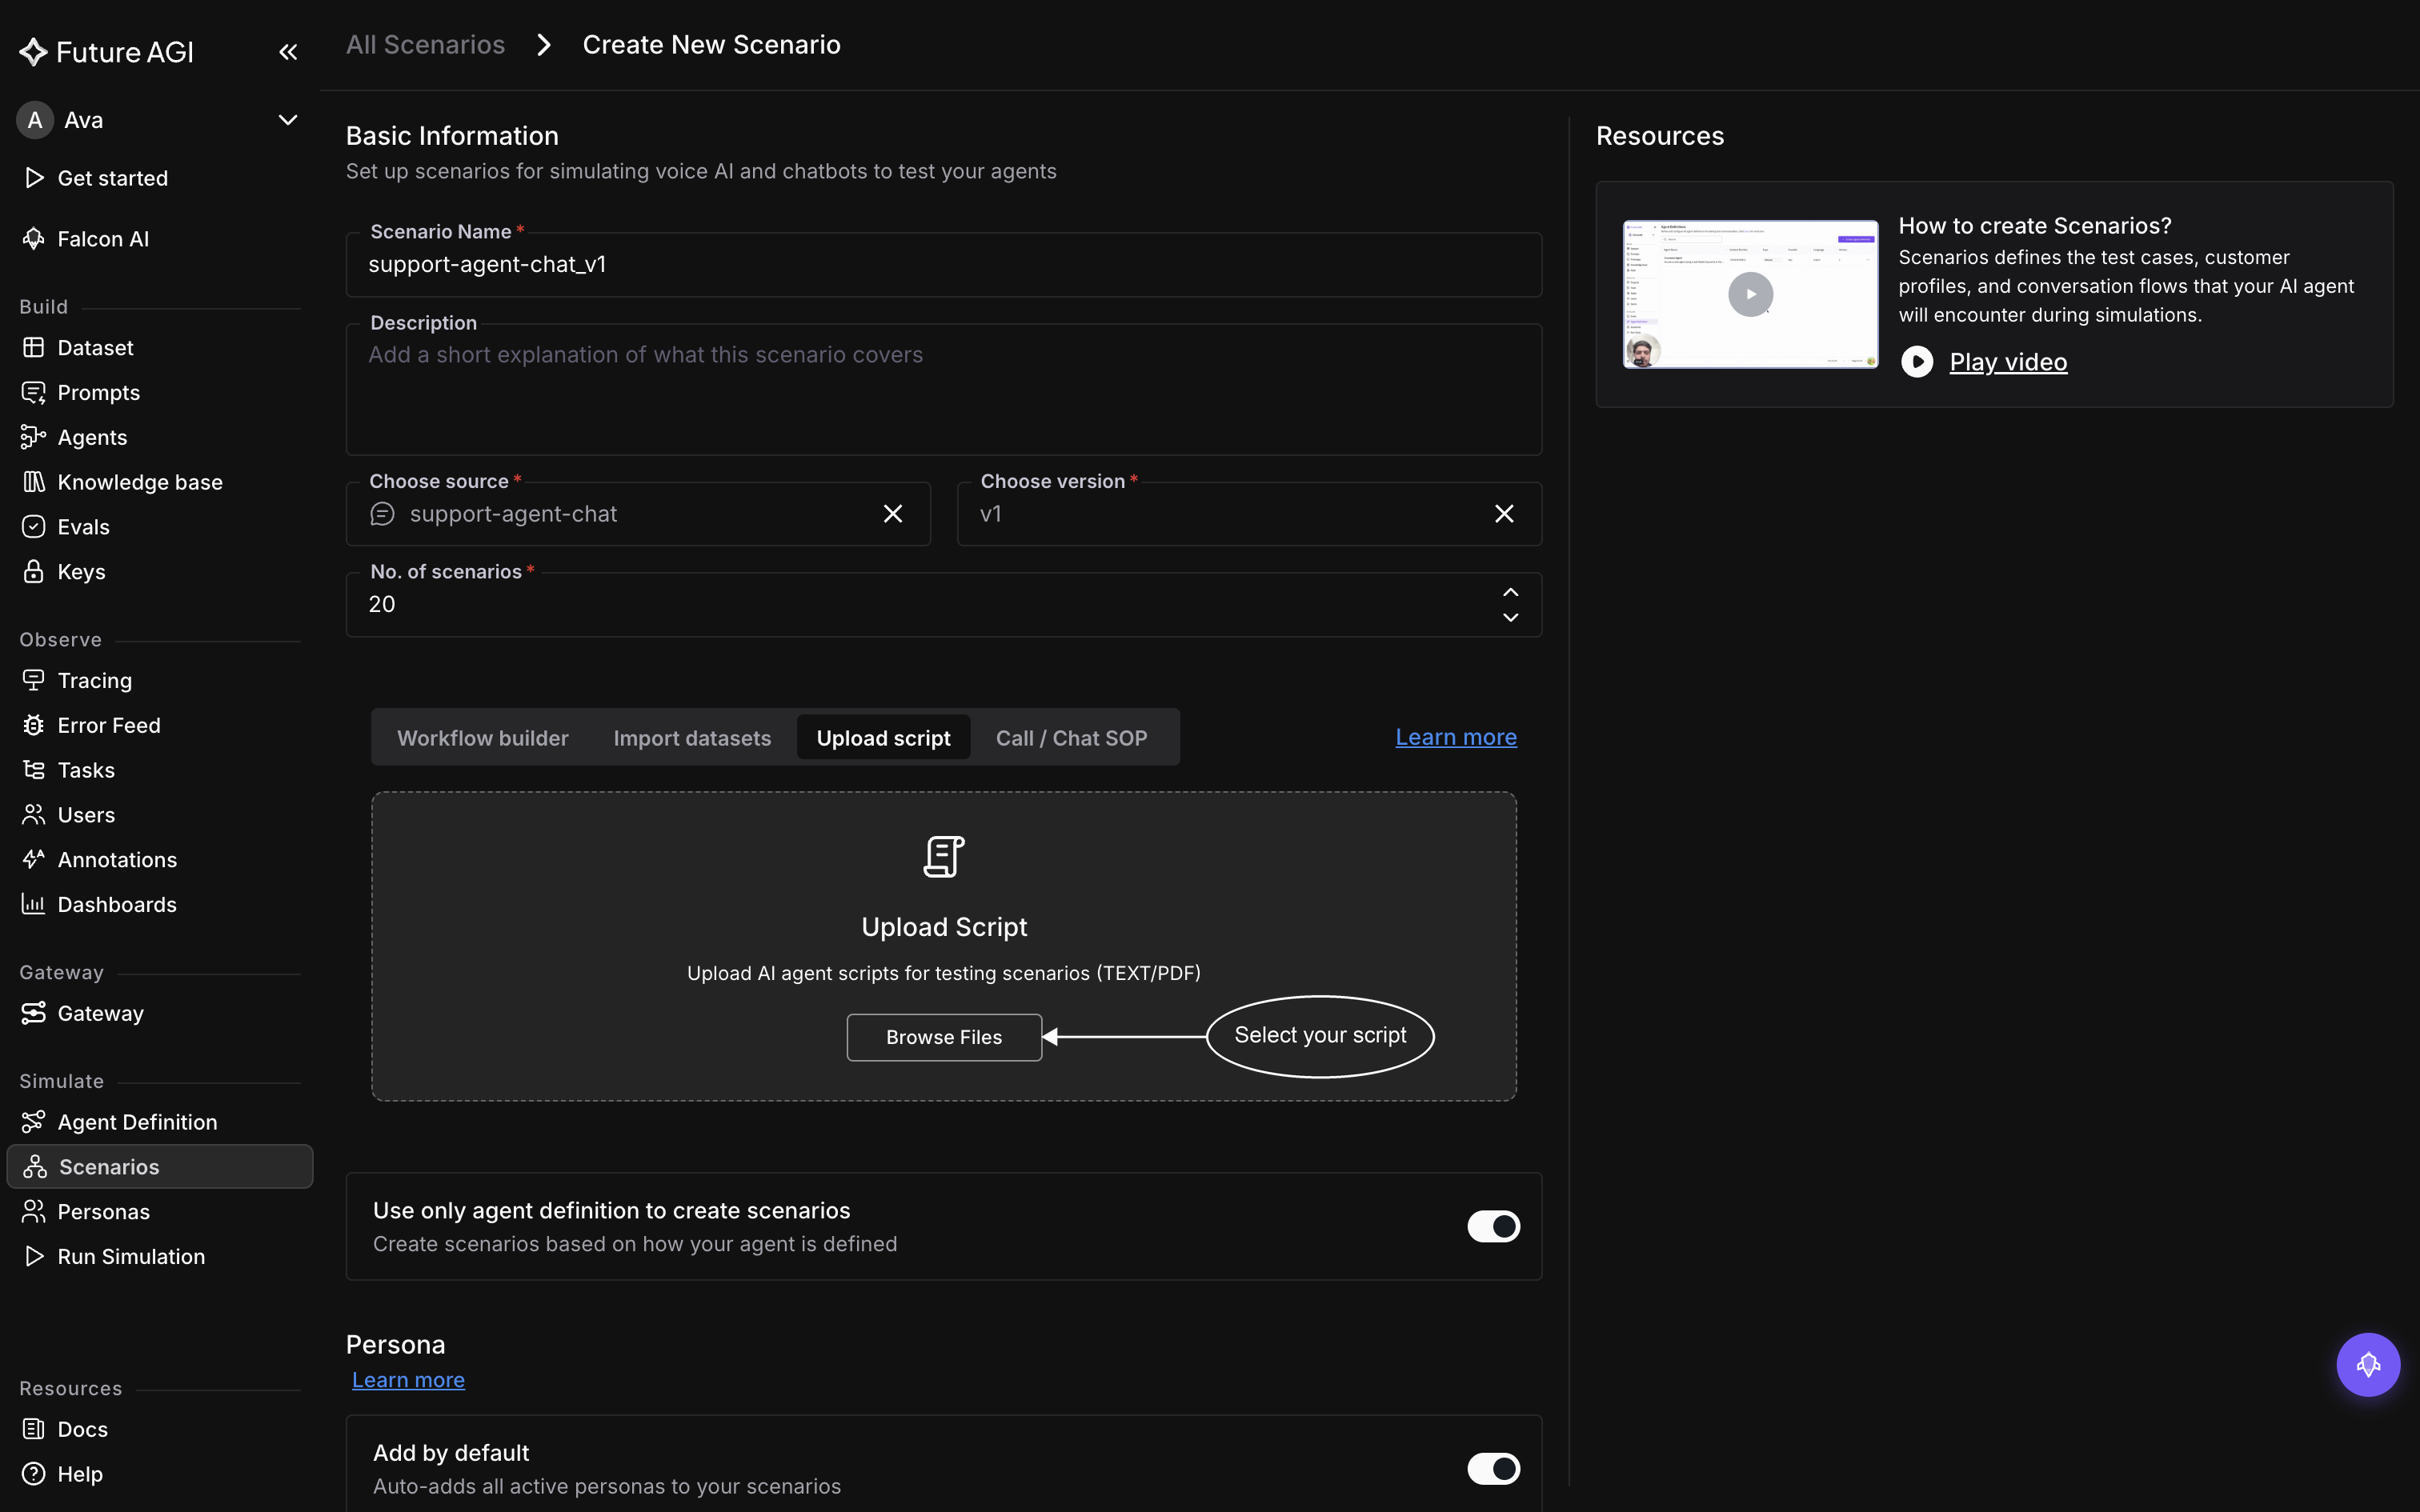
A script describes the conversation itself, turn by turn
Call / Chat SOP
For when what you have is the procedure rather than the dialogue: the policy your support team follows, its steps, conditions, and escalation rules. The generator turns those rules into cases that exercise them, which is the tab to pick when your written material says what must happen rather than what to say.
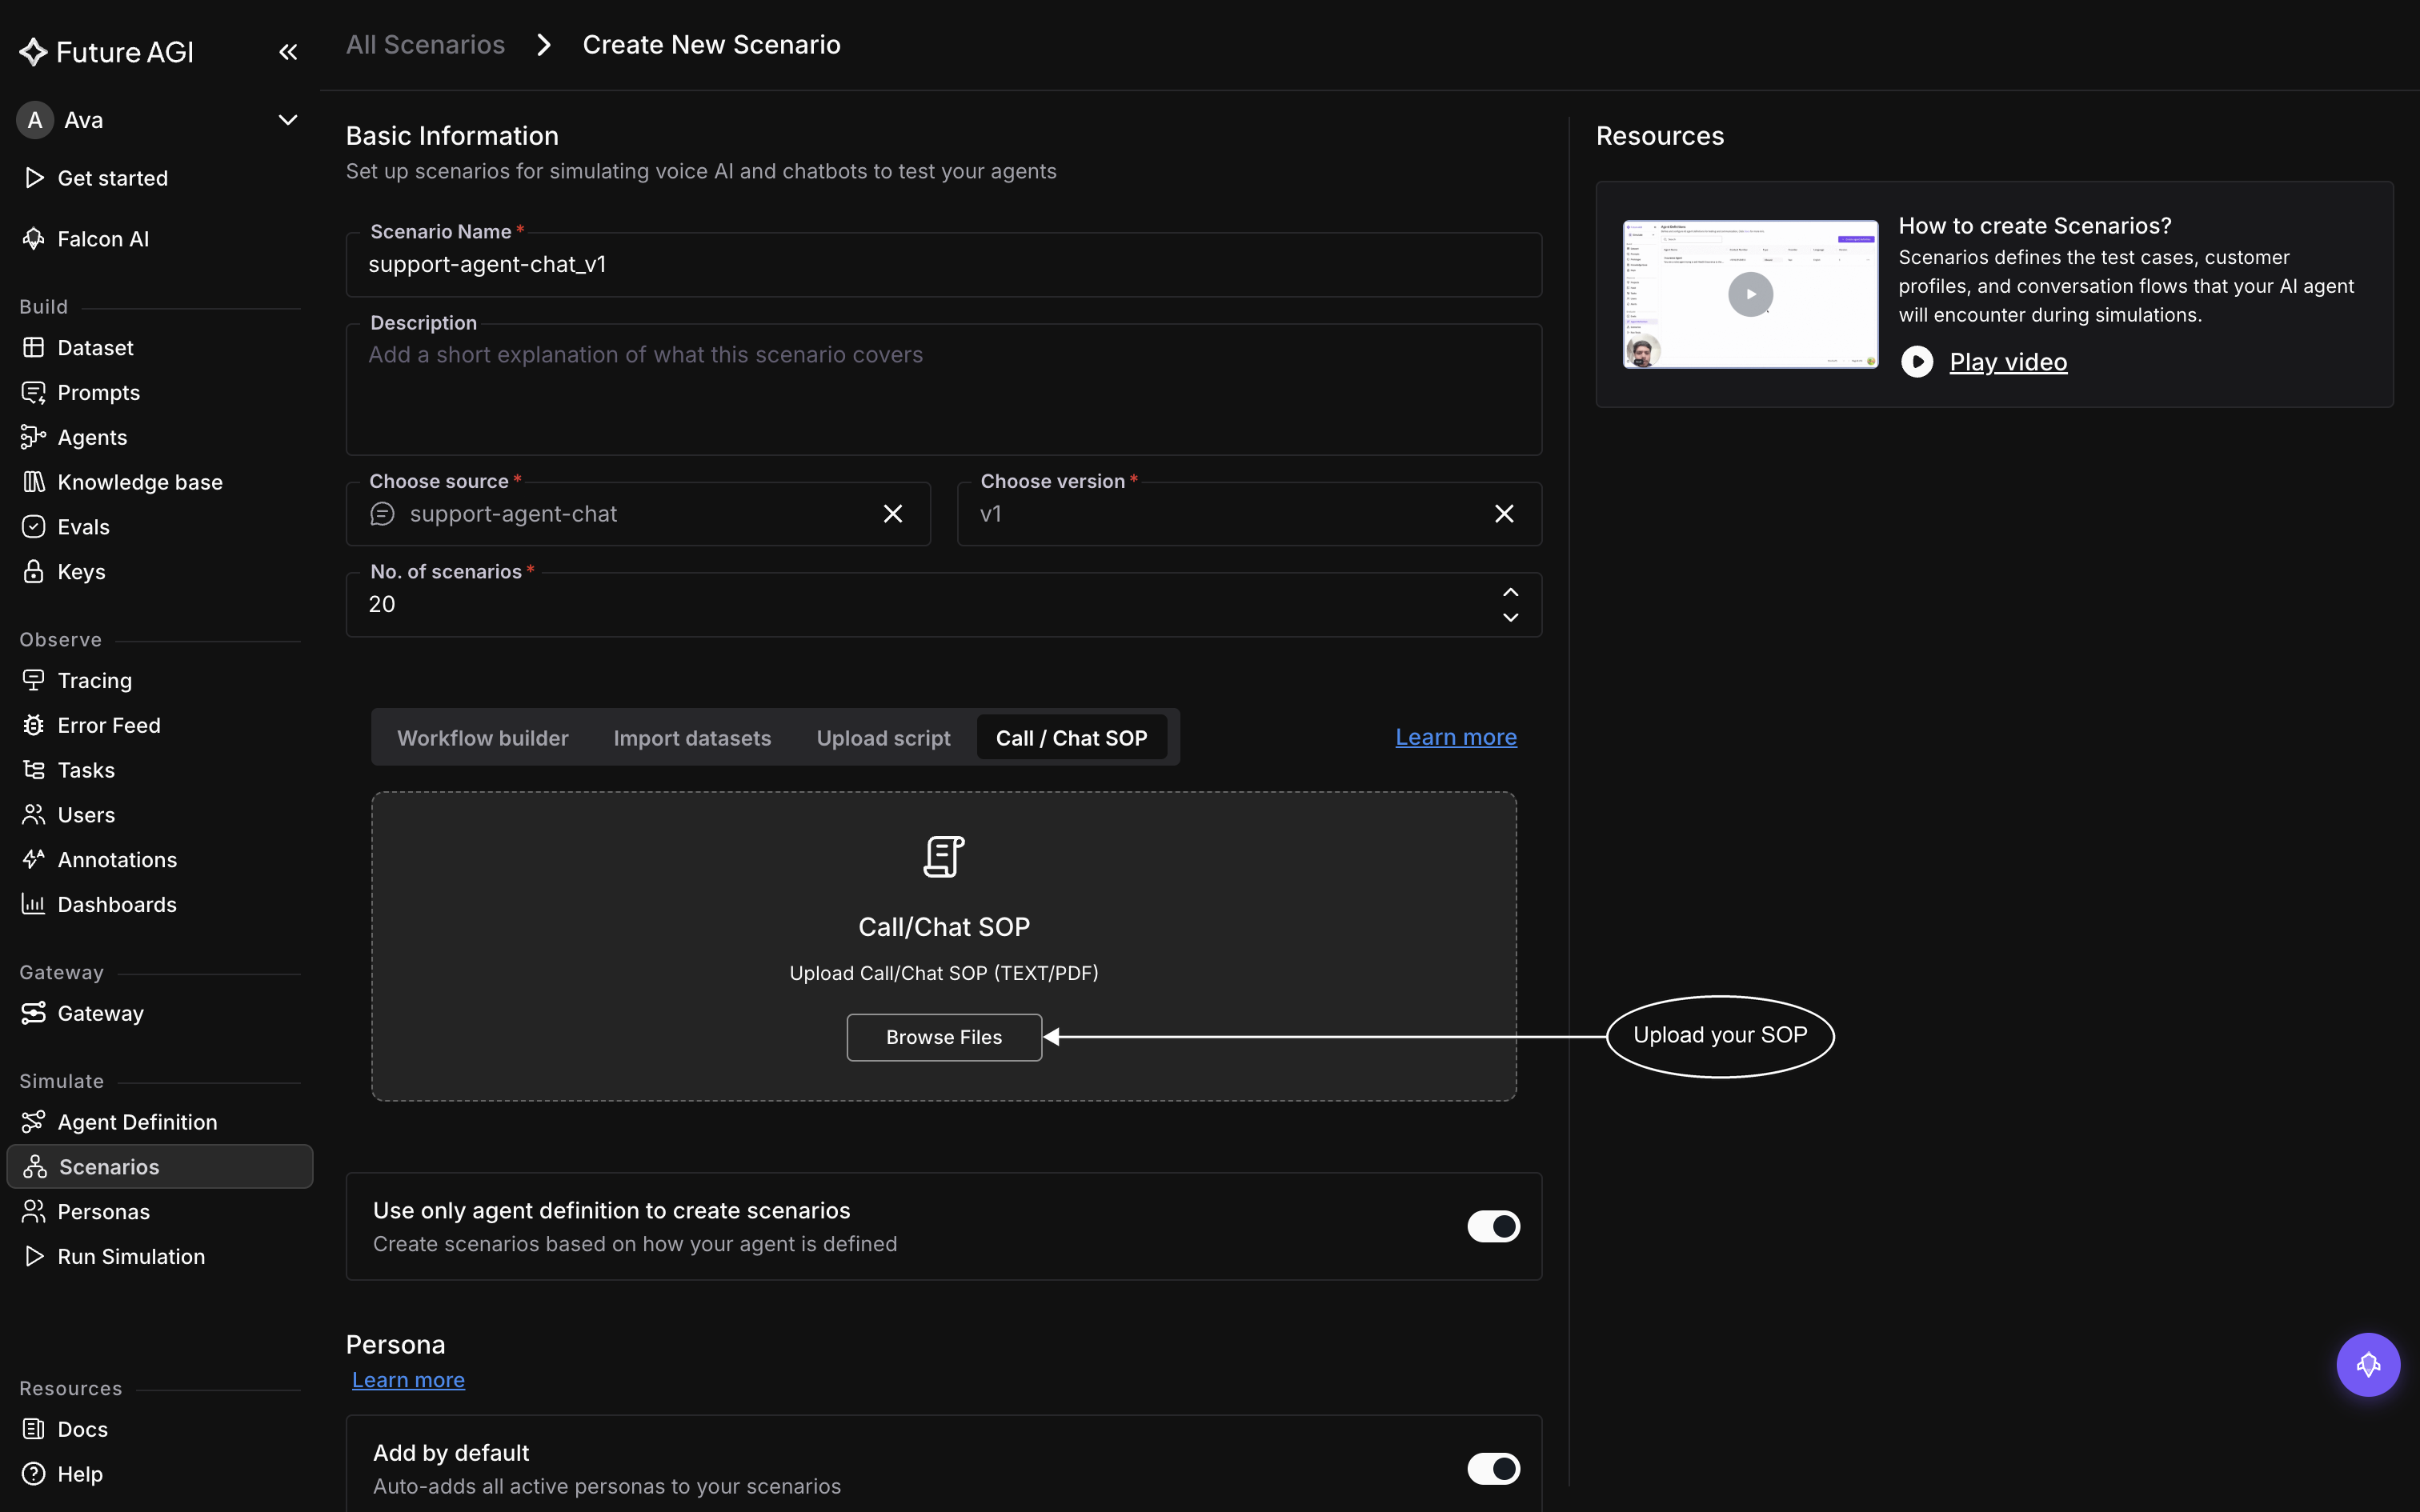
An SOP describes the rules; the generator writes conversations that test them
Both upload tabs accept .txt and .pdf only, and both read the file as text, so a PDF that is really a scan of a printed page gives the generator nothing to work with.
Generate from the agent definition, or your own instructions
The settings from here down sit below the tabs on the same form, and they apply whichever source you picked.
Use only agent definition to create scenarios is on by default, which keeps generation grounded in how your agent is configured. Turn it off and an Extra Instruction field appears, where you write additional instructions for the model to follow while generating. That’s the way to steer the batch toward cases the agent definition alone wouldn’t suggest, like a specific edge case you keep seeing in production.
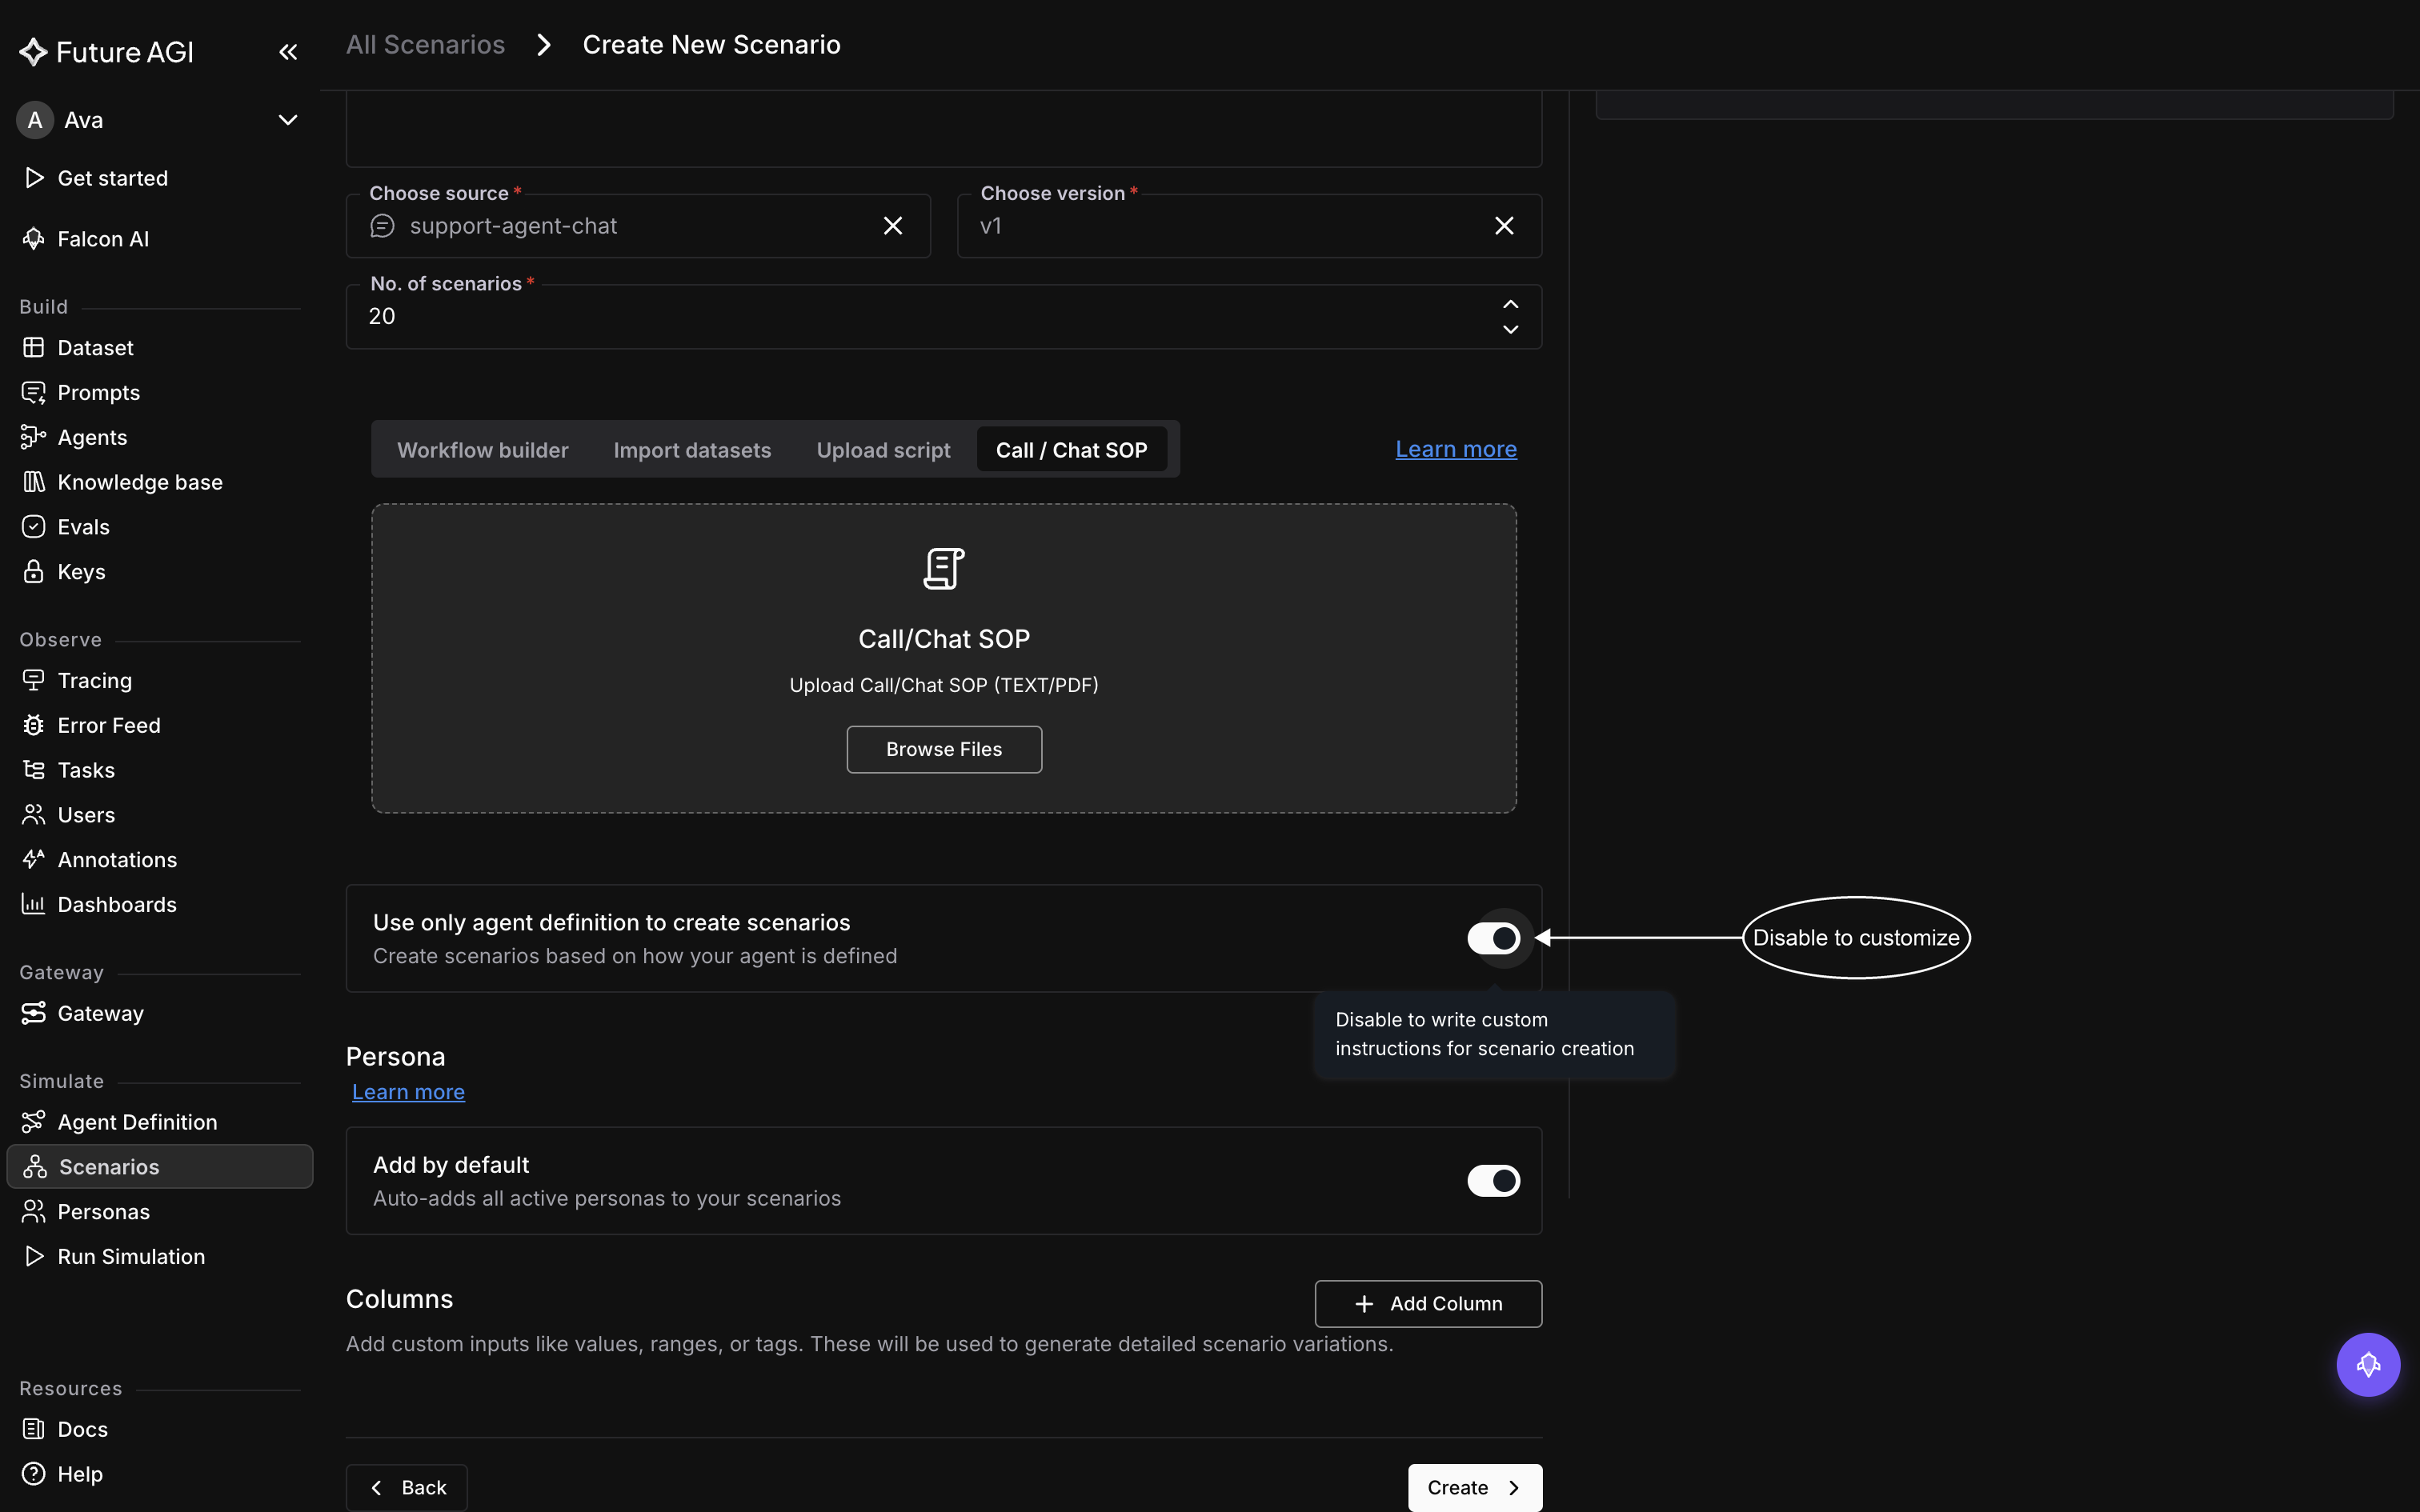
Leave it on to generate from the agent definition, off to add your own instructions
Attach the personas
Add by default attaches every active persona in the workspace to the scenario it generates. This is where personas enter a simulation: they ride along inside the scenario, so there’s nothing to pick when you later start a run.
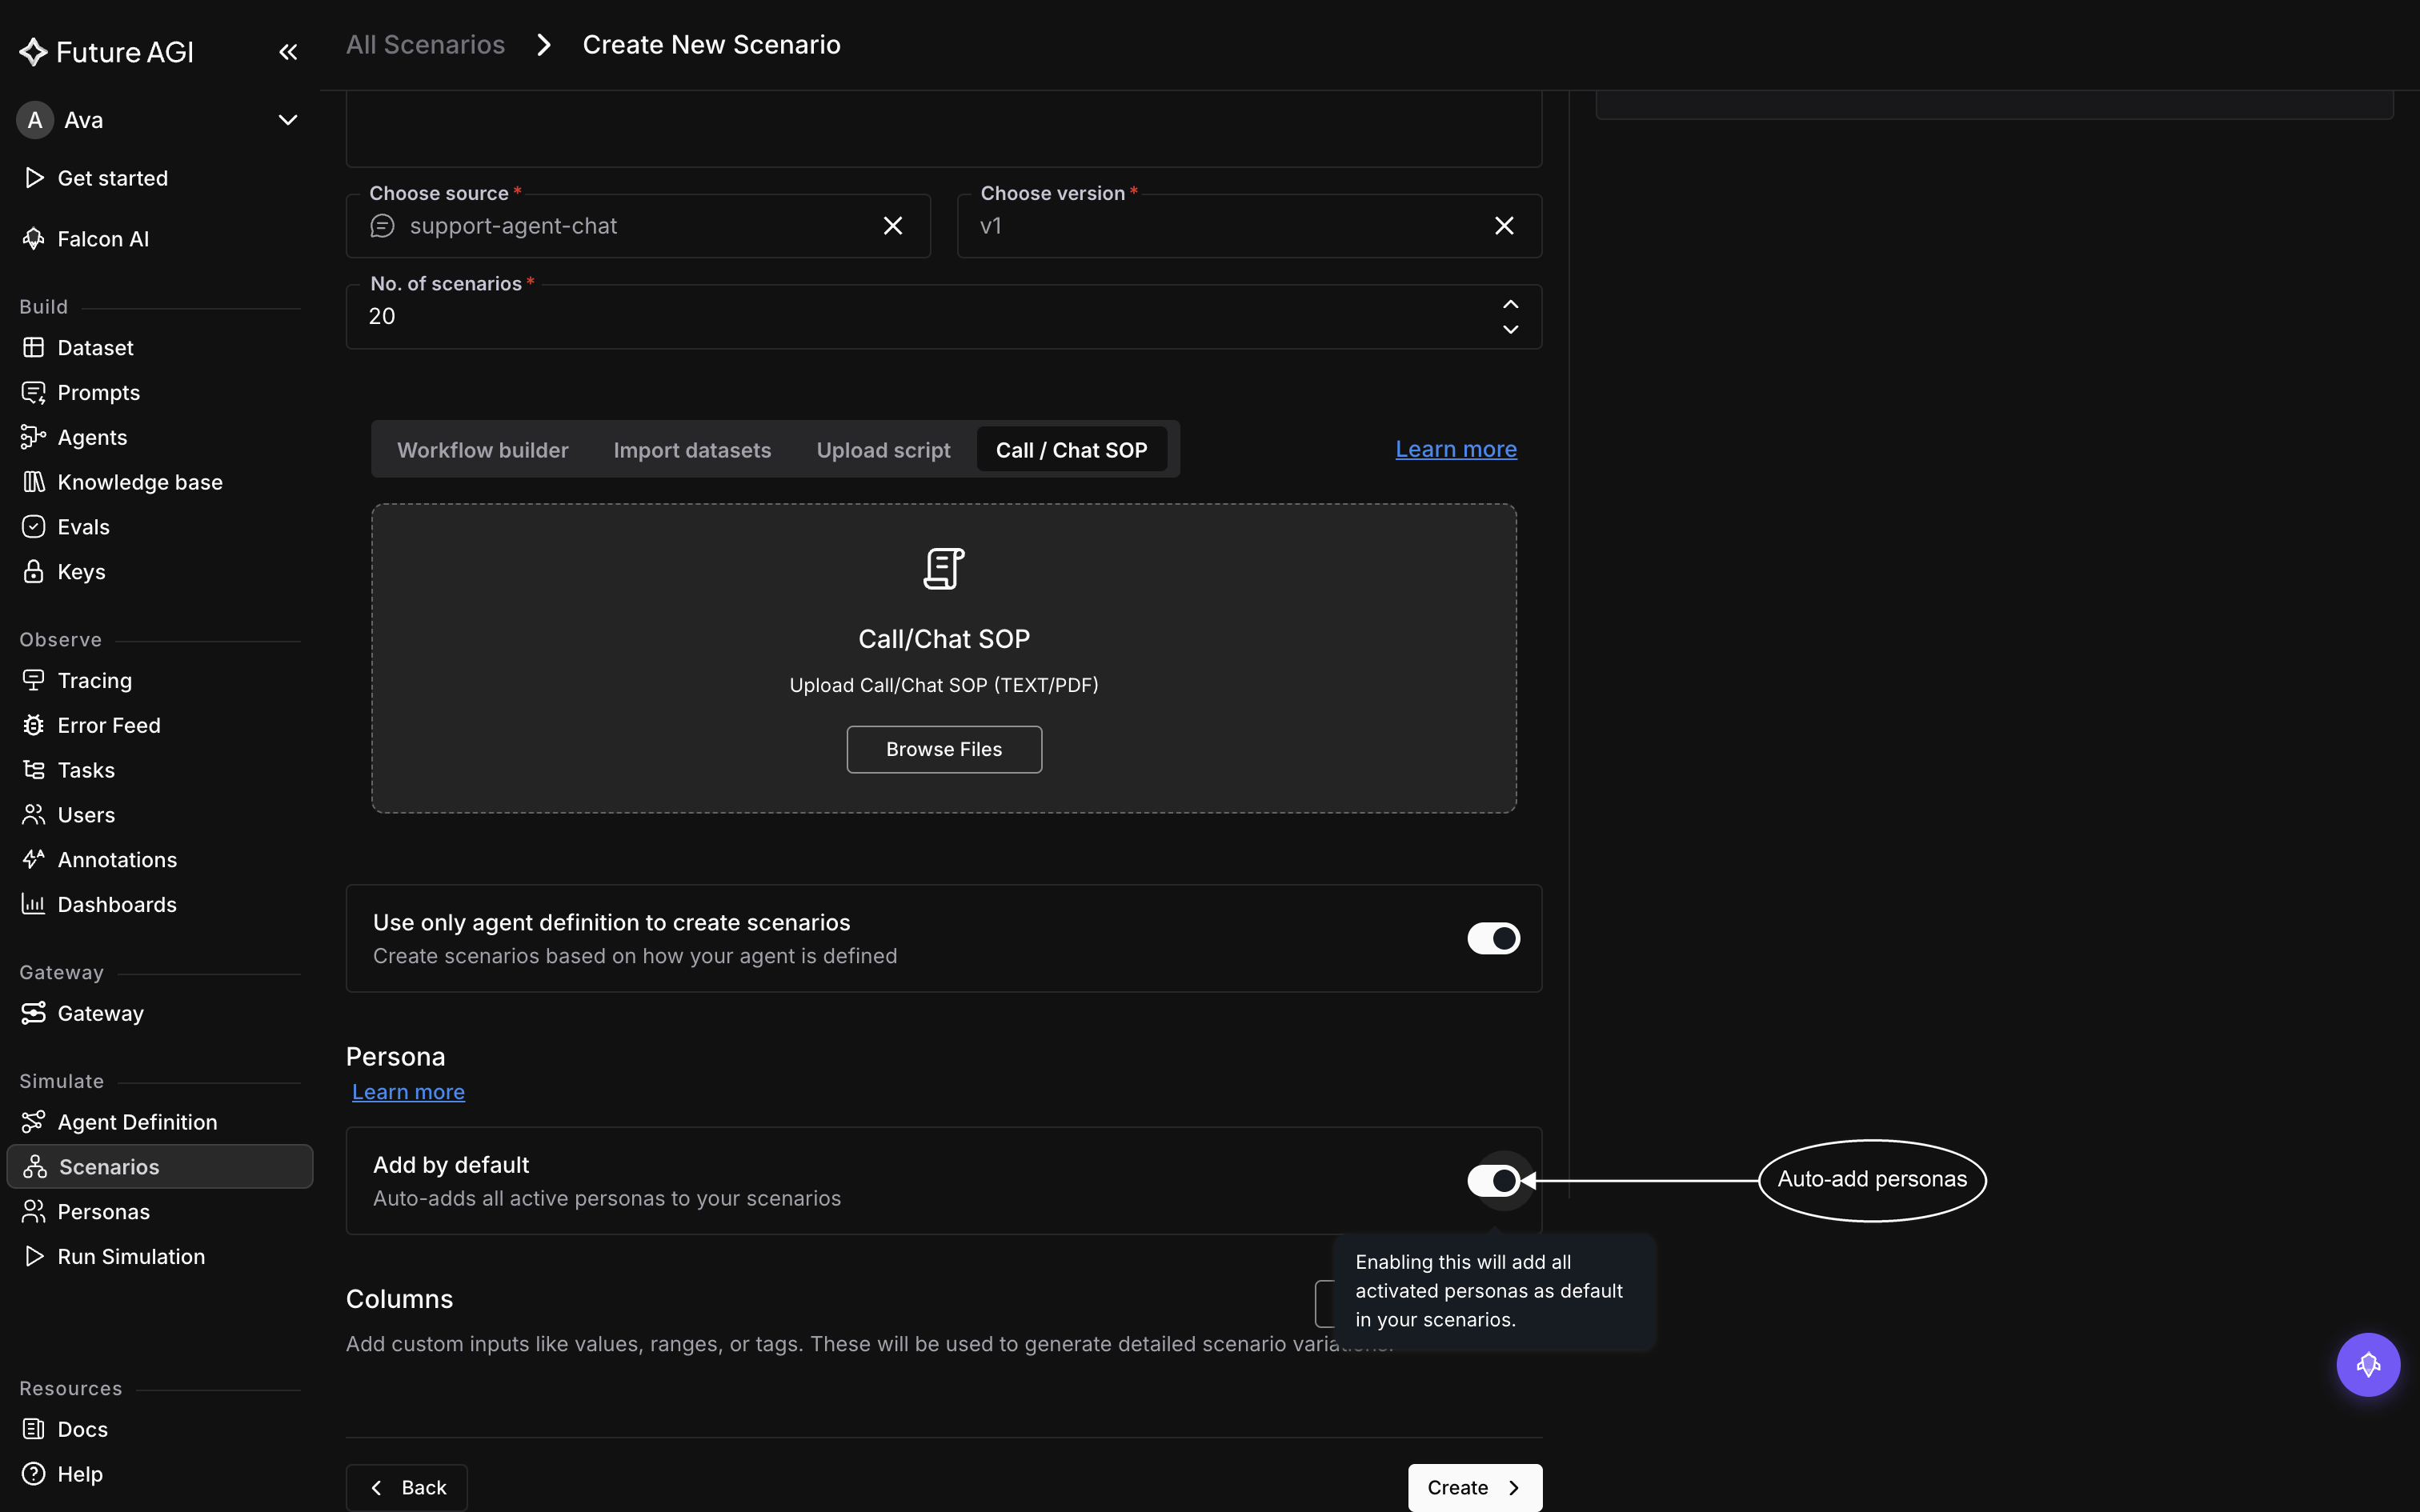
Personas attach here, which is why a run never asks you to choose one
Turn it off and an Add persona button appears, so you can attach a narrower set yourself. Like the graph builder, it needs an agent definition chosen first.
Add columns
Every generated row already carries five columns: persona, situation, outcome, conversation branch, and branch category. Columns is for anything beyond those, up to ten of your own, named by you and used by the generator to vary the cases it writes. Add one when the cases differ along an axis the agent definition doesn’t describe, such as a refund amount or a plan tier. You can also add columns later, from the scenario itself.
Create it
Click Create. Generation runs in the background: the scenario appears in the list as Running, and you can leave the page while it works. It flips to Completed when the rows are ready.
If it comes back Failed, look first at the material you imported rather than the form. A scanned PDF with no text layer and a dataset whose columns don’t meet the conditions above are the common causes. If it completes but the rows read as weak, you don’t have to start over: open the scenario and delete or replace the poor rows, or add better ones by hand.
Check what came out
Open the scenario to read the flow it drafted and the rows it generated, and to change either. Explore scenarios covers the graph, adding rows, and adding columns.
Dive deeper
Questions & Discussion