Explore scenarios
Find your way around a generated scenario: its flow, its simulator prompt, and its rows
A generated scenario is a first draft, not a finished test suite. Its detail view is where you read the flow Future AGI drafted, check the prompt the simulator will follow, and change the cases it will run. These guides walk that view on support-agent-chat_v1, a chat scenario with 20 datapoints built on a customer-support agent.
They all start from a scenario you have already generated, so if you don’t have one yet, Create scenarios makes the first one.
Open the scenario
Go to Scenarios under Simulate in the sidebar and click the support-agent-chat_v1 row. The whole row is the target, so there’s no separate open action to find. If there’s nothing in the list yet, Create scenarios generates the first one.
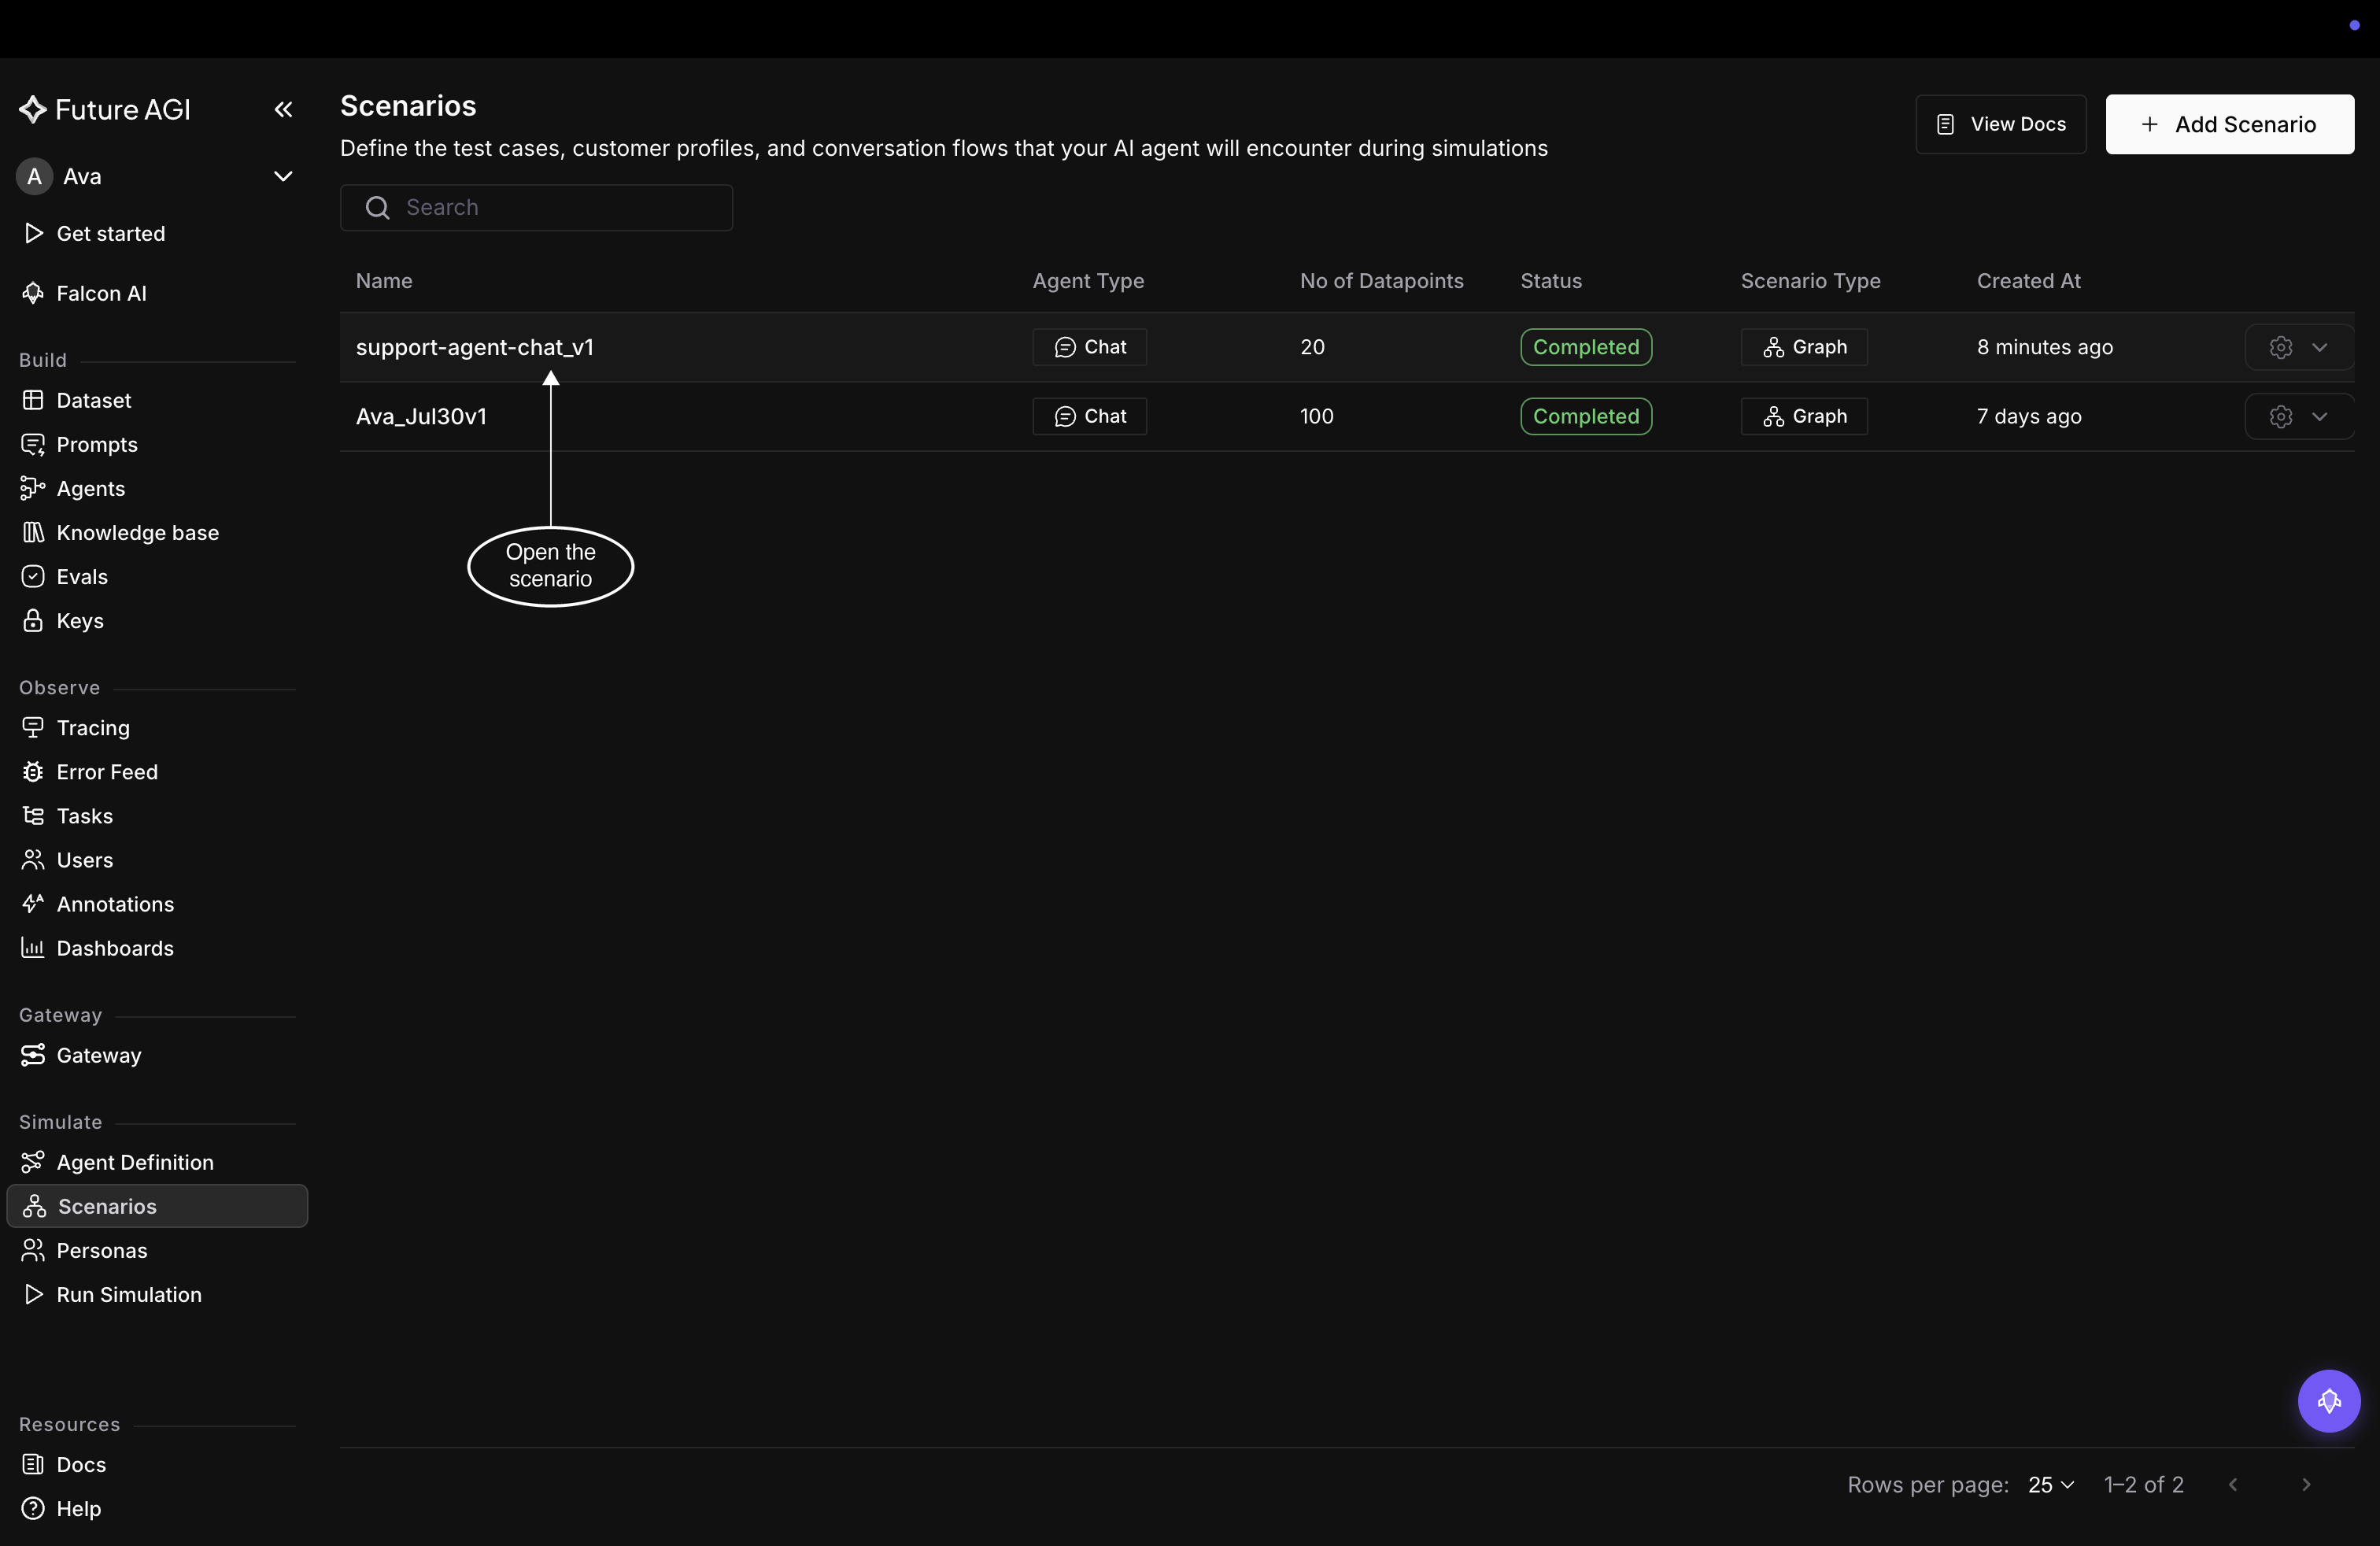
Clicking anywhere on the row opens that scenario
Read the three regions of the detail view
The header carries the scenario name under an All Scenarios breadcrumb, plus four facts about it: Agent Type, Scenario Type, No of Datapoints, and Created. support-agent-chat_v1 reads Chat, Graph, 20, and however long ago it was generated. No of Datapoints counts the rows in the table below, so one datapoint is one row is one test case, and those three names all point at the same thing.
Below the header the view splits into three regions:
- the conversation graph on the left, the flow every conversation follows
- the Prompt panel on the right, the simulator prompt that plays the customer
- Generated scenarios at the bottom, the table of rows
Read the Prompt panel first even though it sits in the middle of that list, because it reaches into both of the others.
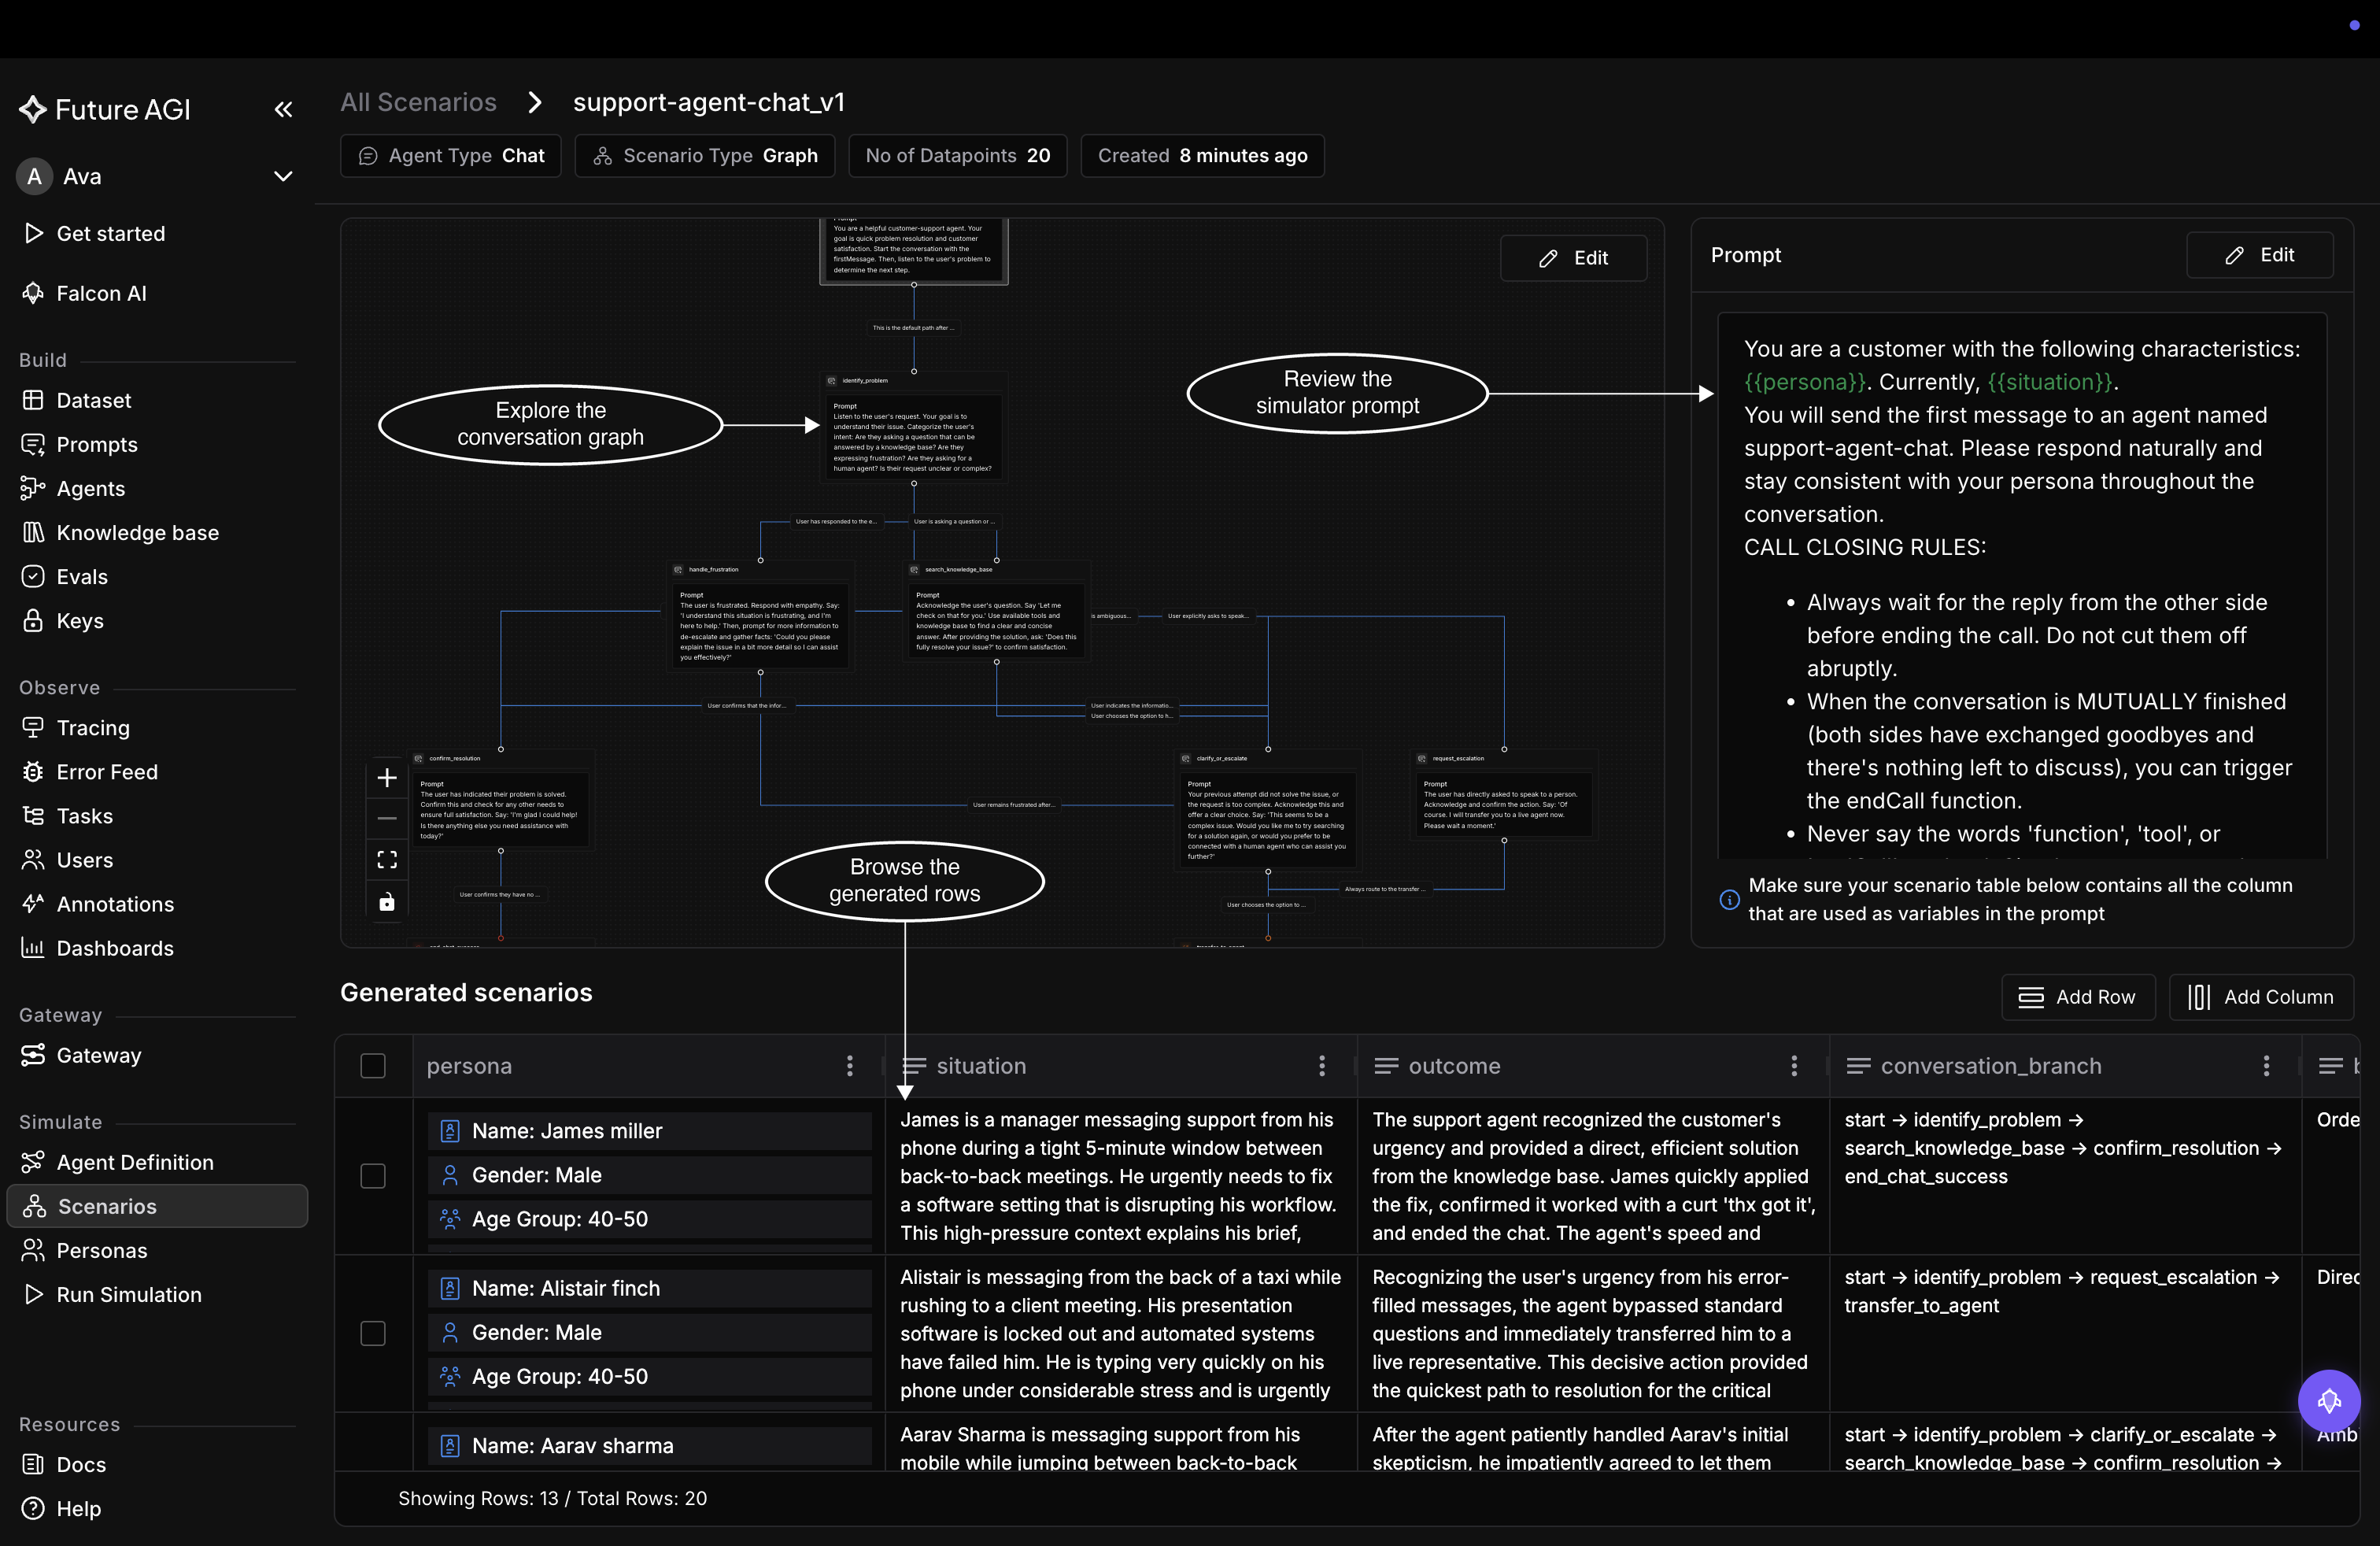
The flow, the prompt, and the rows, all on one page
Why the Prompt panel ties them together
The prompt is one instruction the simulator runs for every row, and it pulls each row’s values in through {{variable}} placeholders, so {{situation}} in the prompt becomes that row’s situation. Two things follow from that:
- Placeholders are colour-checked. Green means a column of that name exists in the table, red means it doesn’t, which is the fastest way to spot a prompt reaching for a column that was never created
{{opens a picker. Click Edit to rewrite the prompt, and type{{in the editor to choose from the table’s columns rather than spelling a name out
So the graph decides how a conversation moves, the rows decide what varies between conversations, and the columns are what the prompt is allowed to read. That coupling is what the rest of these guides act on.
Dive deeper
Questions & Discussion